The store will not work correctly in the case when cookies are disabled.
Litter-Robot 4: Blue light bar flashing (Drawer full indicator "DFI" sensor)
Preparation
Litter-Robot 4 is equipped with OmniSense™ detection that utilizes laser and weight sensor technology to provide real-time litter and waste drawer levels. OmniSense™ also supports the SafeCat system which continuously analyzes four safety zones to ensure your cat is always safe.
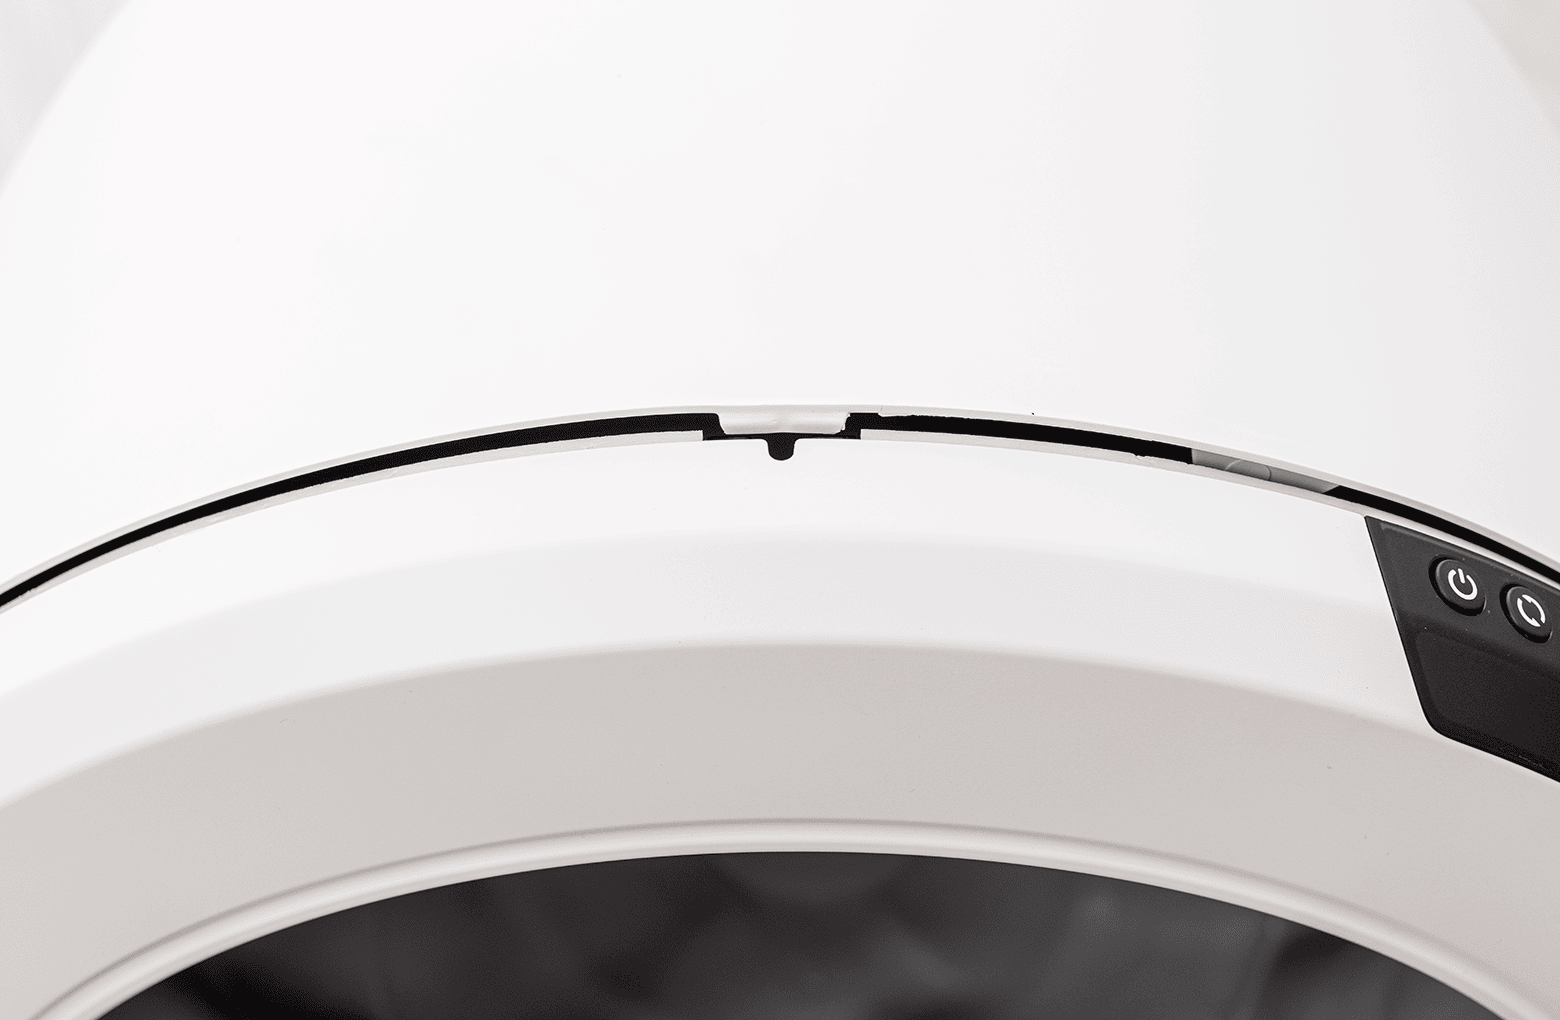
There are sensors located in the top of the bezel, called curtain sensors, that accurately measure the capacity of the waste drawer. During each Clean cycle, the DFI sensor will measure the level of waste within the waste drawer as the waste port passes over the waste drawer.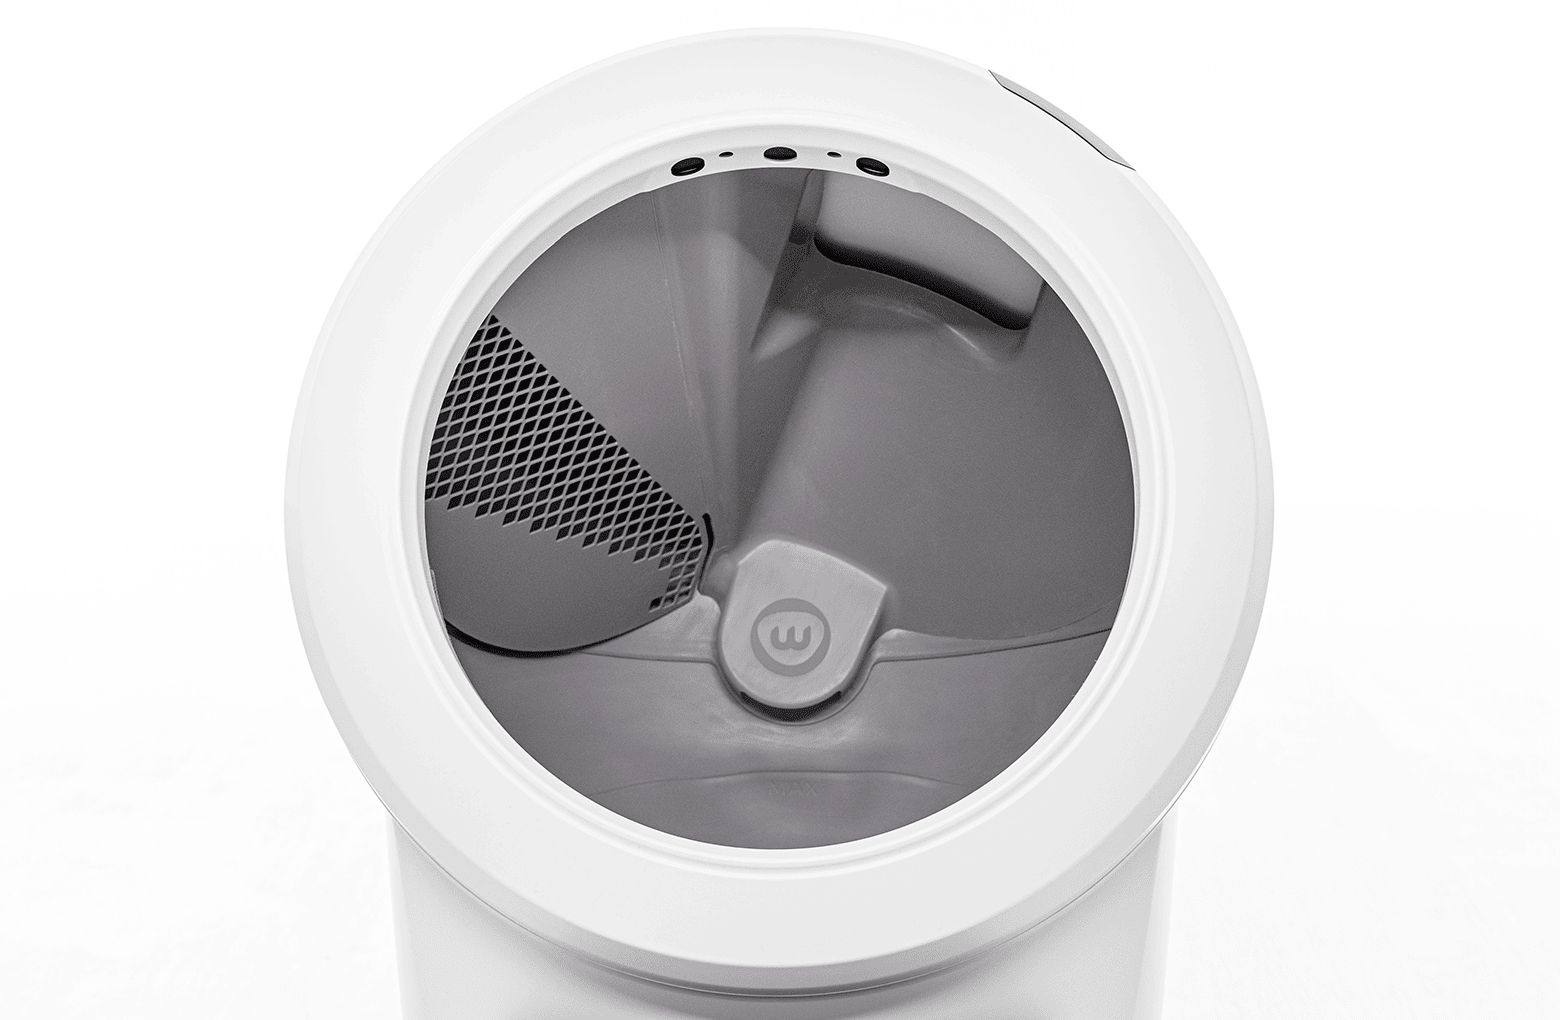
Once a full waste drawer is detected, the unit will indicate it is full with a flashing blue light bar.
You will also receive a notification on your phone if you use the Whisker app.
The unit will cycle two additional times before it will no longer automatically cycle.
Emptying the waste drawer when indicated is important to ensure that your Litter-Robot continues to cycle automatically.
Troubleshooting
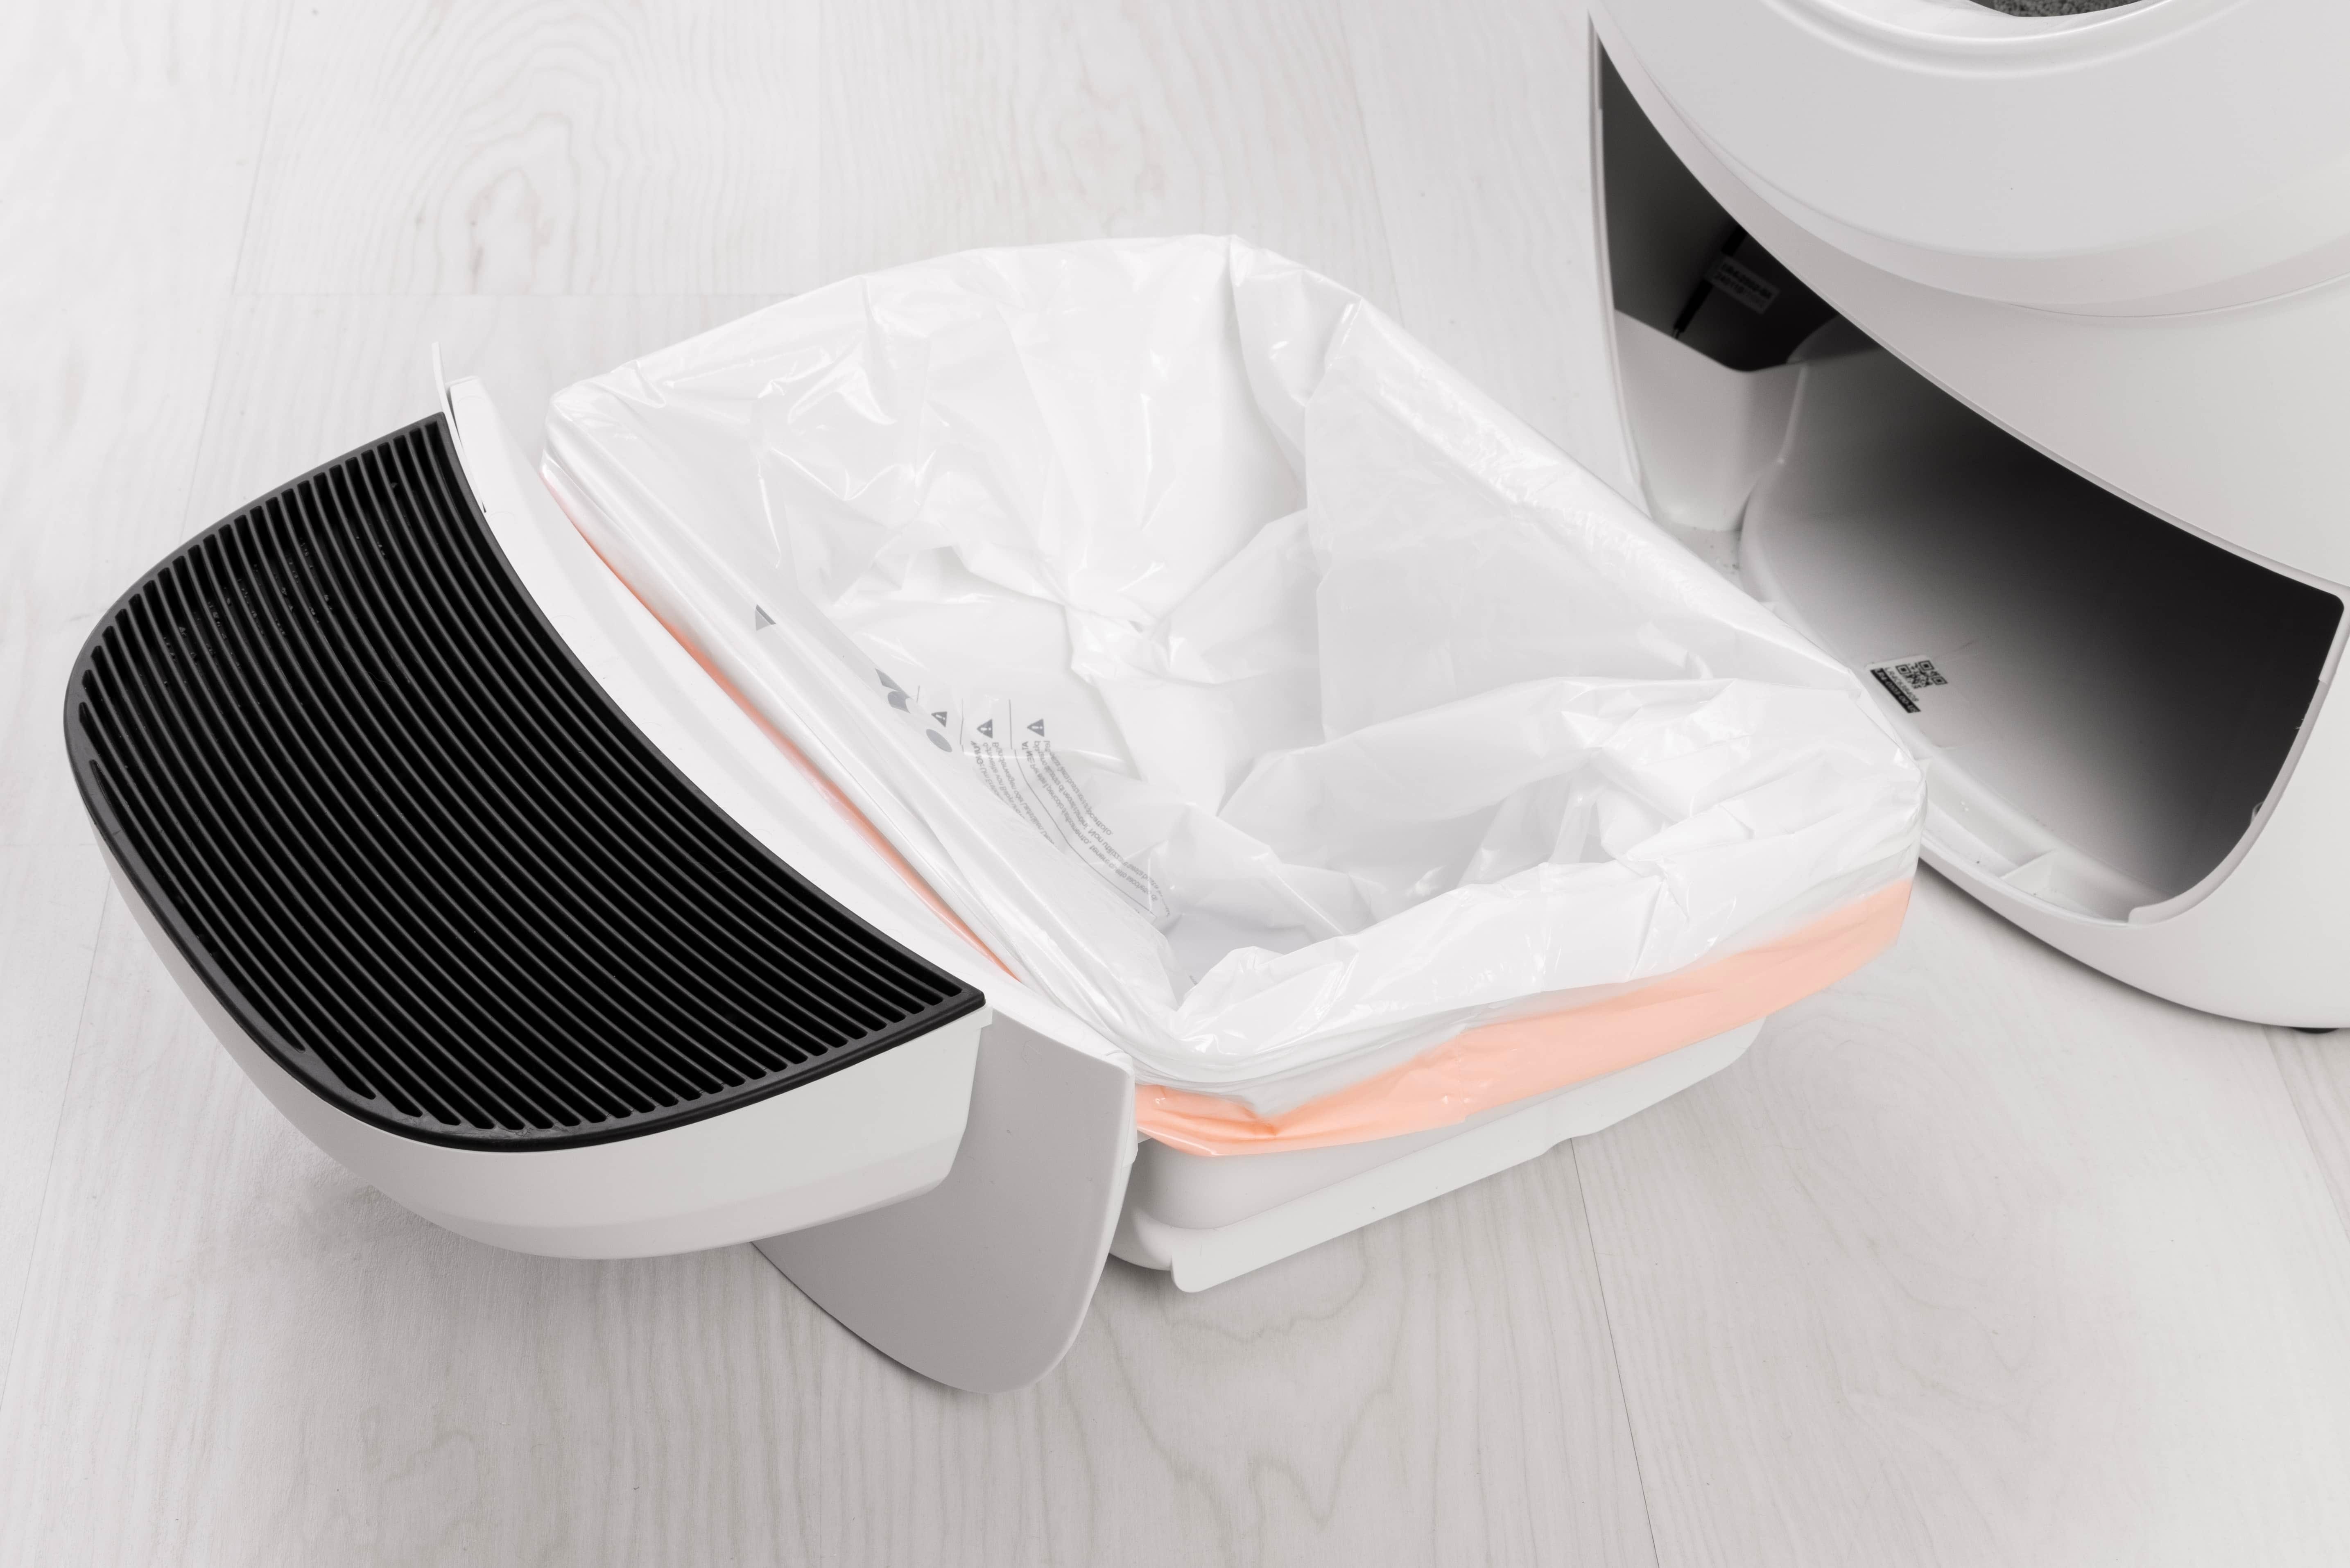
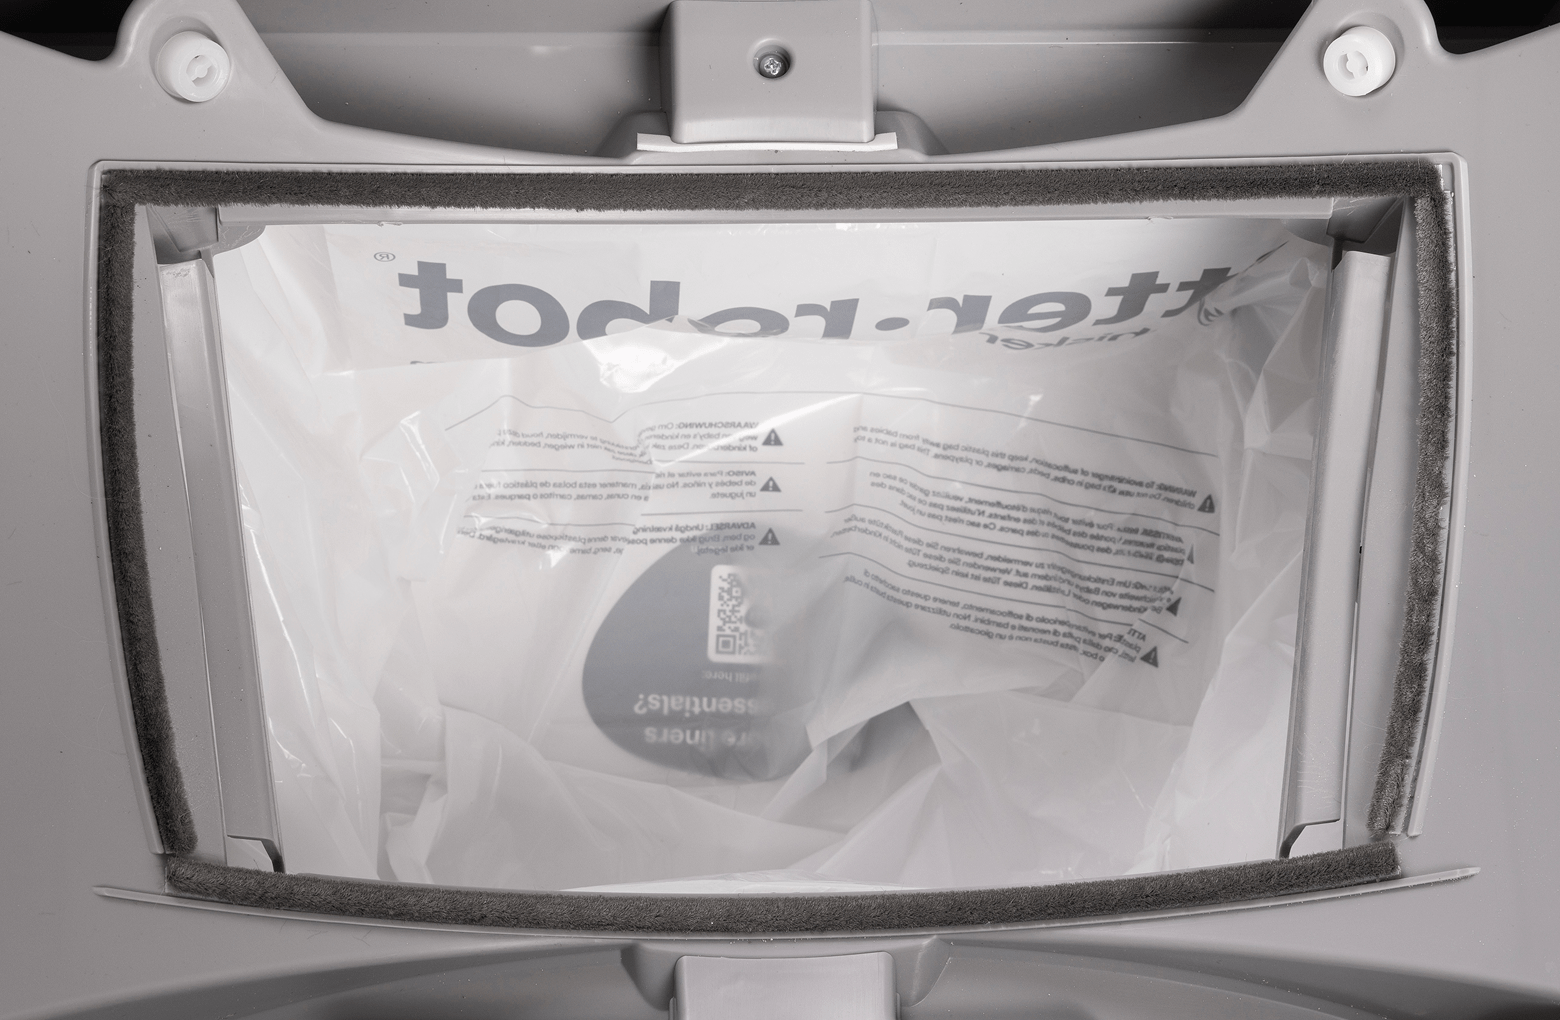
Stretched bags or bags not pressed flat will cause the OmniSense™ detection to inaccurately measure the waste drawer level.
Clear bags work best. Please note that waste level readings may be inaccurate when using a dark bag, especially when the drawer is empty. As clumps start to collect in the drawer, the readings will become more accurate. For the most precise waste drawer readings and a seamless experience, we highly recommend using Litter-Robot Waste Drawer Liners.
- Ensure the bag is pushed flat against the side walls and bottom of the drawer.
![]()
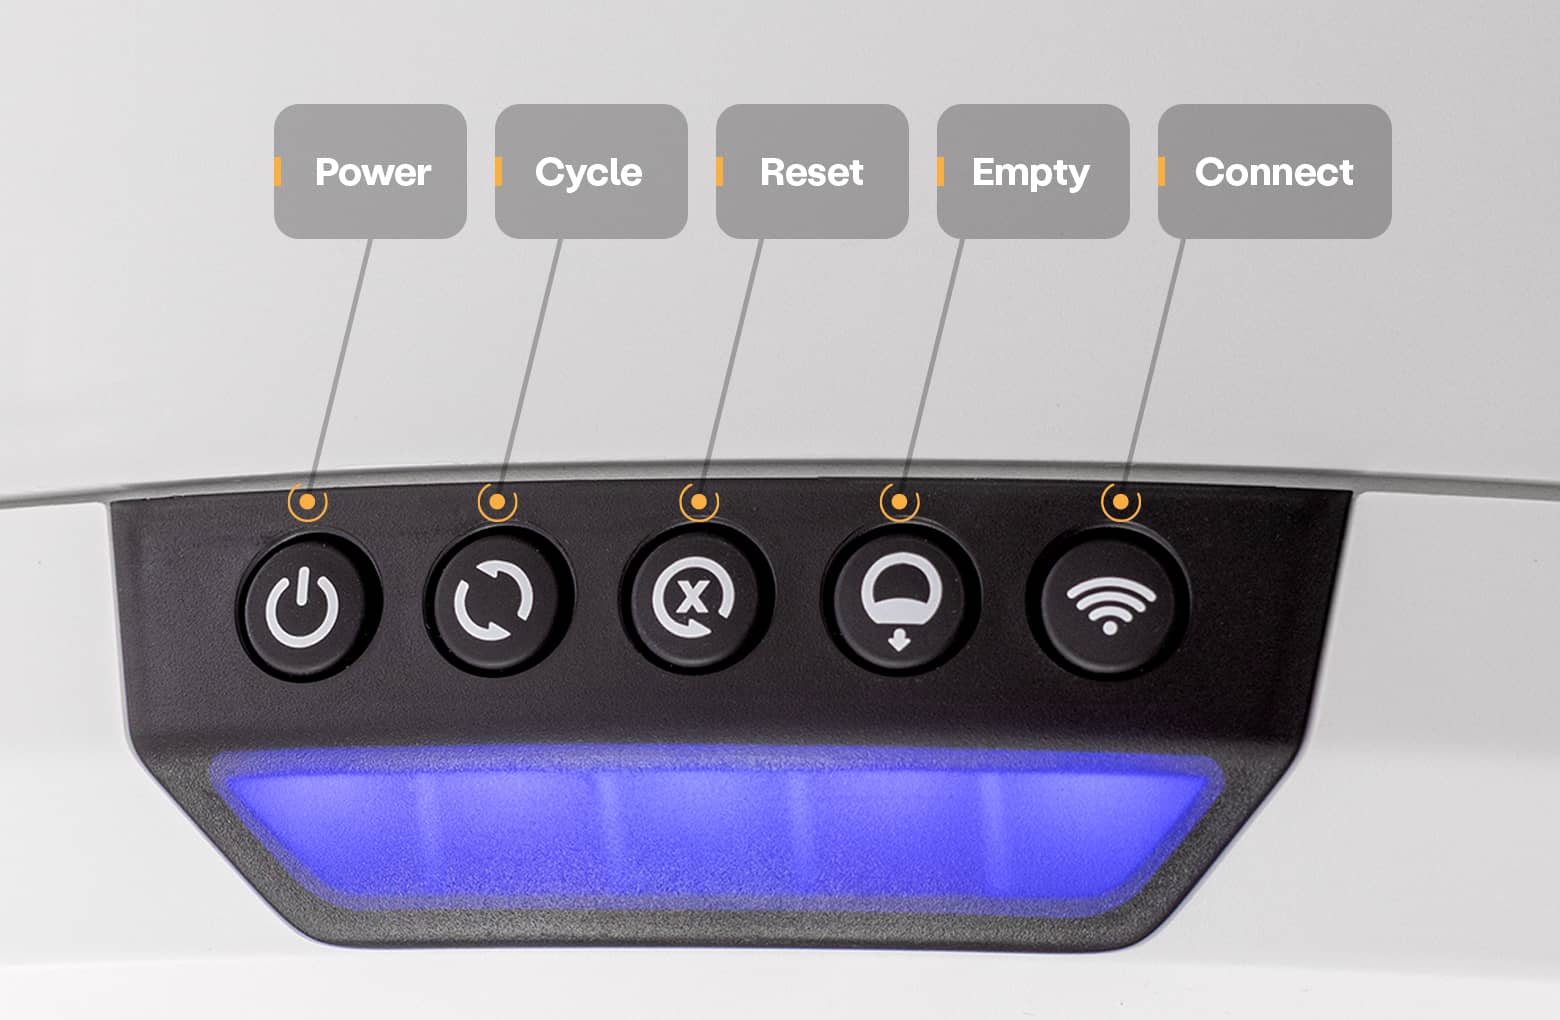
- Press the Reset button, then press the Cycle button to start a Clean cycle.
![]()
Cleaning the sensors
Let’s take a closer look at the sensors located in the bezel.
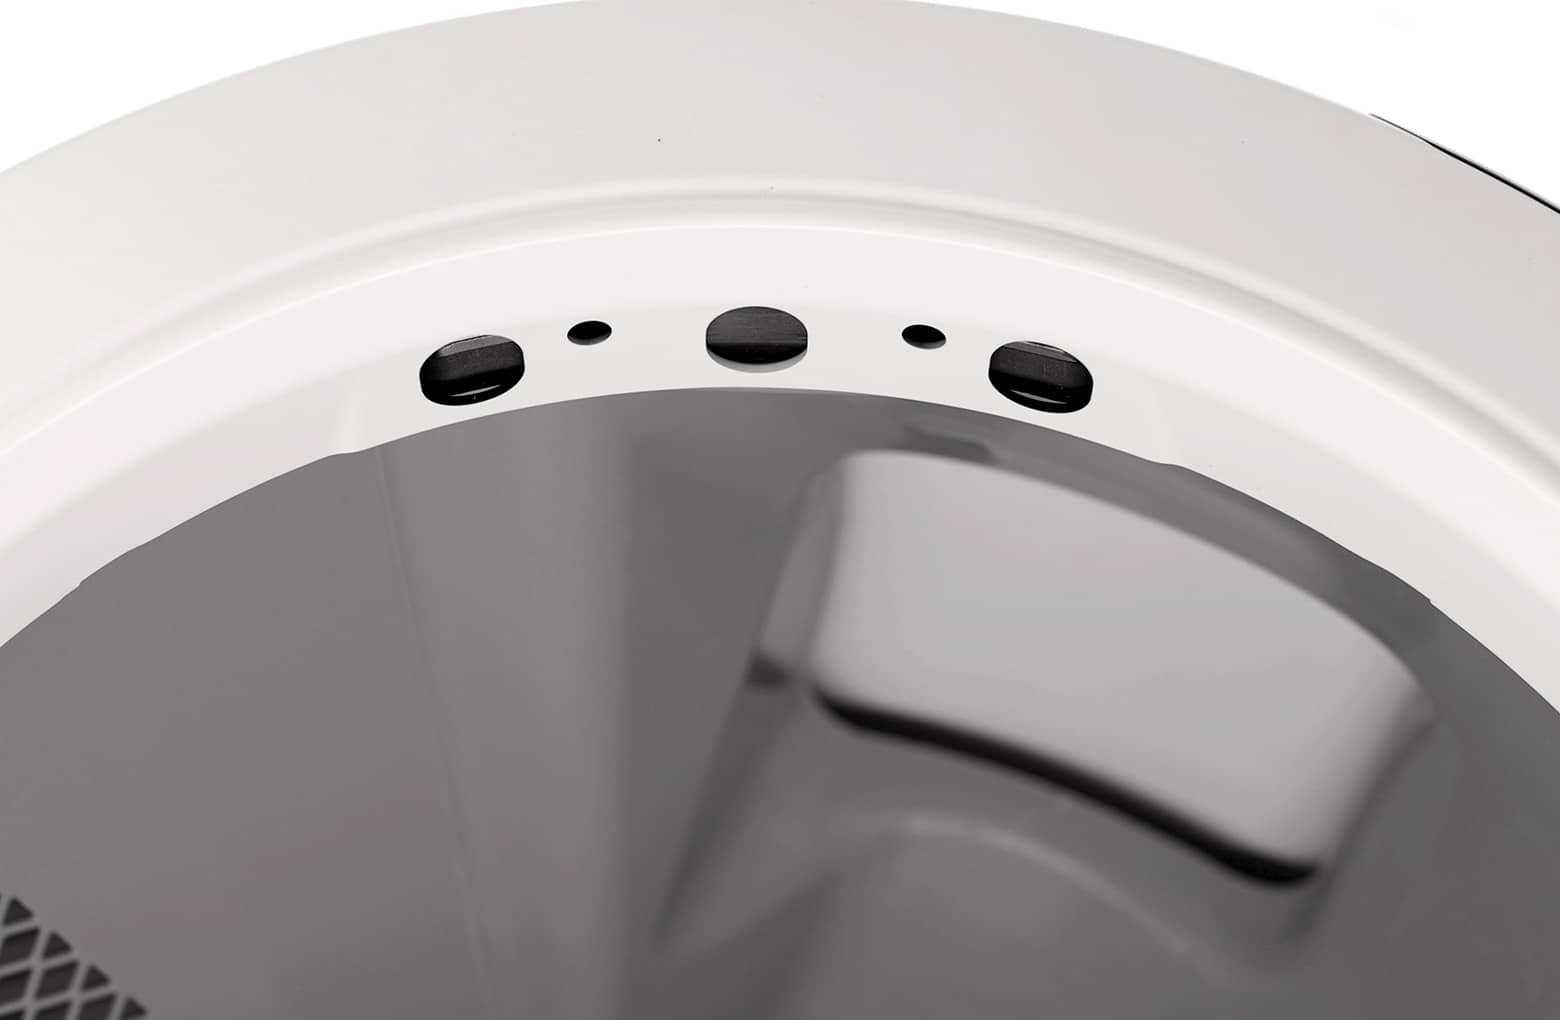
Any debris on the bezel, such as dust or cat fur, can interfere with the DFI sensor. This can cause the unit to inaccurately measure the waste drawer level.
- Wipe the bezel area where the sensors are located with a dry clean cloth to remove debris such as hair or dust.
- Vacuum the bezel area with a brush attachment to clean out any debris that may be inside the bezel.
- You may need to clean the sensors with a cotton swab. Please refer to our Laser sensor cleaning instructions to learn how.
- Now, let's run a test cycle. Short press the Reset button, then short press the Cycle button to run a Clean cycle.
![]()
Firmware update
Next, let's make sure your firmware is up-to-date.
Whisker will automatically update the firmware in your Litter-Robot 4 to ensure the best possible operation.
If you don’t see the option to update your firmware, you already have the latest version.
Once the update is complete, your Litter-Robot should be ready for use.
Check for obstructions
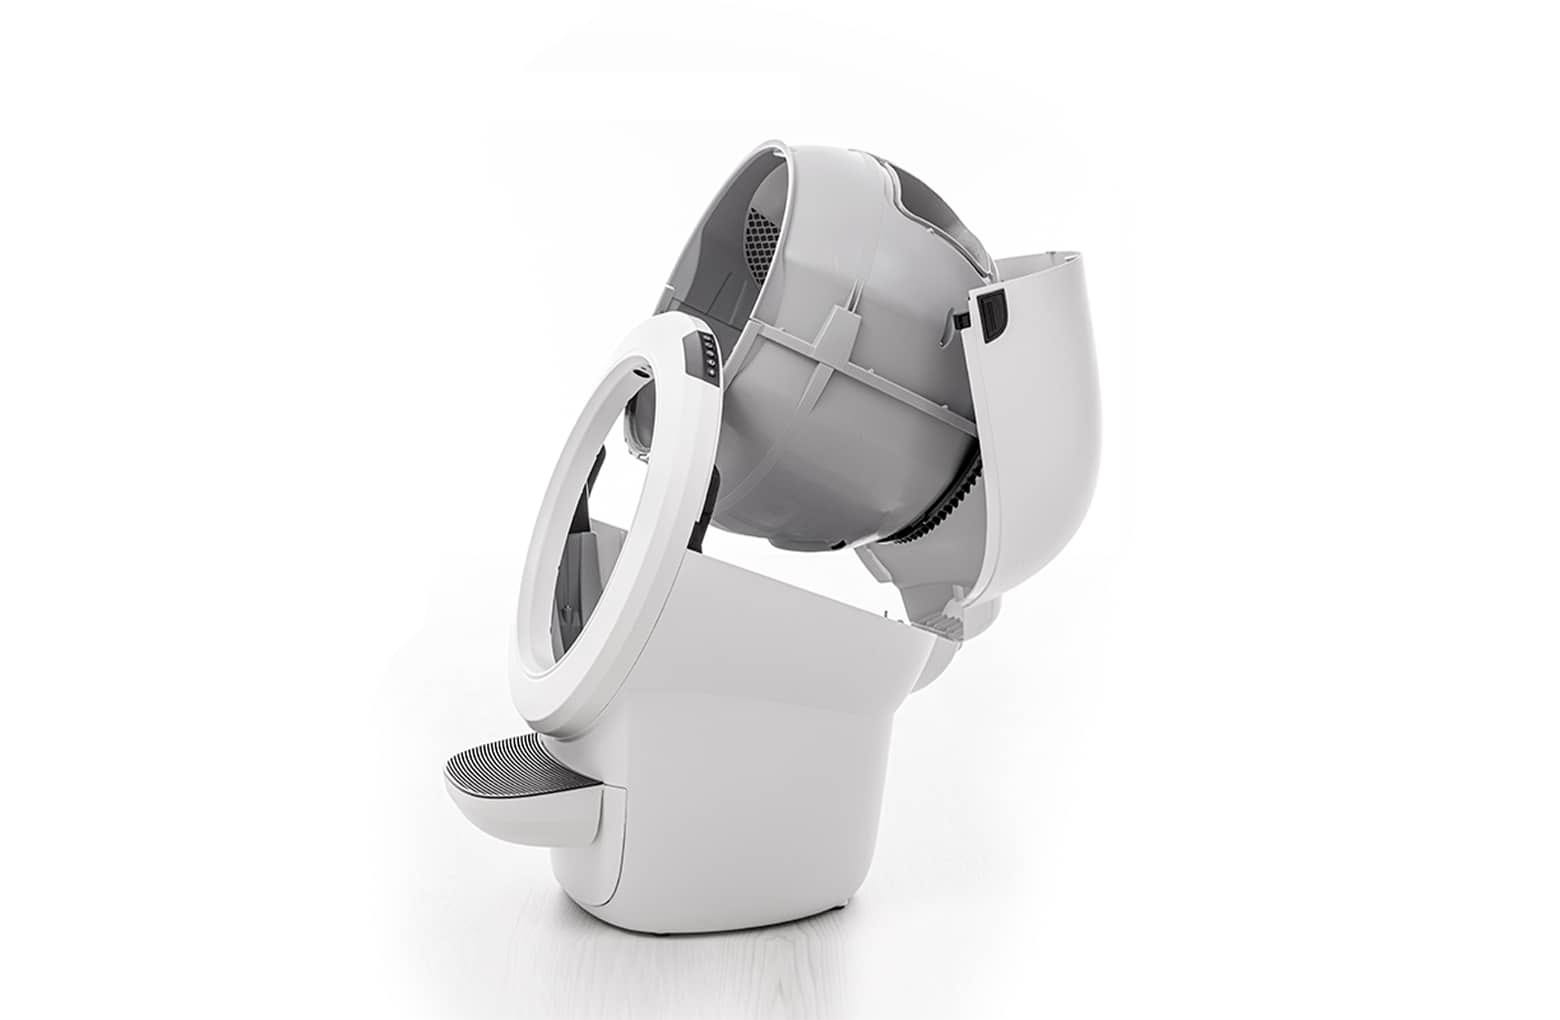
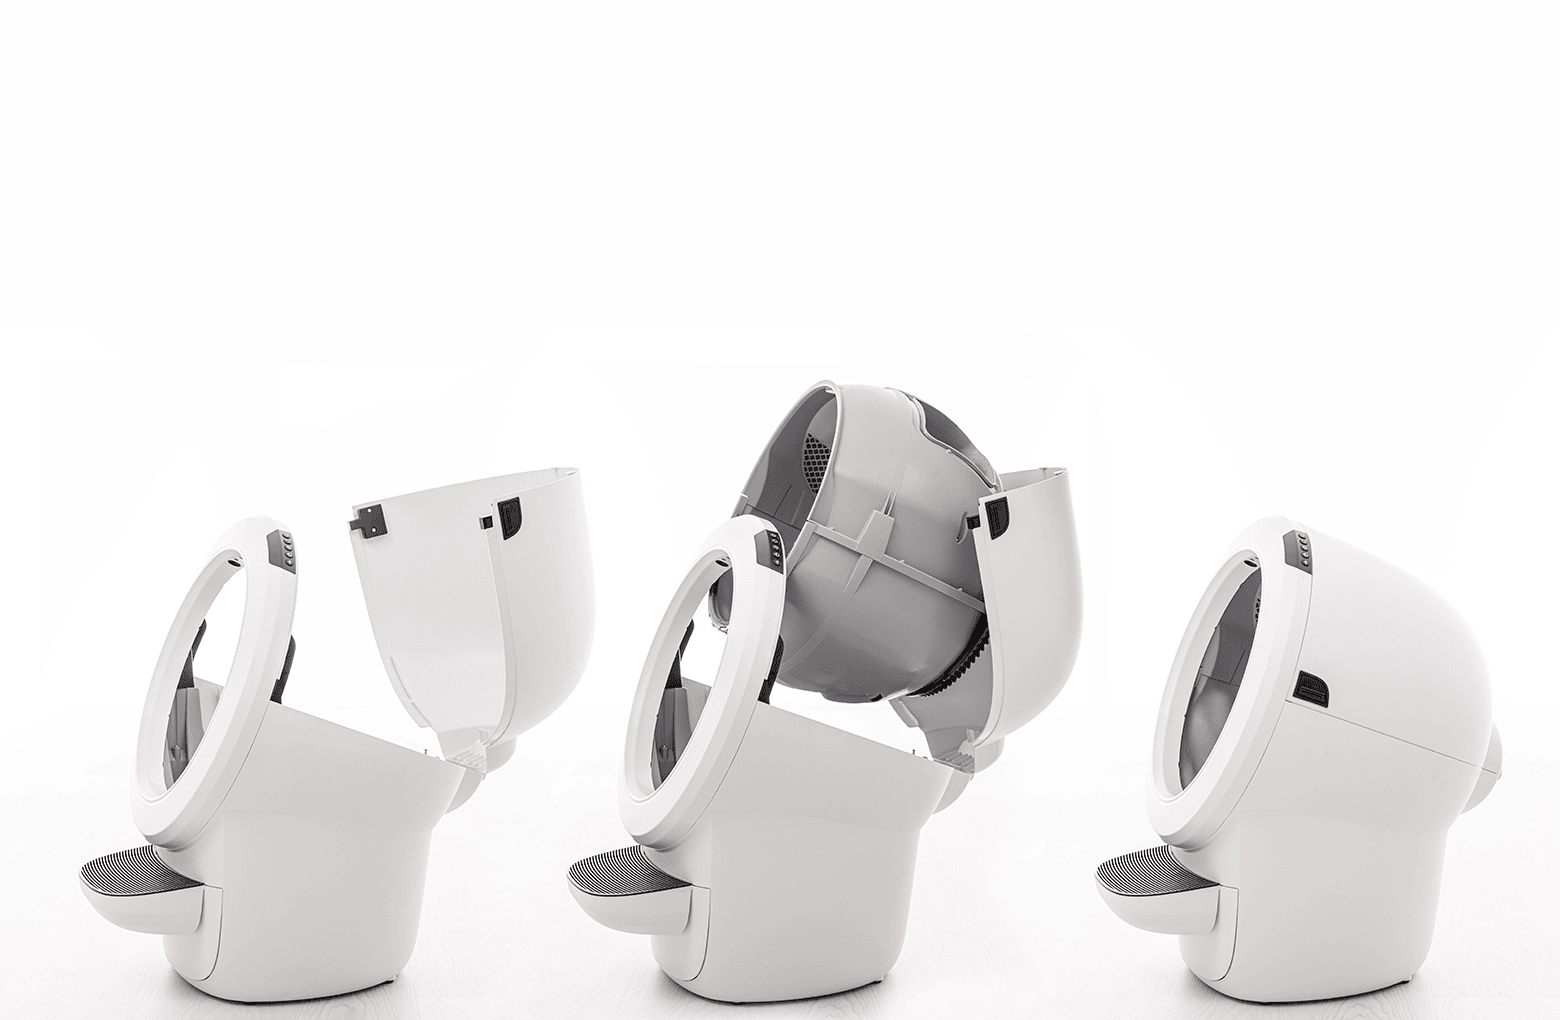
Let’s check for any additional debris that may interfere with the sensors during the cycle. We will be removing the bonnet and globe to look for any issues.
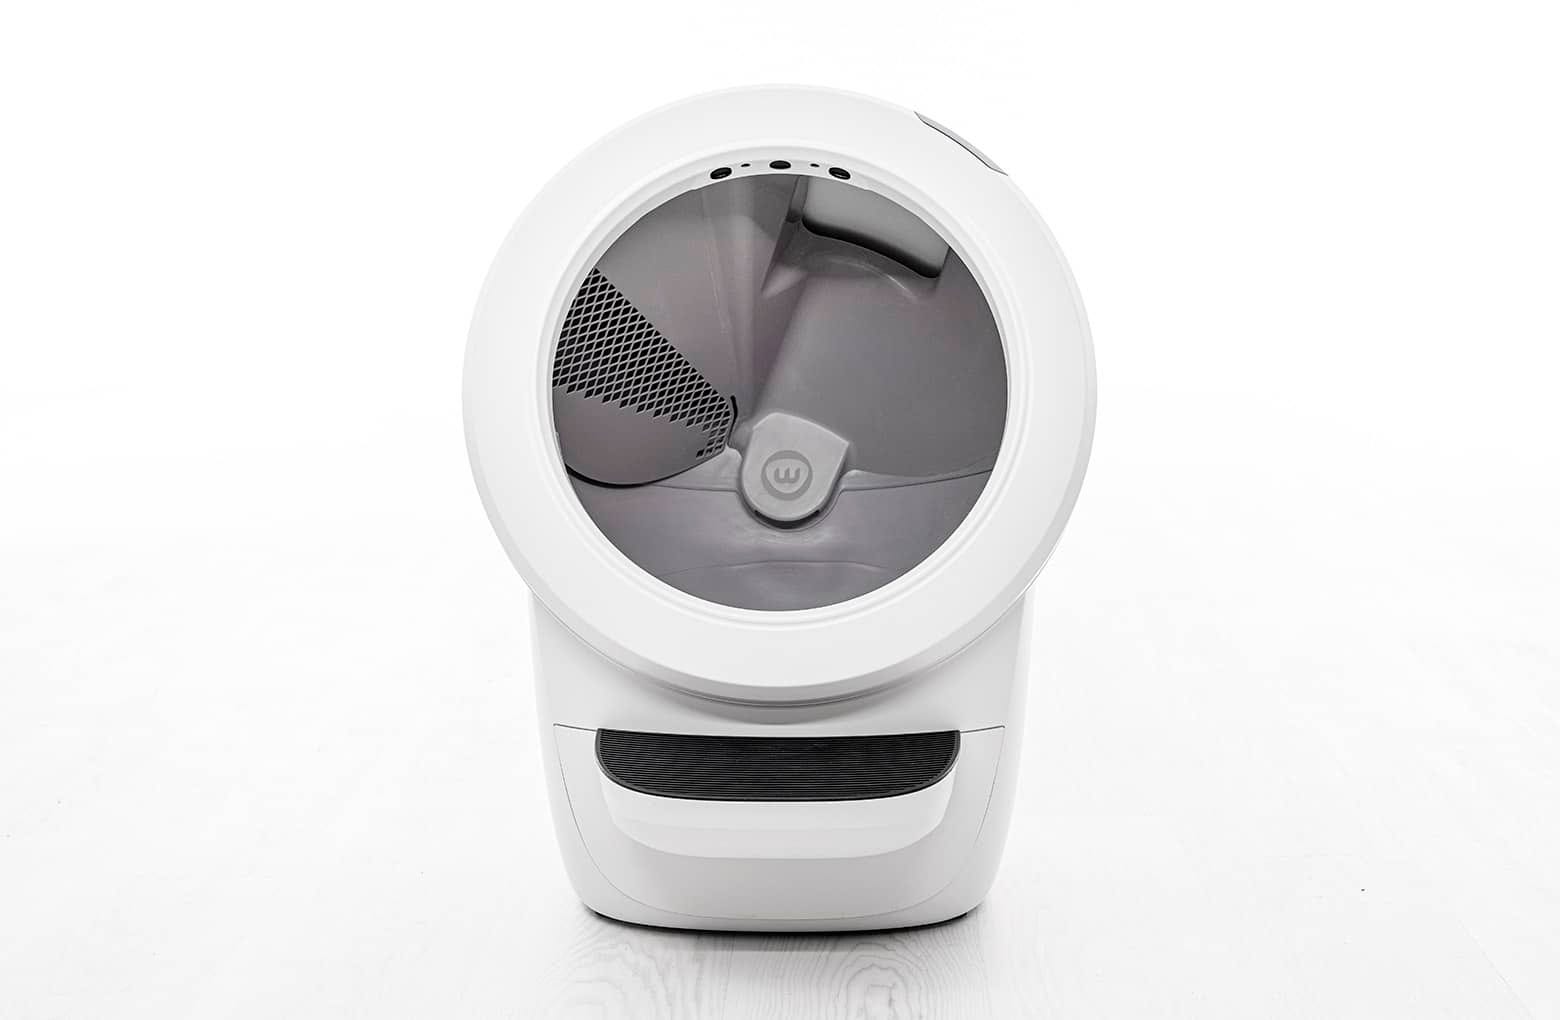
- Make sure the unit is in the Home position.
![]()
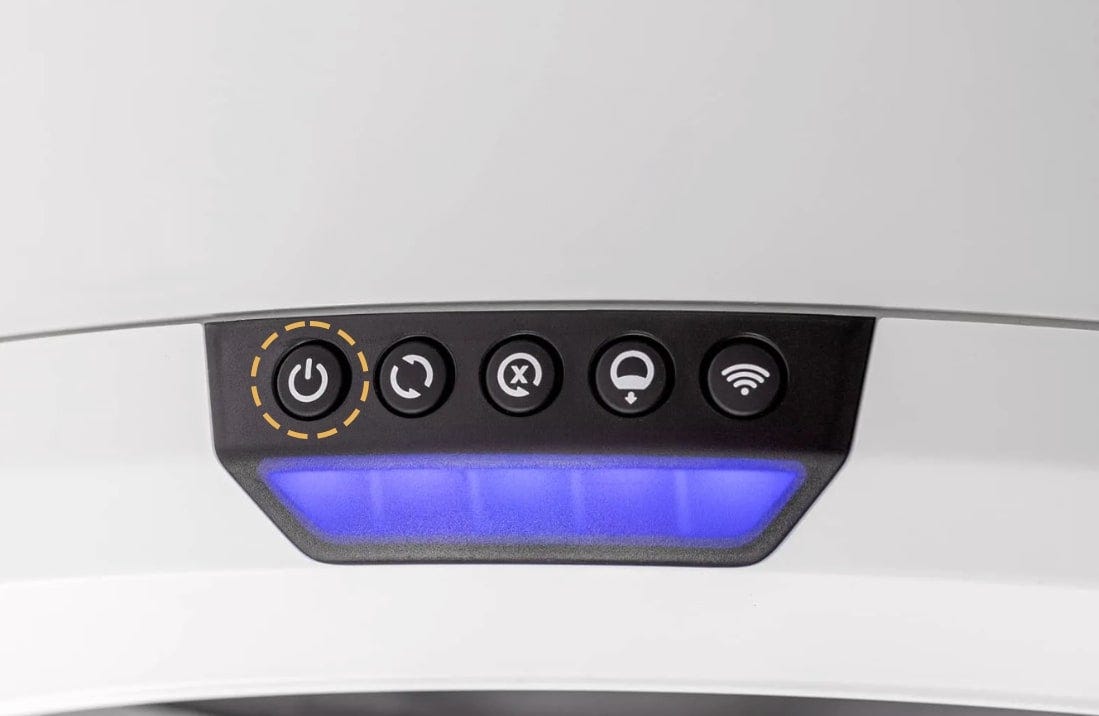
- Press the power button to turn the unit off, then unplug the unit from the wall.
![]()
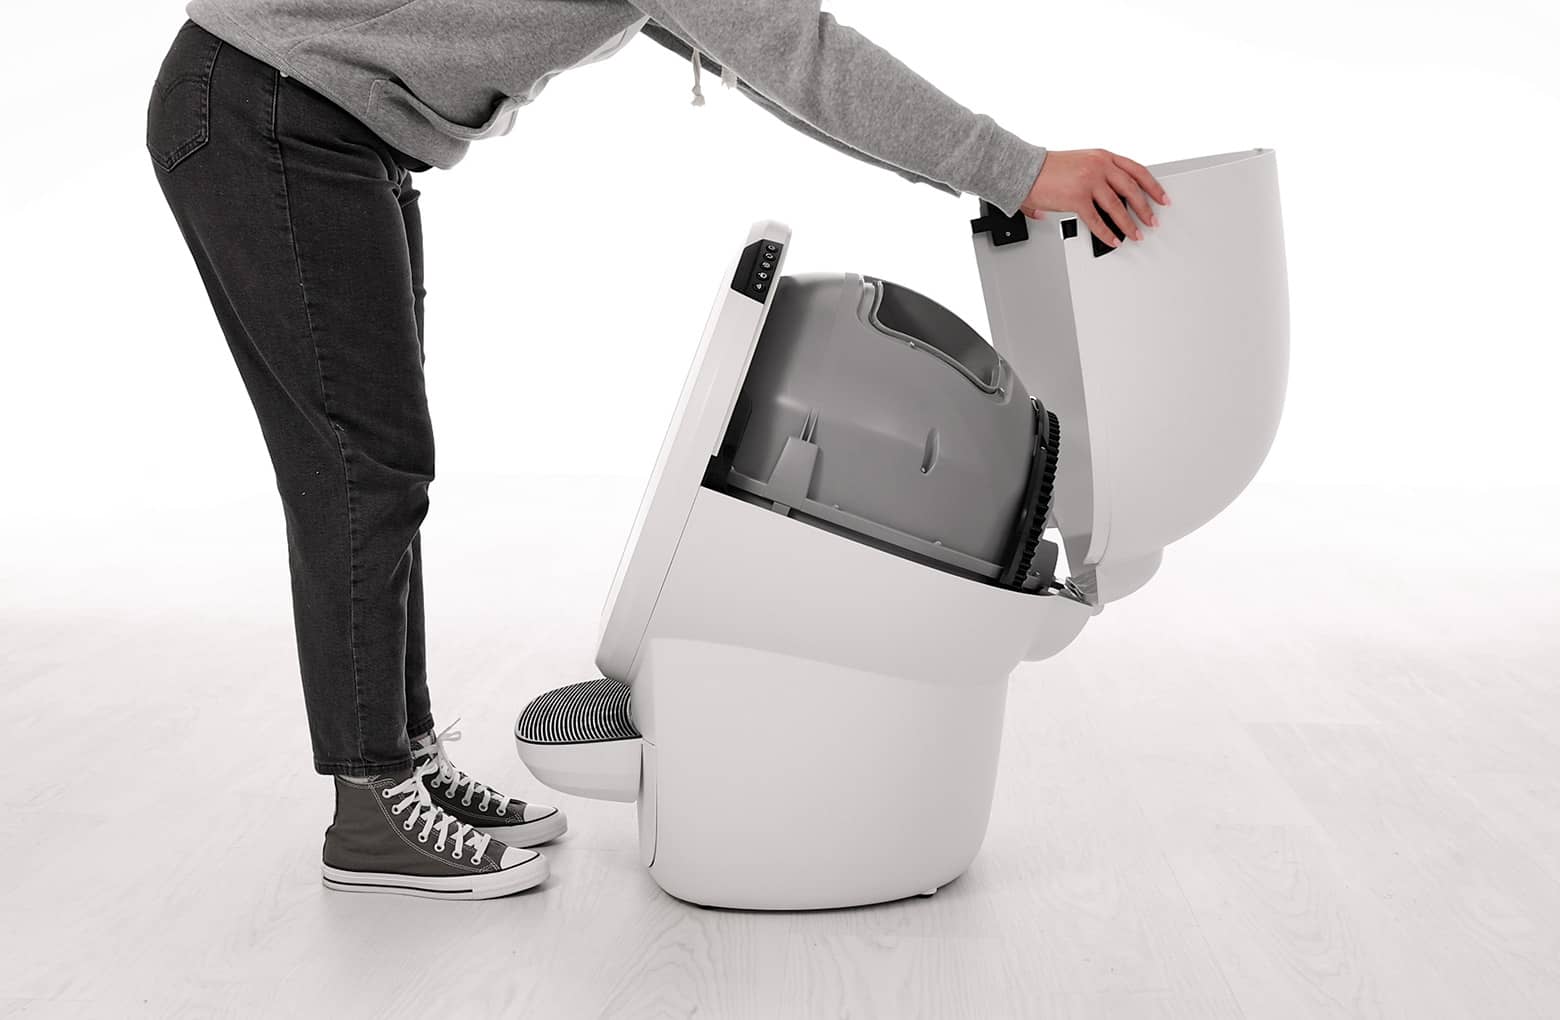
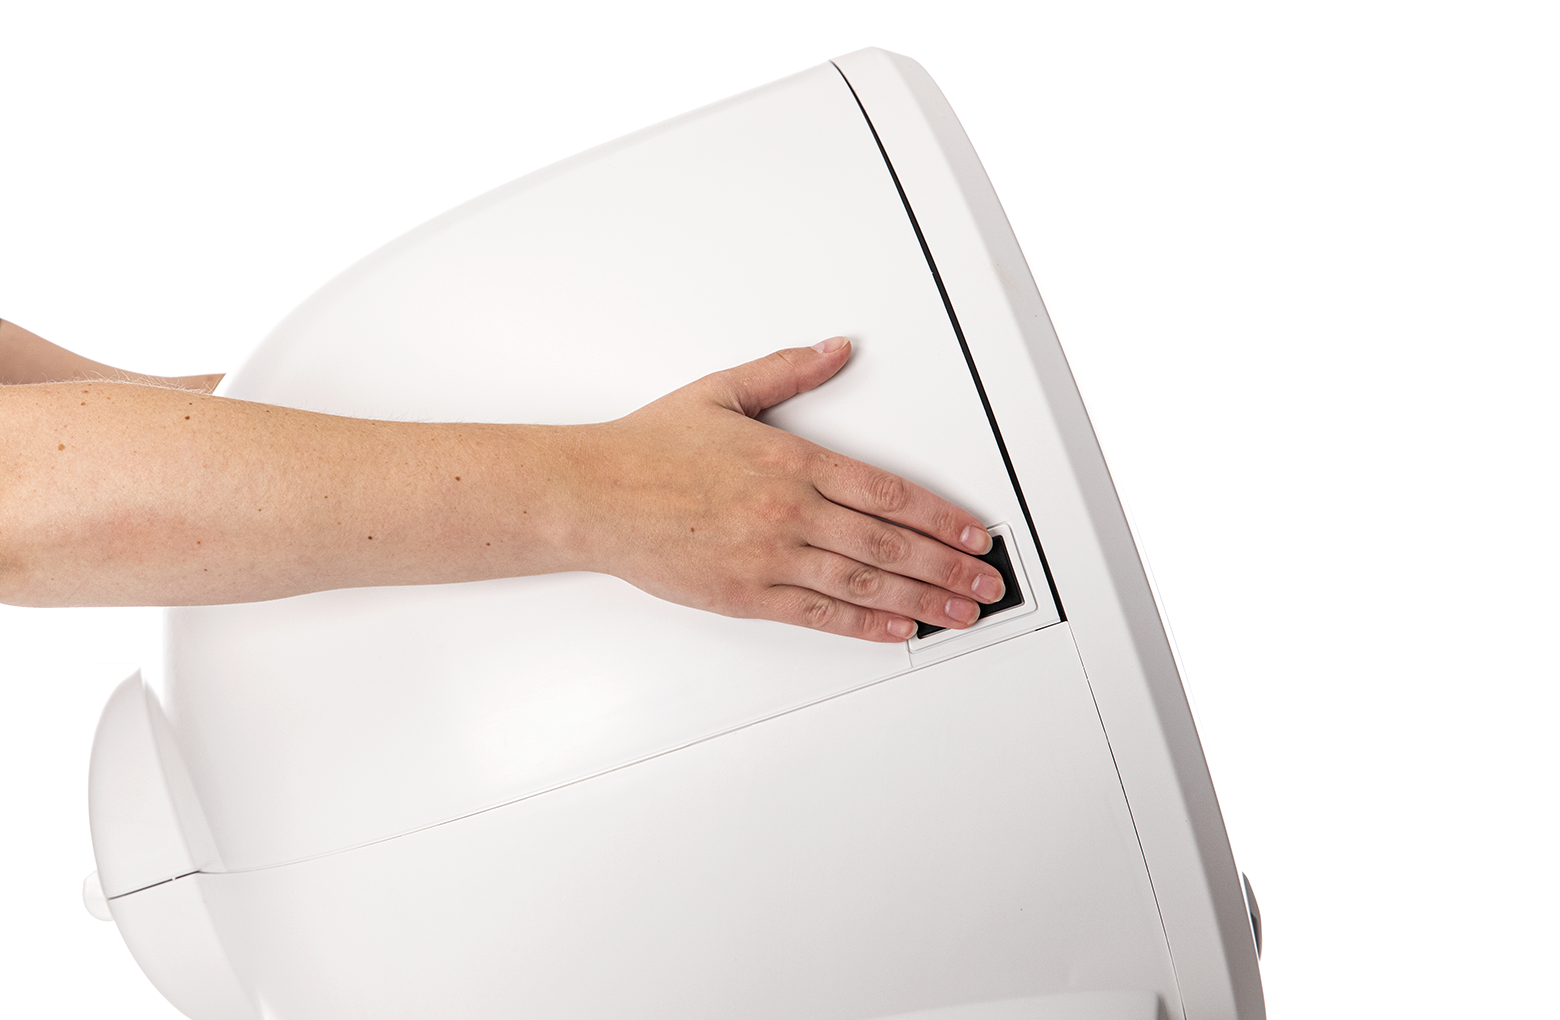
- To open the bonnet, press and hold the latches on both sides of the bonnet, then lift and rotate the bonnet to its open position.
![]()
- To remove the bonnet completely, unlatch the center tab on the bonnet from the catch clip on the unit frame behind the robot. Set the bonnet aside.
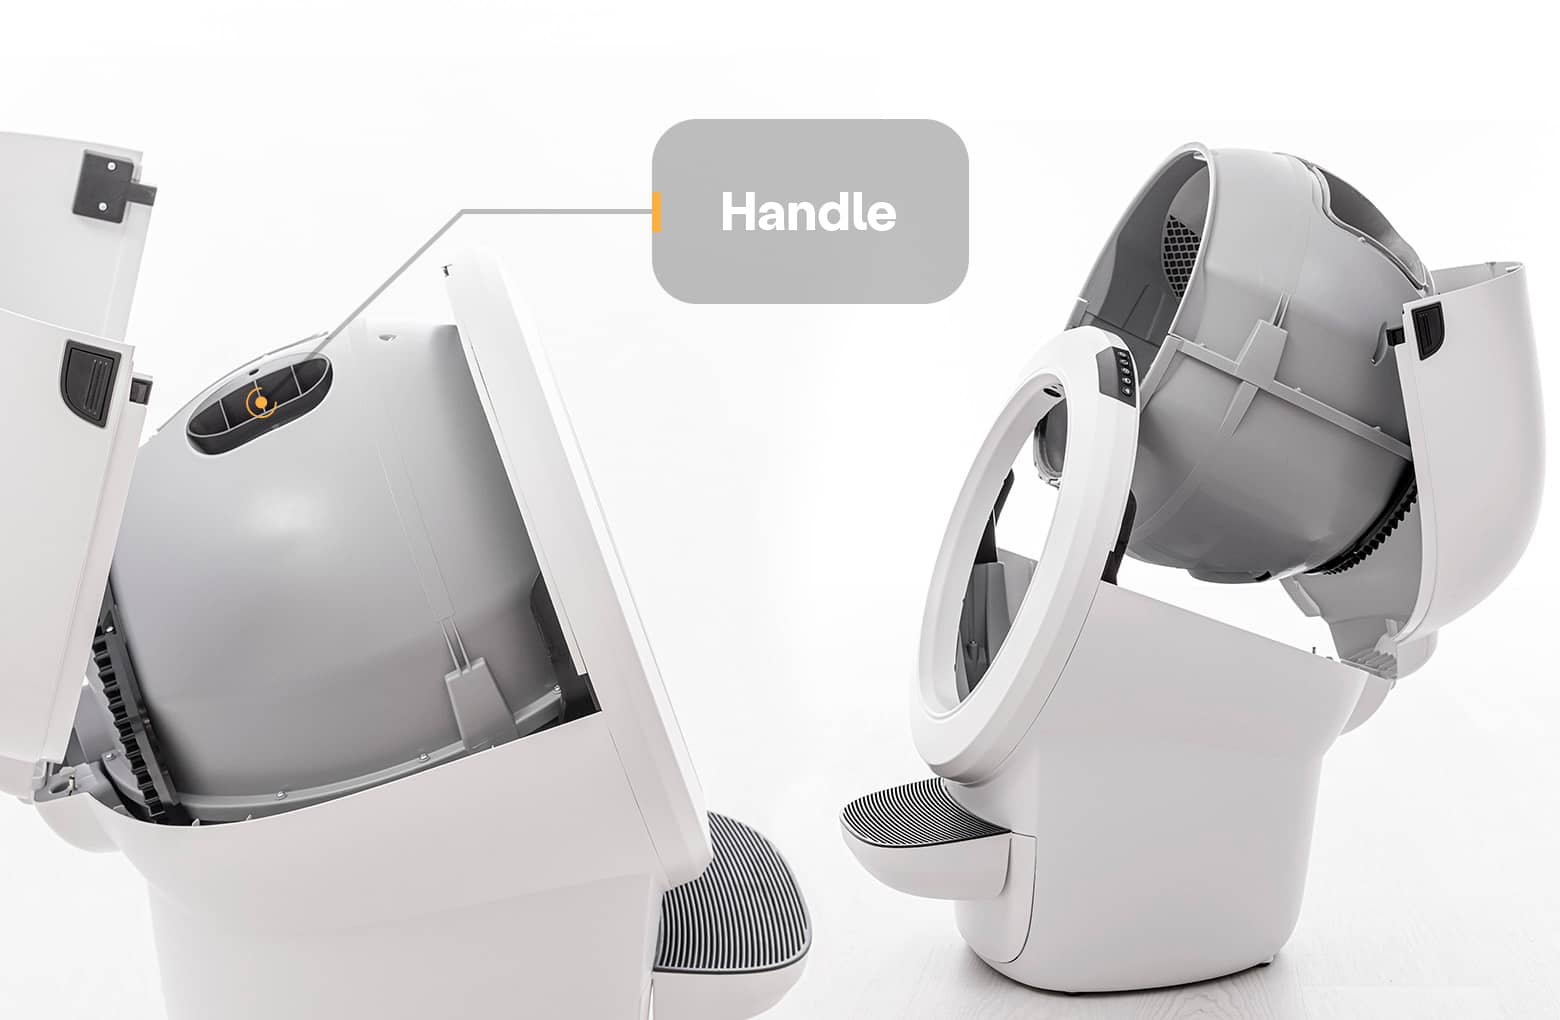
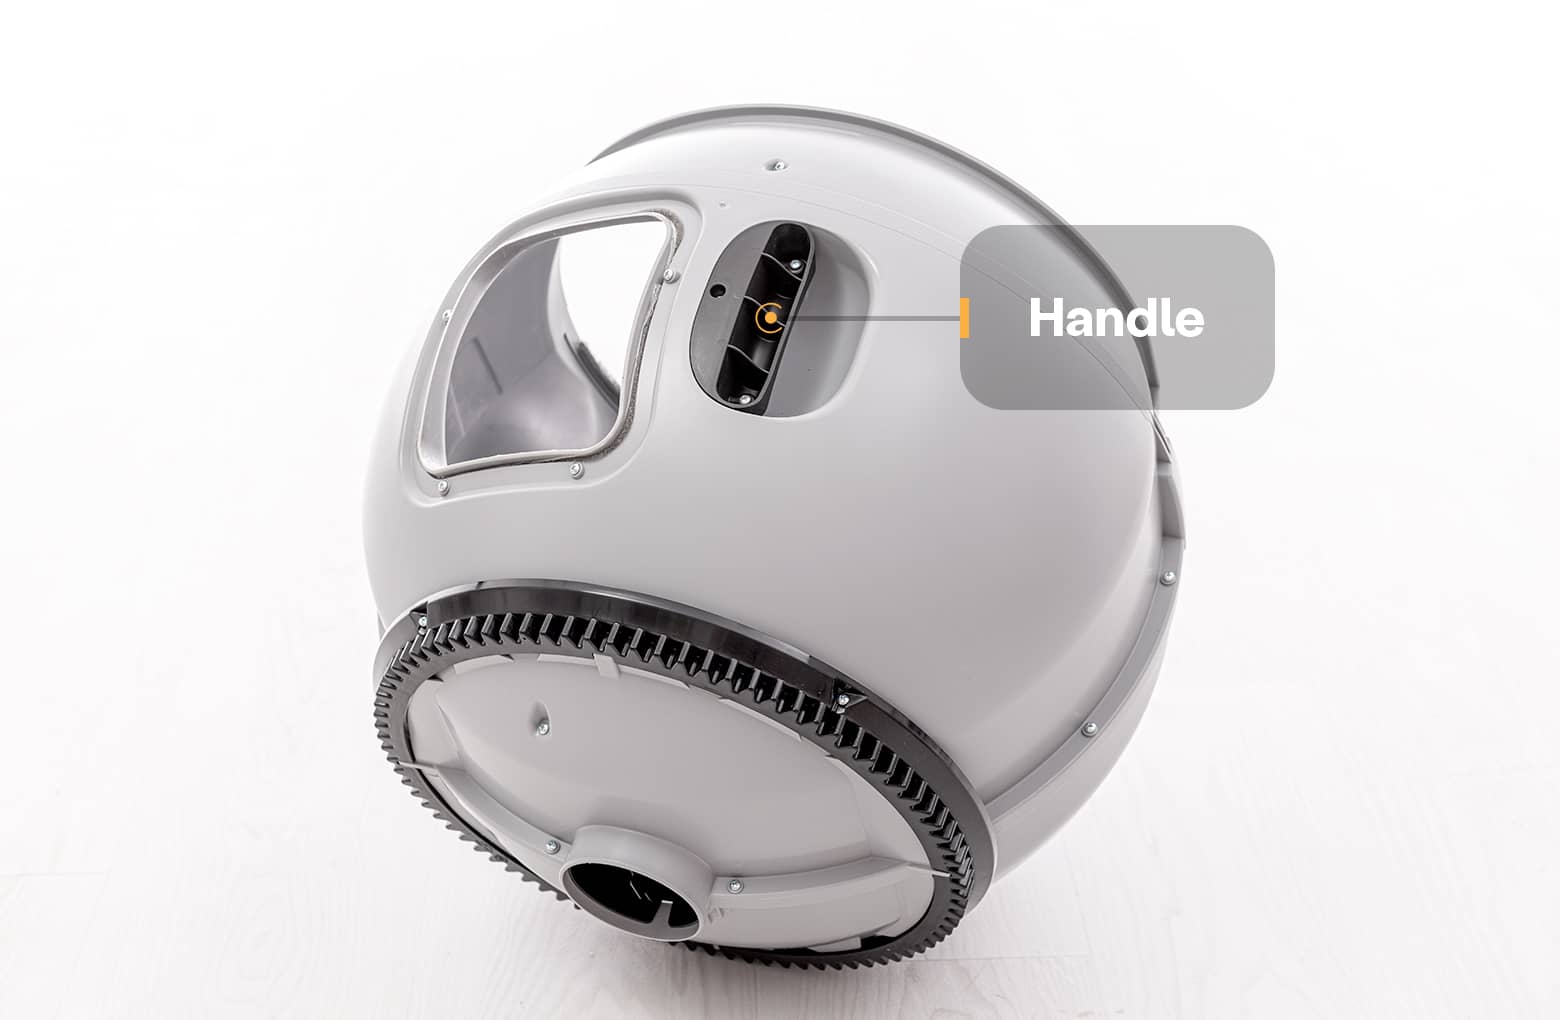
- To remove the globe, grab the black handle located on top of the globe, lift the globe out of the base, and set it aside.
![]()
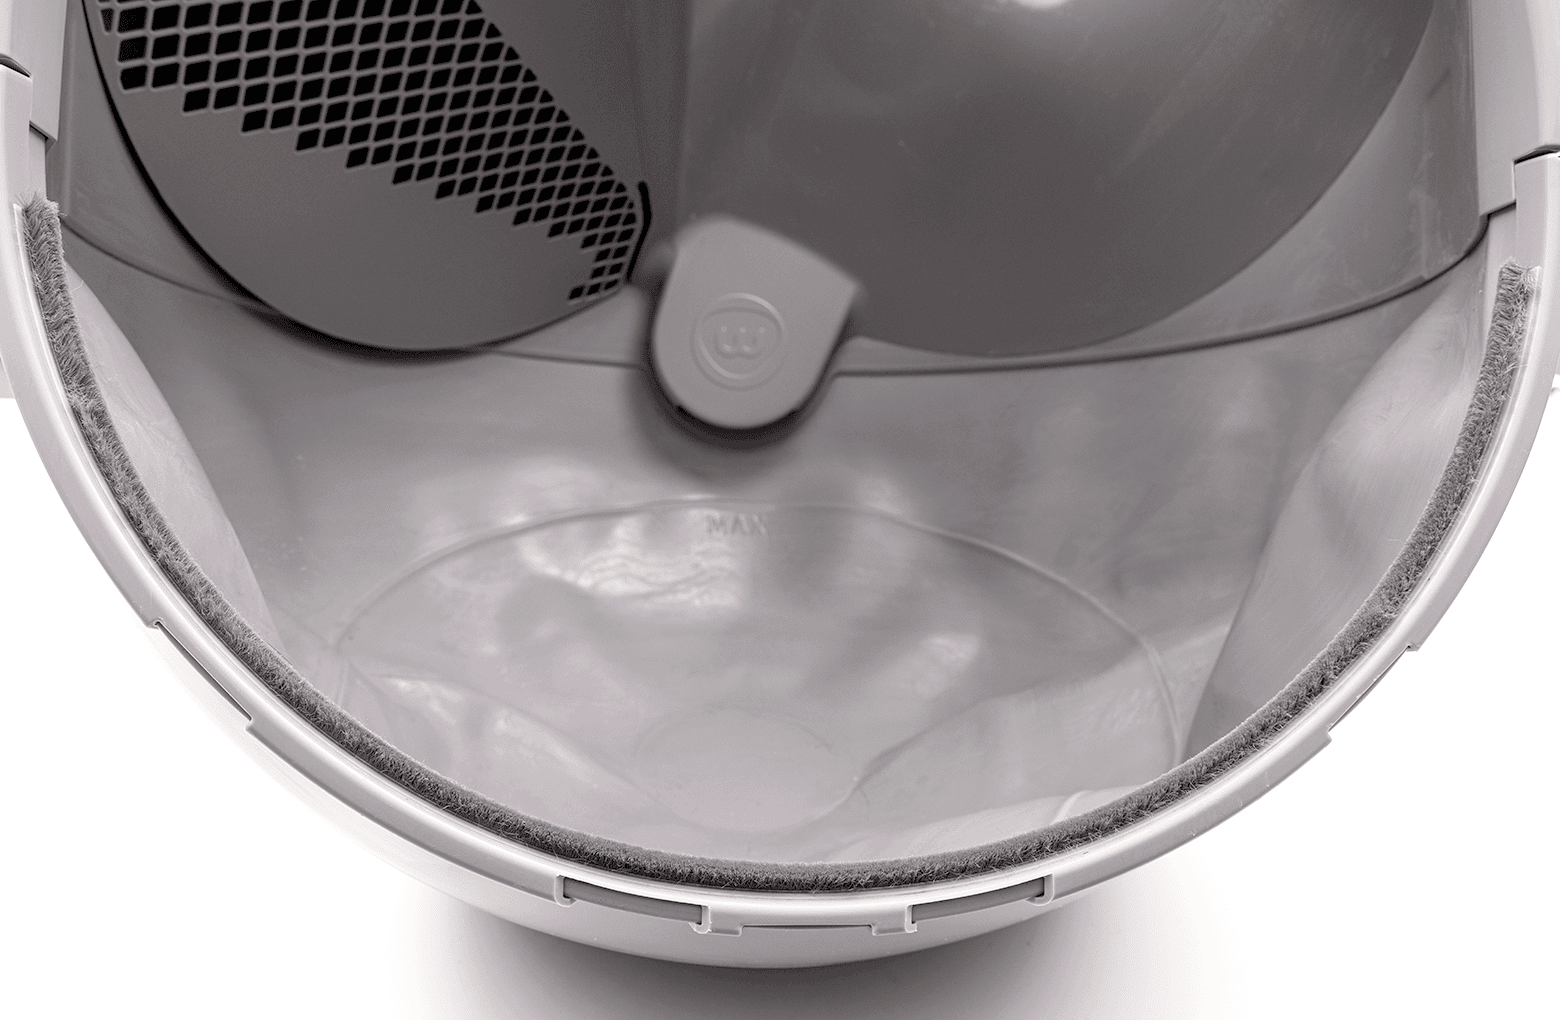
- Cat fur can get stuck in the seal strip located at the front of the globe. When the globe rotates, fur can interfere with the DFI sensor. Ensure the seal strips on the inside of the globe are not peeling up or have any debris (cat fur, etc.) stuck in them. If your robot is out of warranty, you may purchase replacement seal strips at Litter-Robot.com.
![]()
- Check the waste port opening in the globe and base for any clumps or objects stuck around the opening (the sensor needs a clear field of view to measure the waste drawer level).
![]()
Install the globe and bonnet
Now that we’ve checked for any obstructions, let’s re-install the globe and bonnet and check for proper operation of the unit.
- To install the globe, hold the globe by the black handle and set it onto the base.
![]()
- When installing the globe, keep the globe handle and waste port oriented toward the top to ensure the globe is close to the Home position.
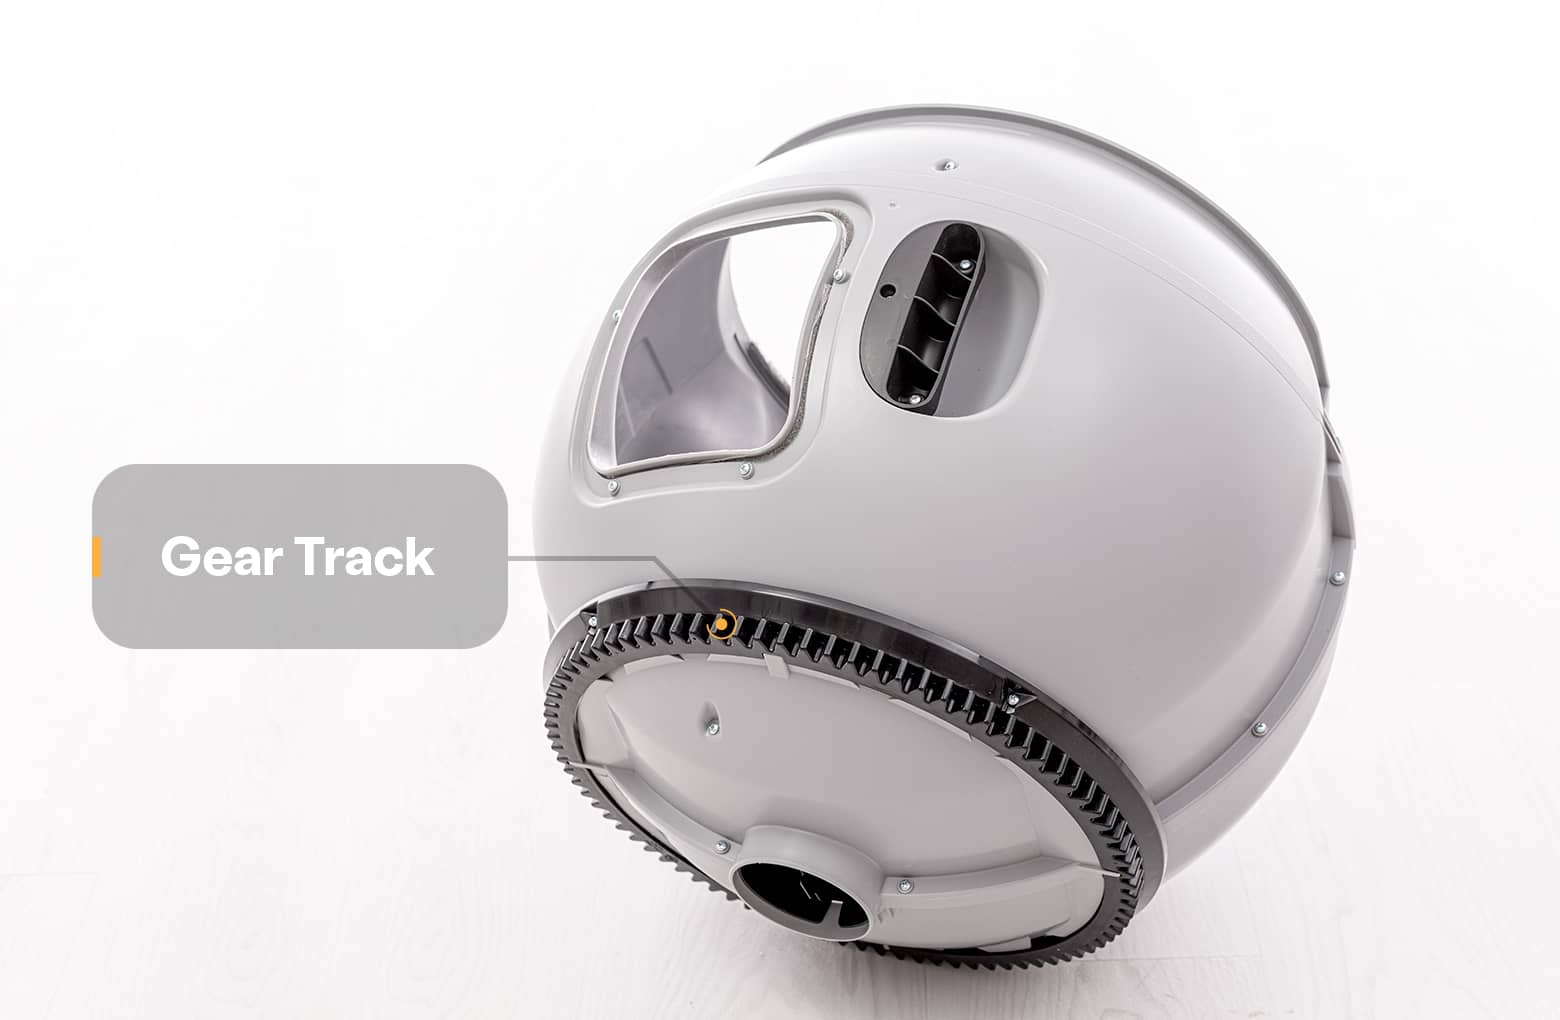
- The large black gear on the rear of the globe should easily engage with the smaller white drive gear in the base.
![]()
- To close the bonnet, rotate the bonnet downward over the globe, applying slight inward pressure at the latches to align the bonnet within the base. You should hear the latches snap into place.
![]()
- Check to make sure the center tab at the top of the bonnet is secured in its pocket by pushing down on the bonnet at the tab location.
![]()
- If the bonnet was completely removed, rotate the bonnet upward and align the hinge feature of the bonnet at the back of the base.
- Plug the unit in and power it on.
- Litter-Robot will display a solid blue light indicating it is ready for use.
- Press Cycle to allow the unit to complete a full cycle.
Calibrating the DFI
Occasionally, the DFI sensor will require a calibration to ensure proper measurement accuracy. Visit our Calibrating the drawer full indicator guide to learn how to calibrate your Litter-Robot's DFI sensor.
Issue not resolved?
What do I do?
Need technical support?
Didn't find what you're looking for?
Phone and Chat support available Mon-Fri: 9AM-7PM EST and Sat: 9AM-5PM EST, or submit a ticket anytime.