
The store will not work correctly in the case when cookies are disabled.

Litter-Robot 3: Cat sensor installation guide
Litter-Robot 3 is equipped with a cat sensor, a weight-sensitive switch that detects when a cat enters and exits the globe. For the cat sensor to accurately detect your cat, your cat must weigh at least 5 lbs, or 2.3 kg, and the litter in the globe must be just below the raised fill line. Litter-Robot must be placed on firm, level flooring; avoid soft, uneven, or unstable surfaces.
You will need:
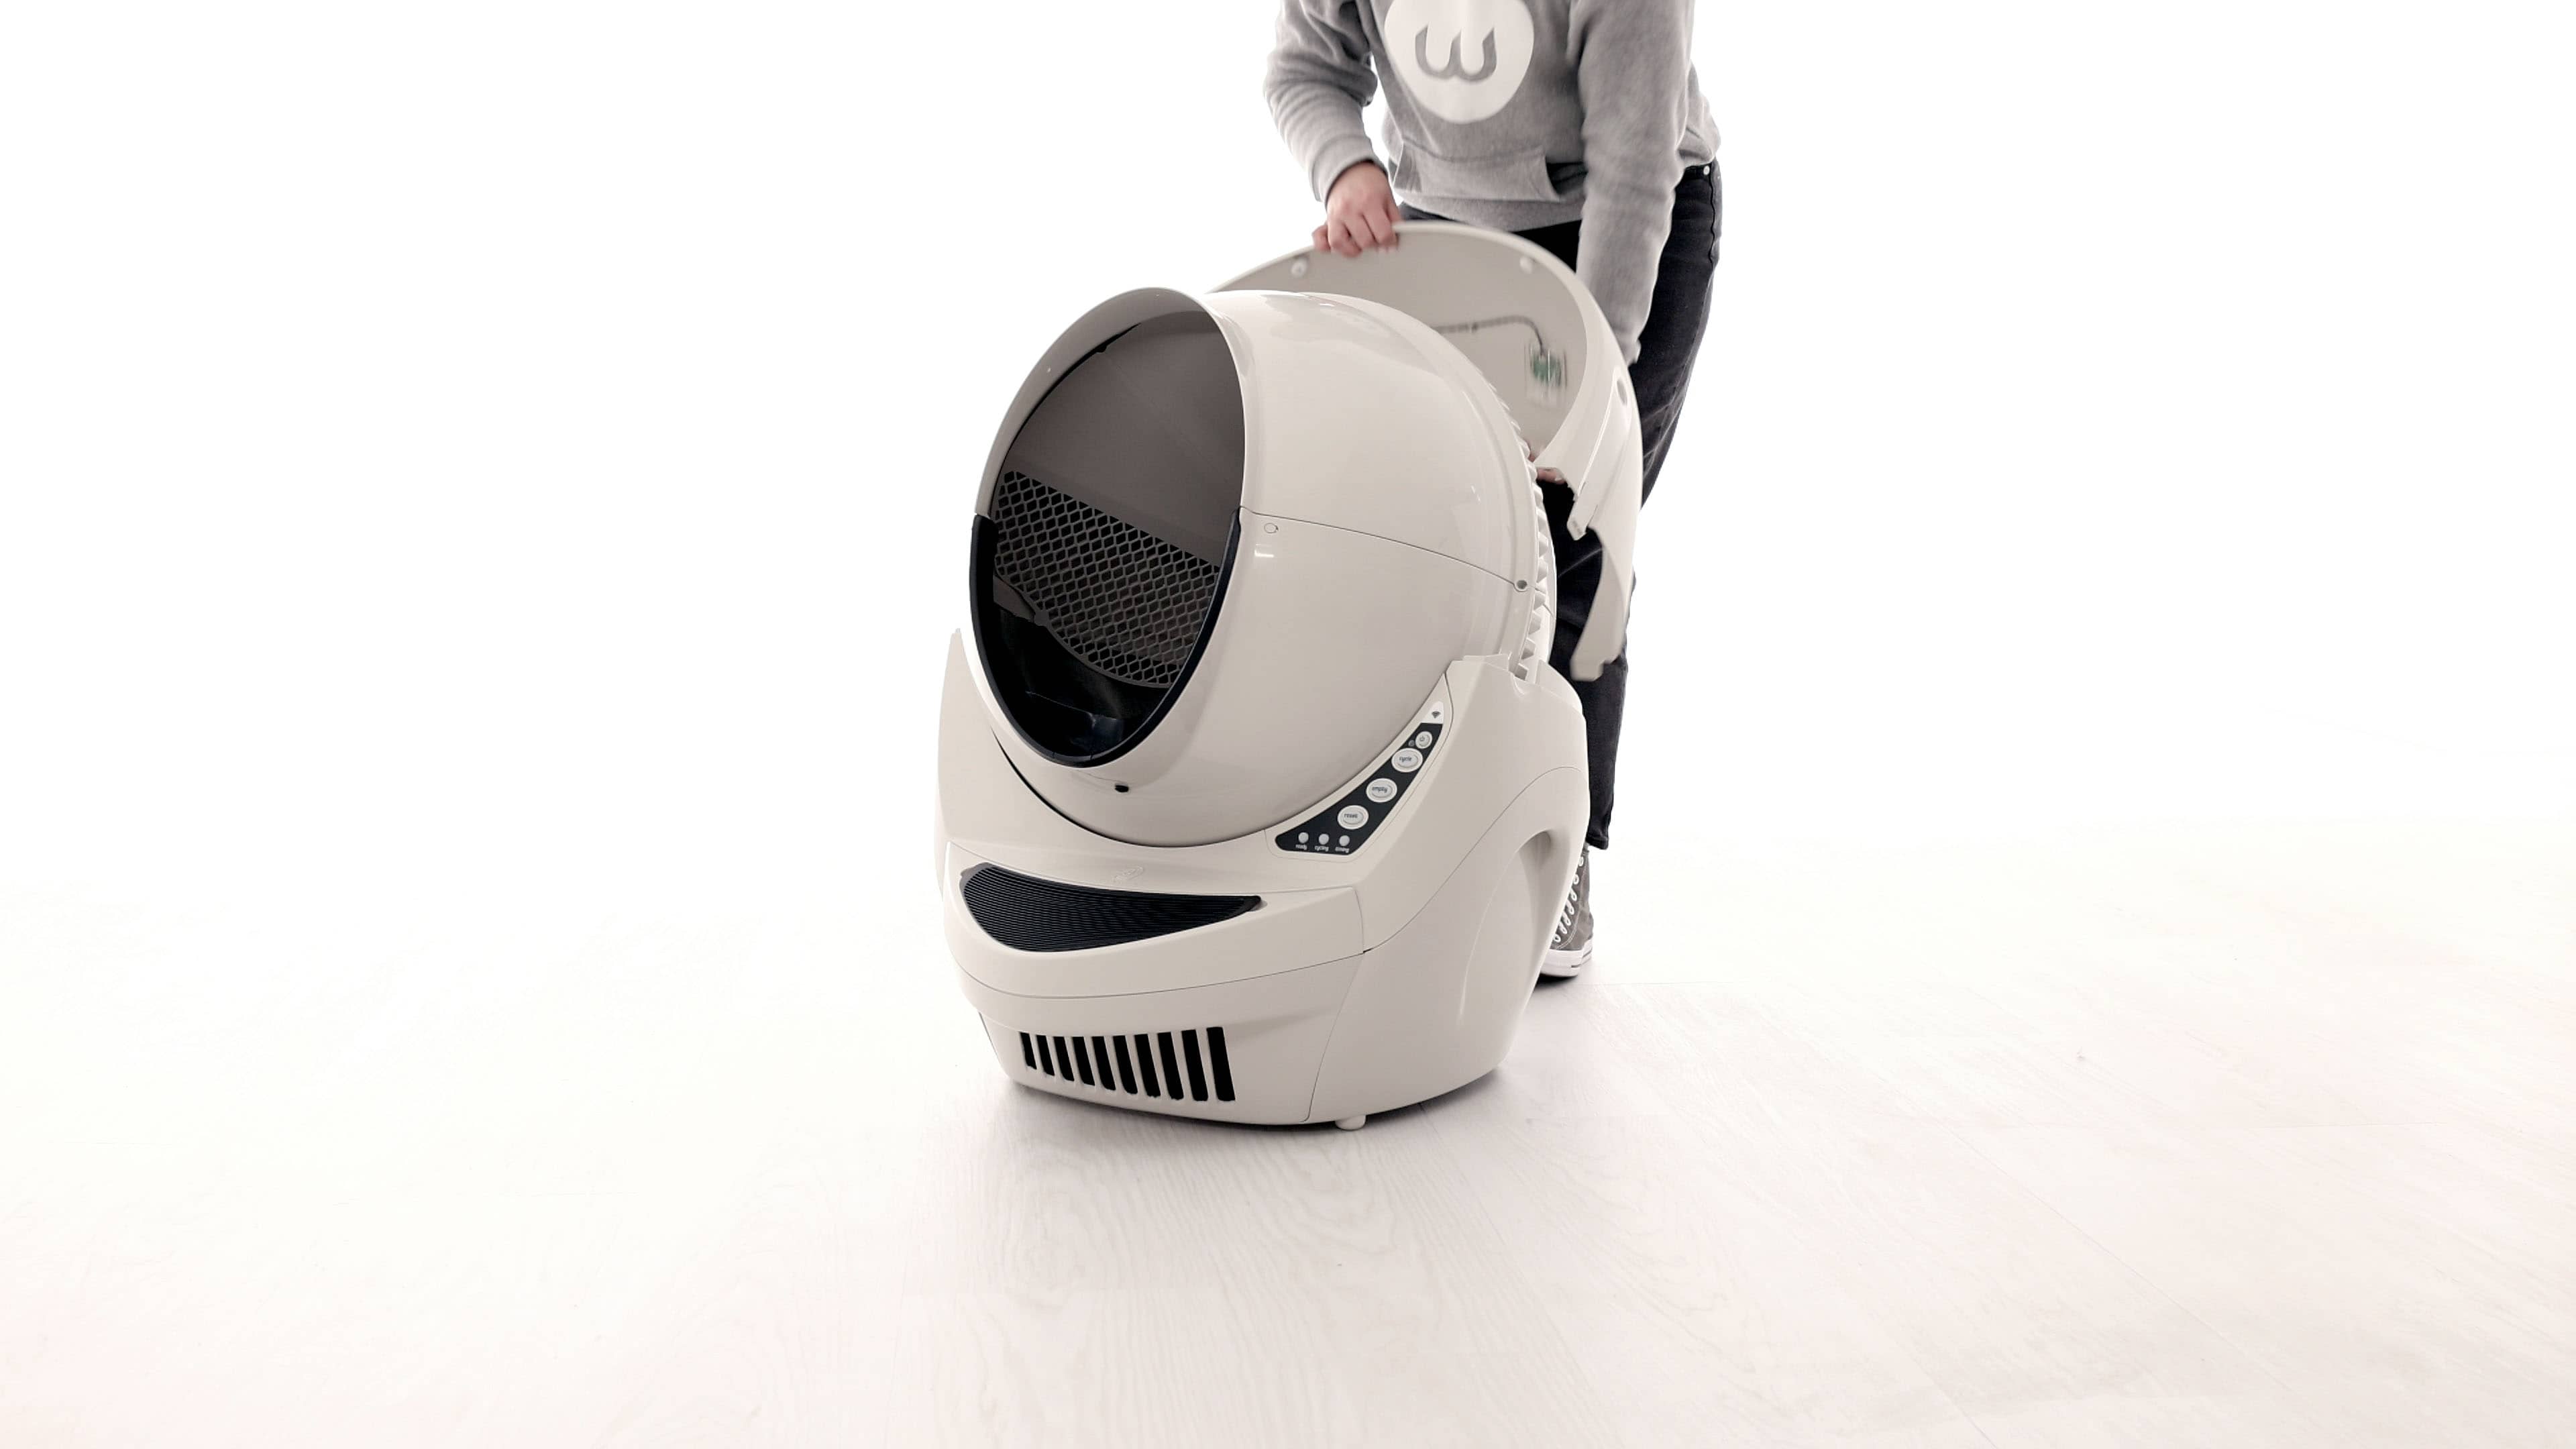
Disassemble Litter-Robot
- Press the Power button to turn the unit off.

- Unplug the power supply from the base.
![]()
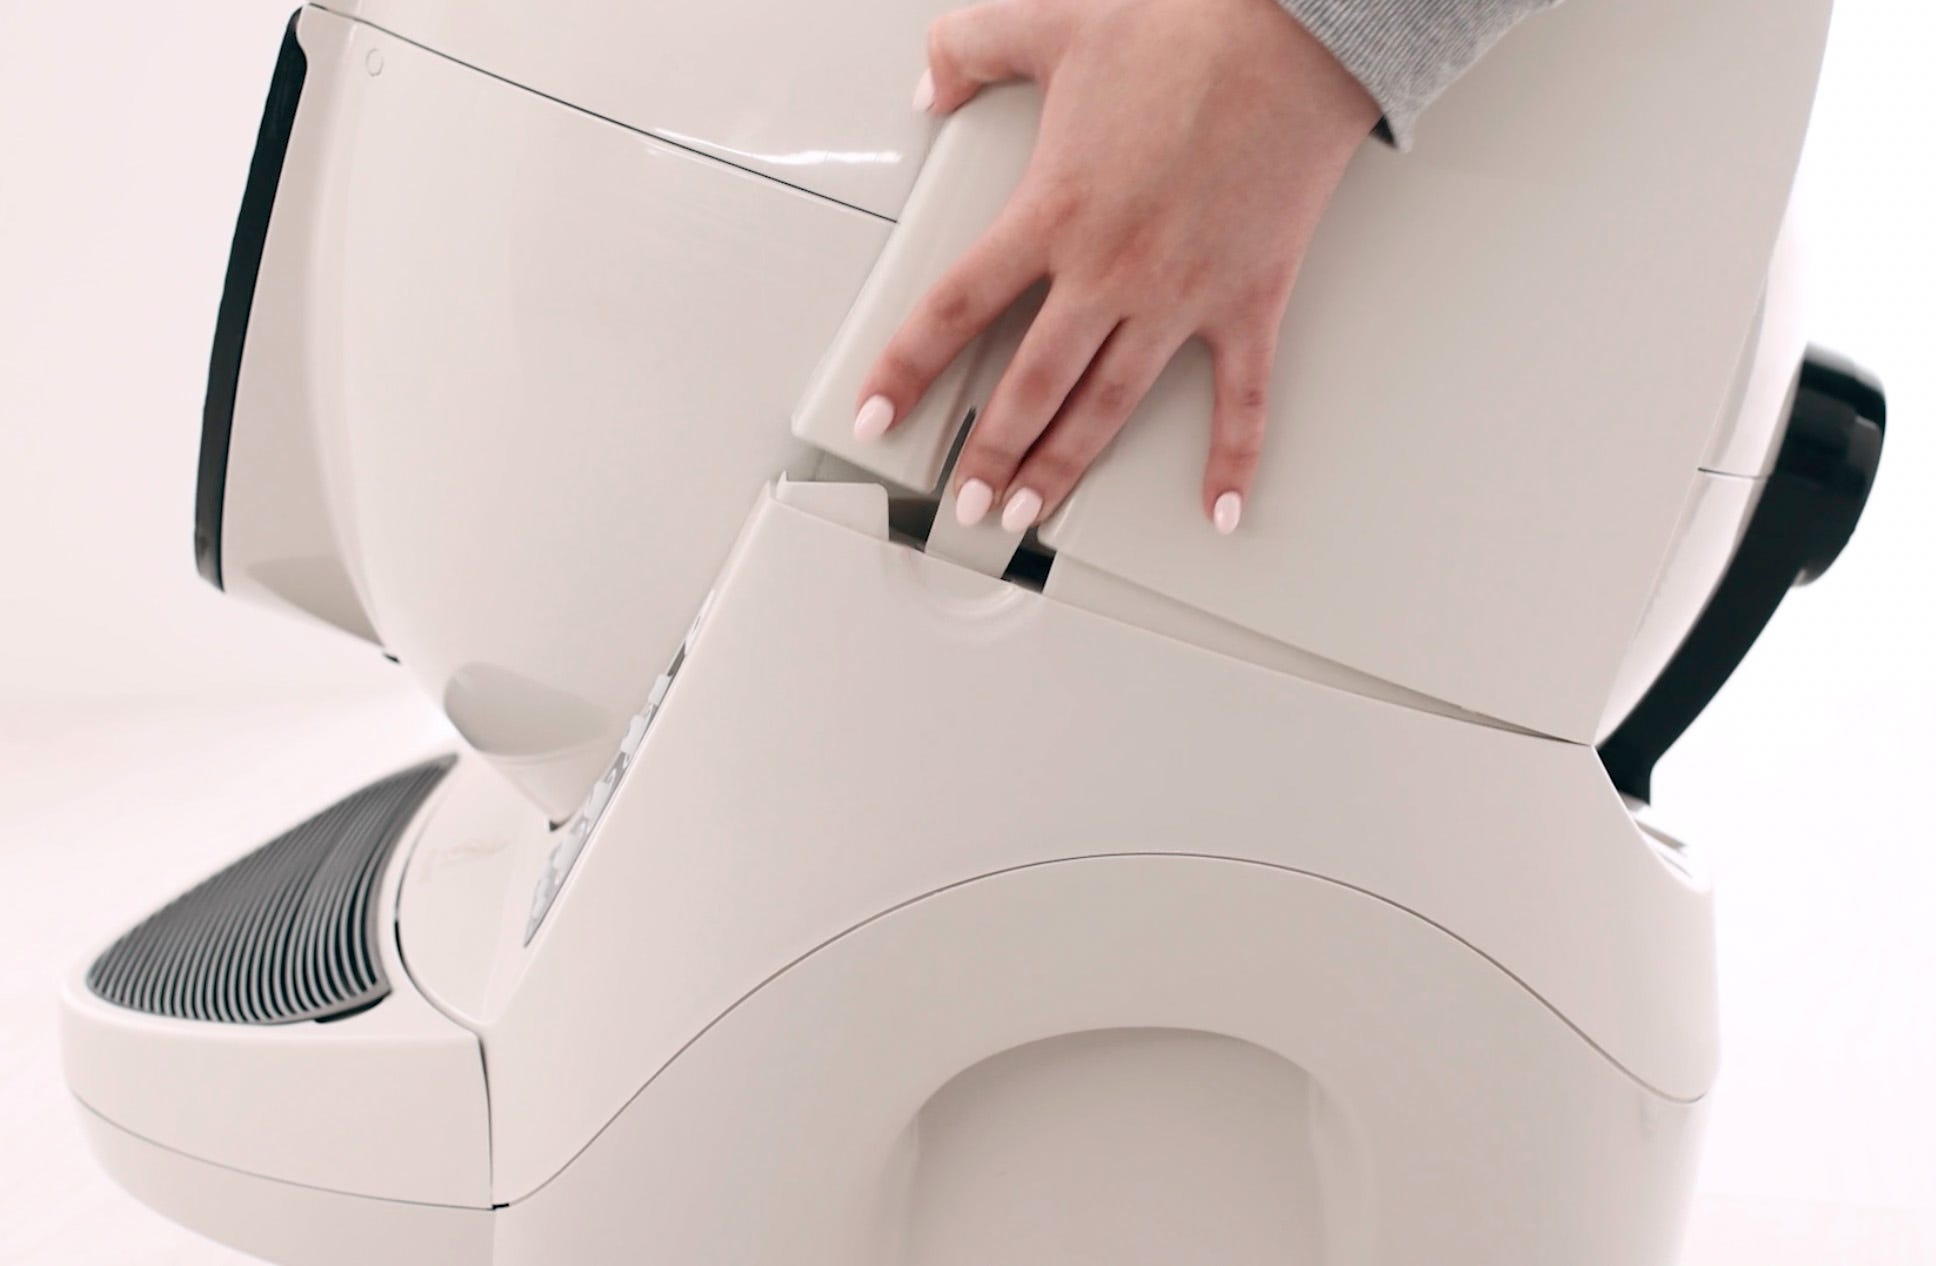
- Press the bonnet tabs on either side of the unit to release the bonnet.
![]()
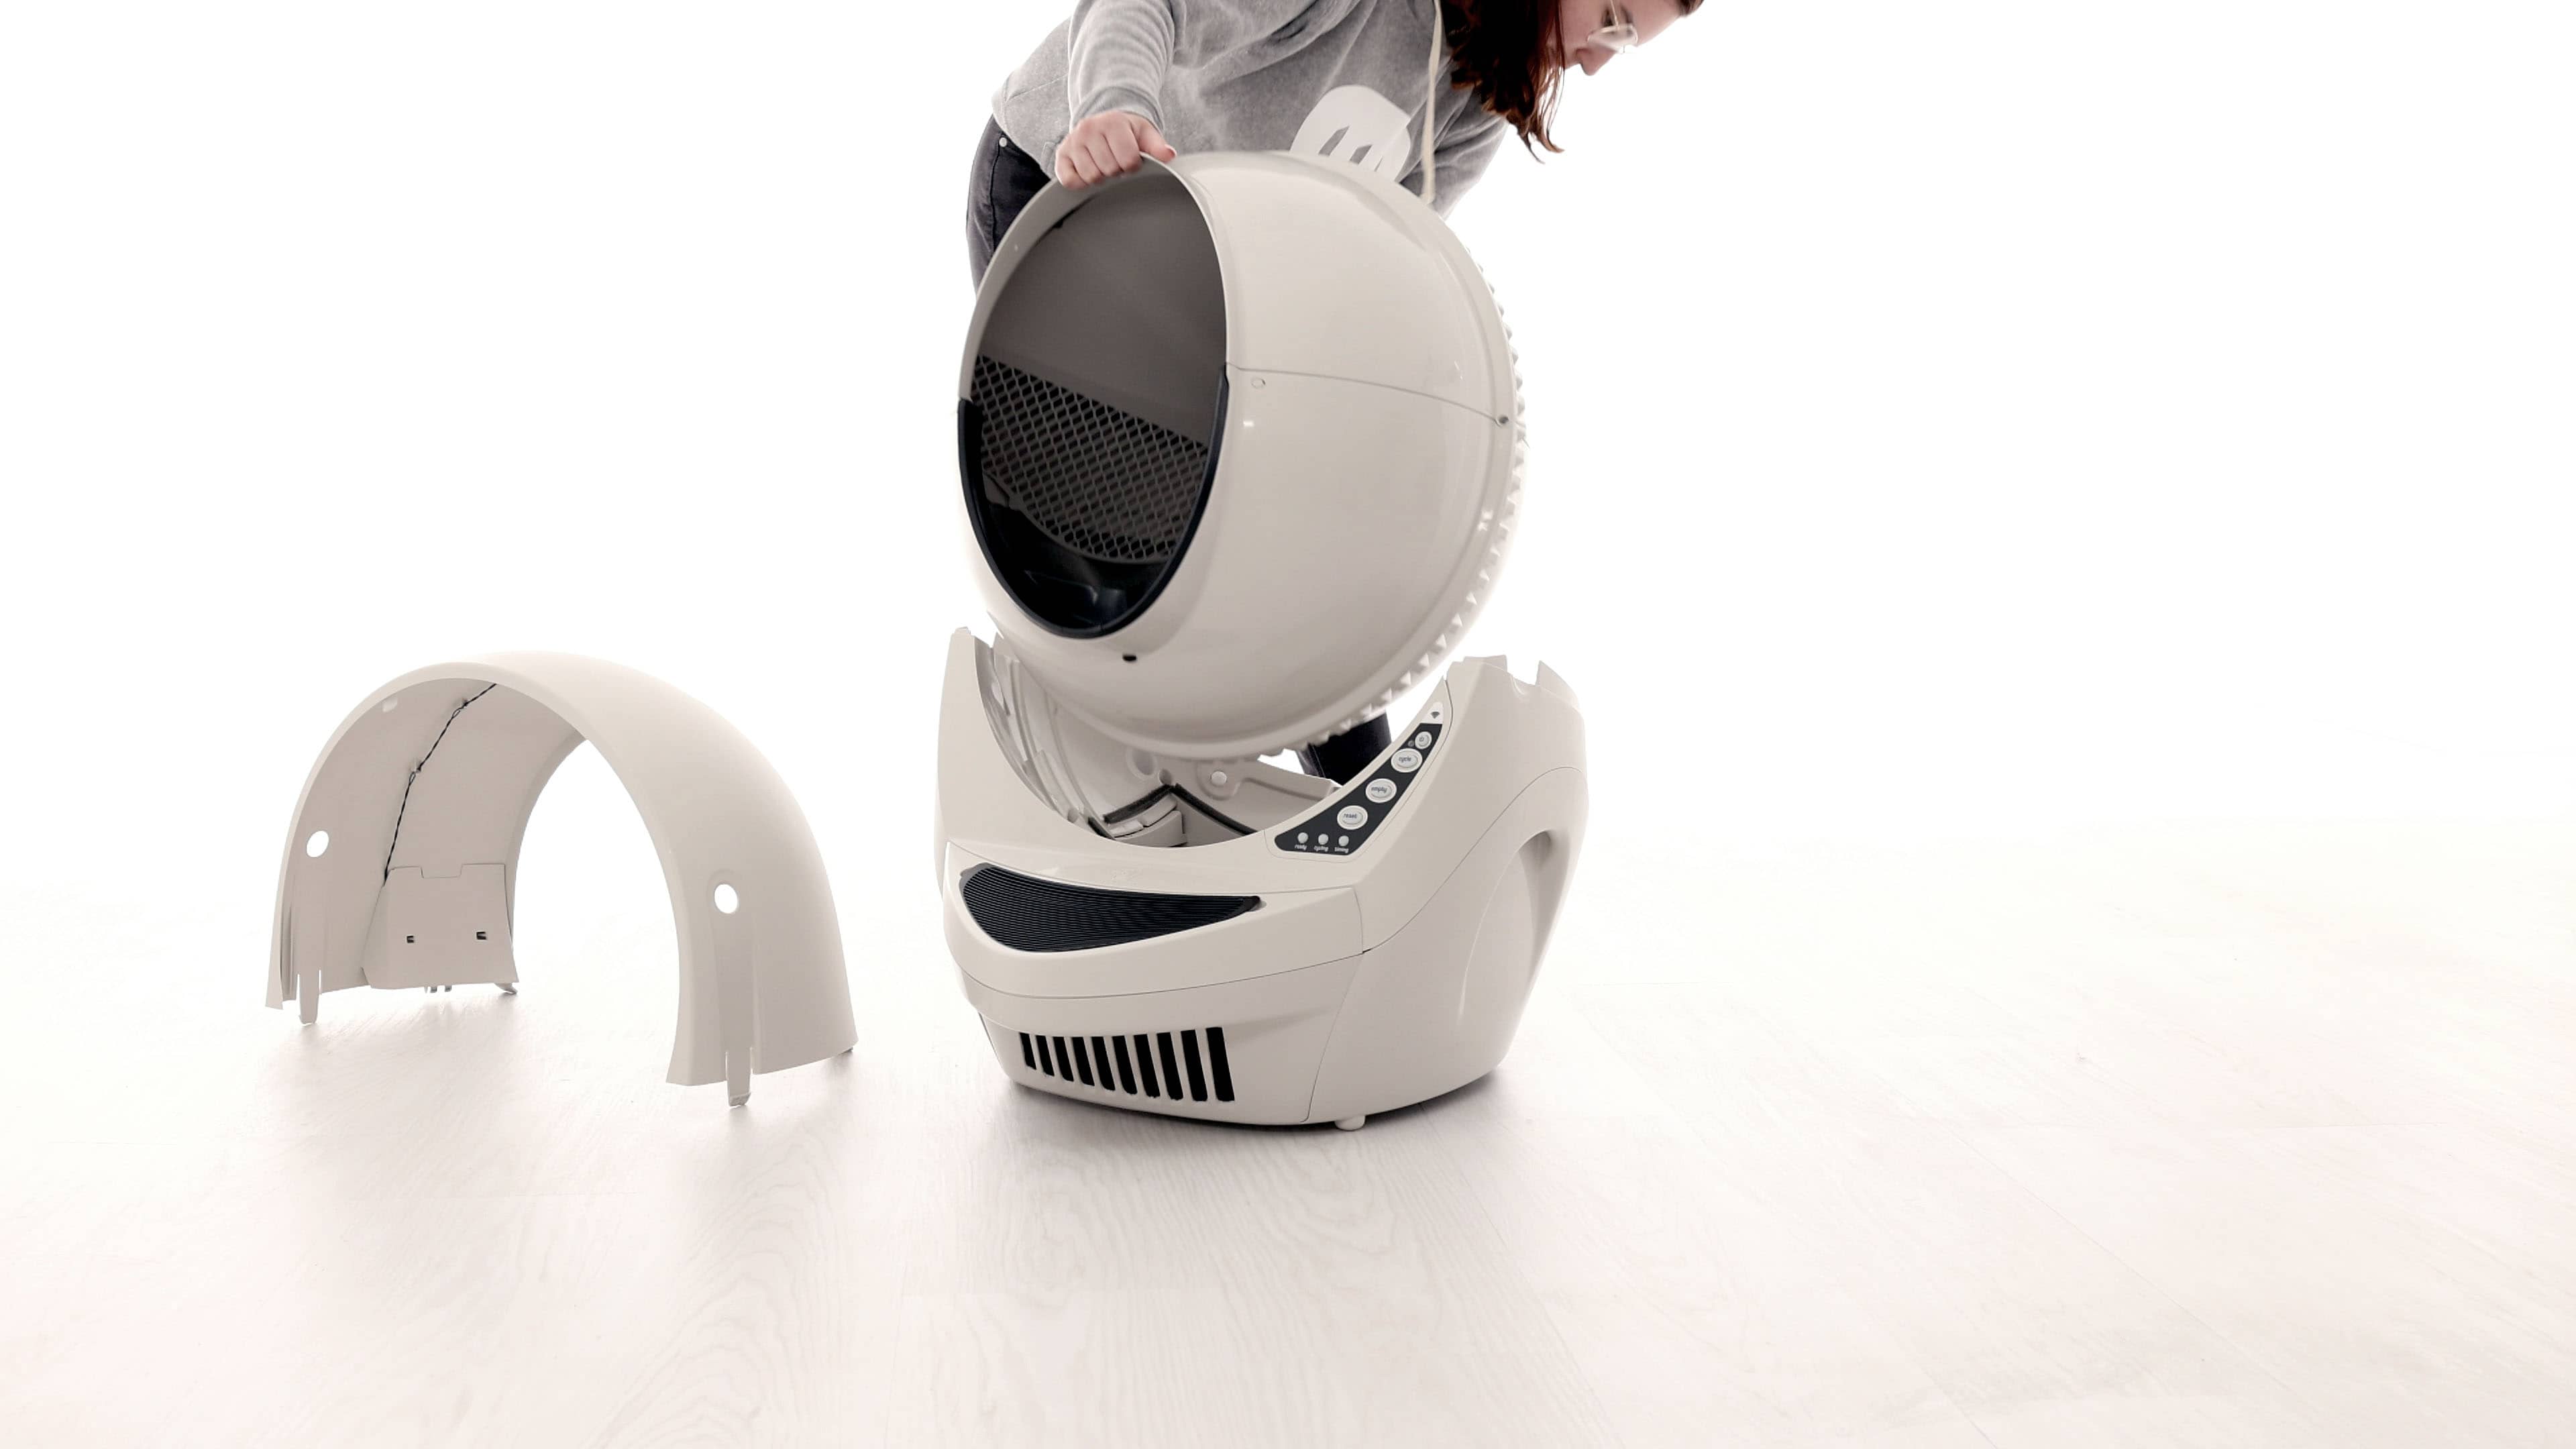
- Rotate the bonnet backward and lift the bonnet up to remove it from the unit.
![]()
- Remove the globe and set it aside.
![]()
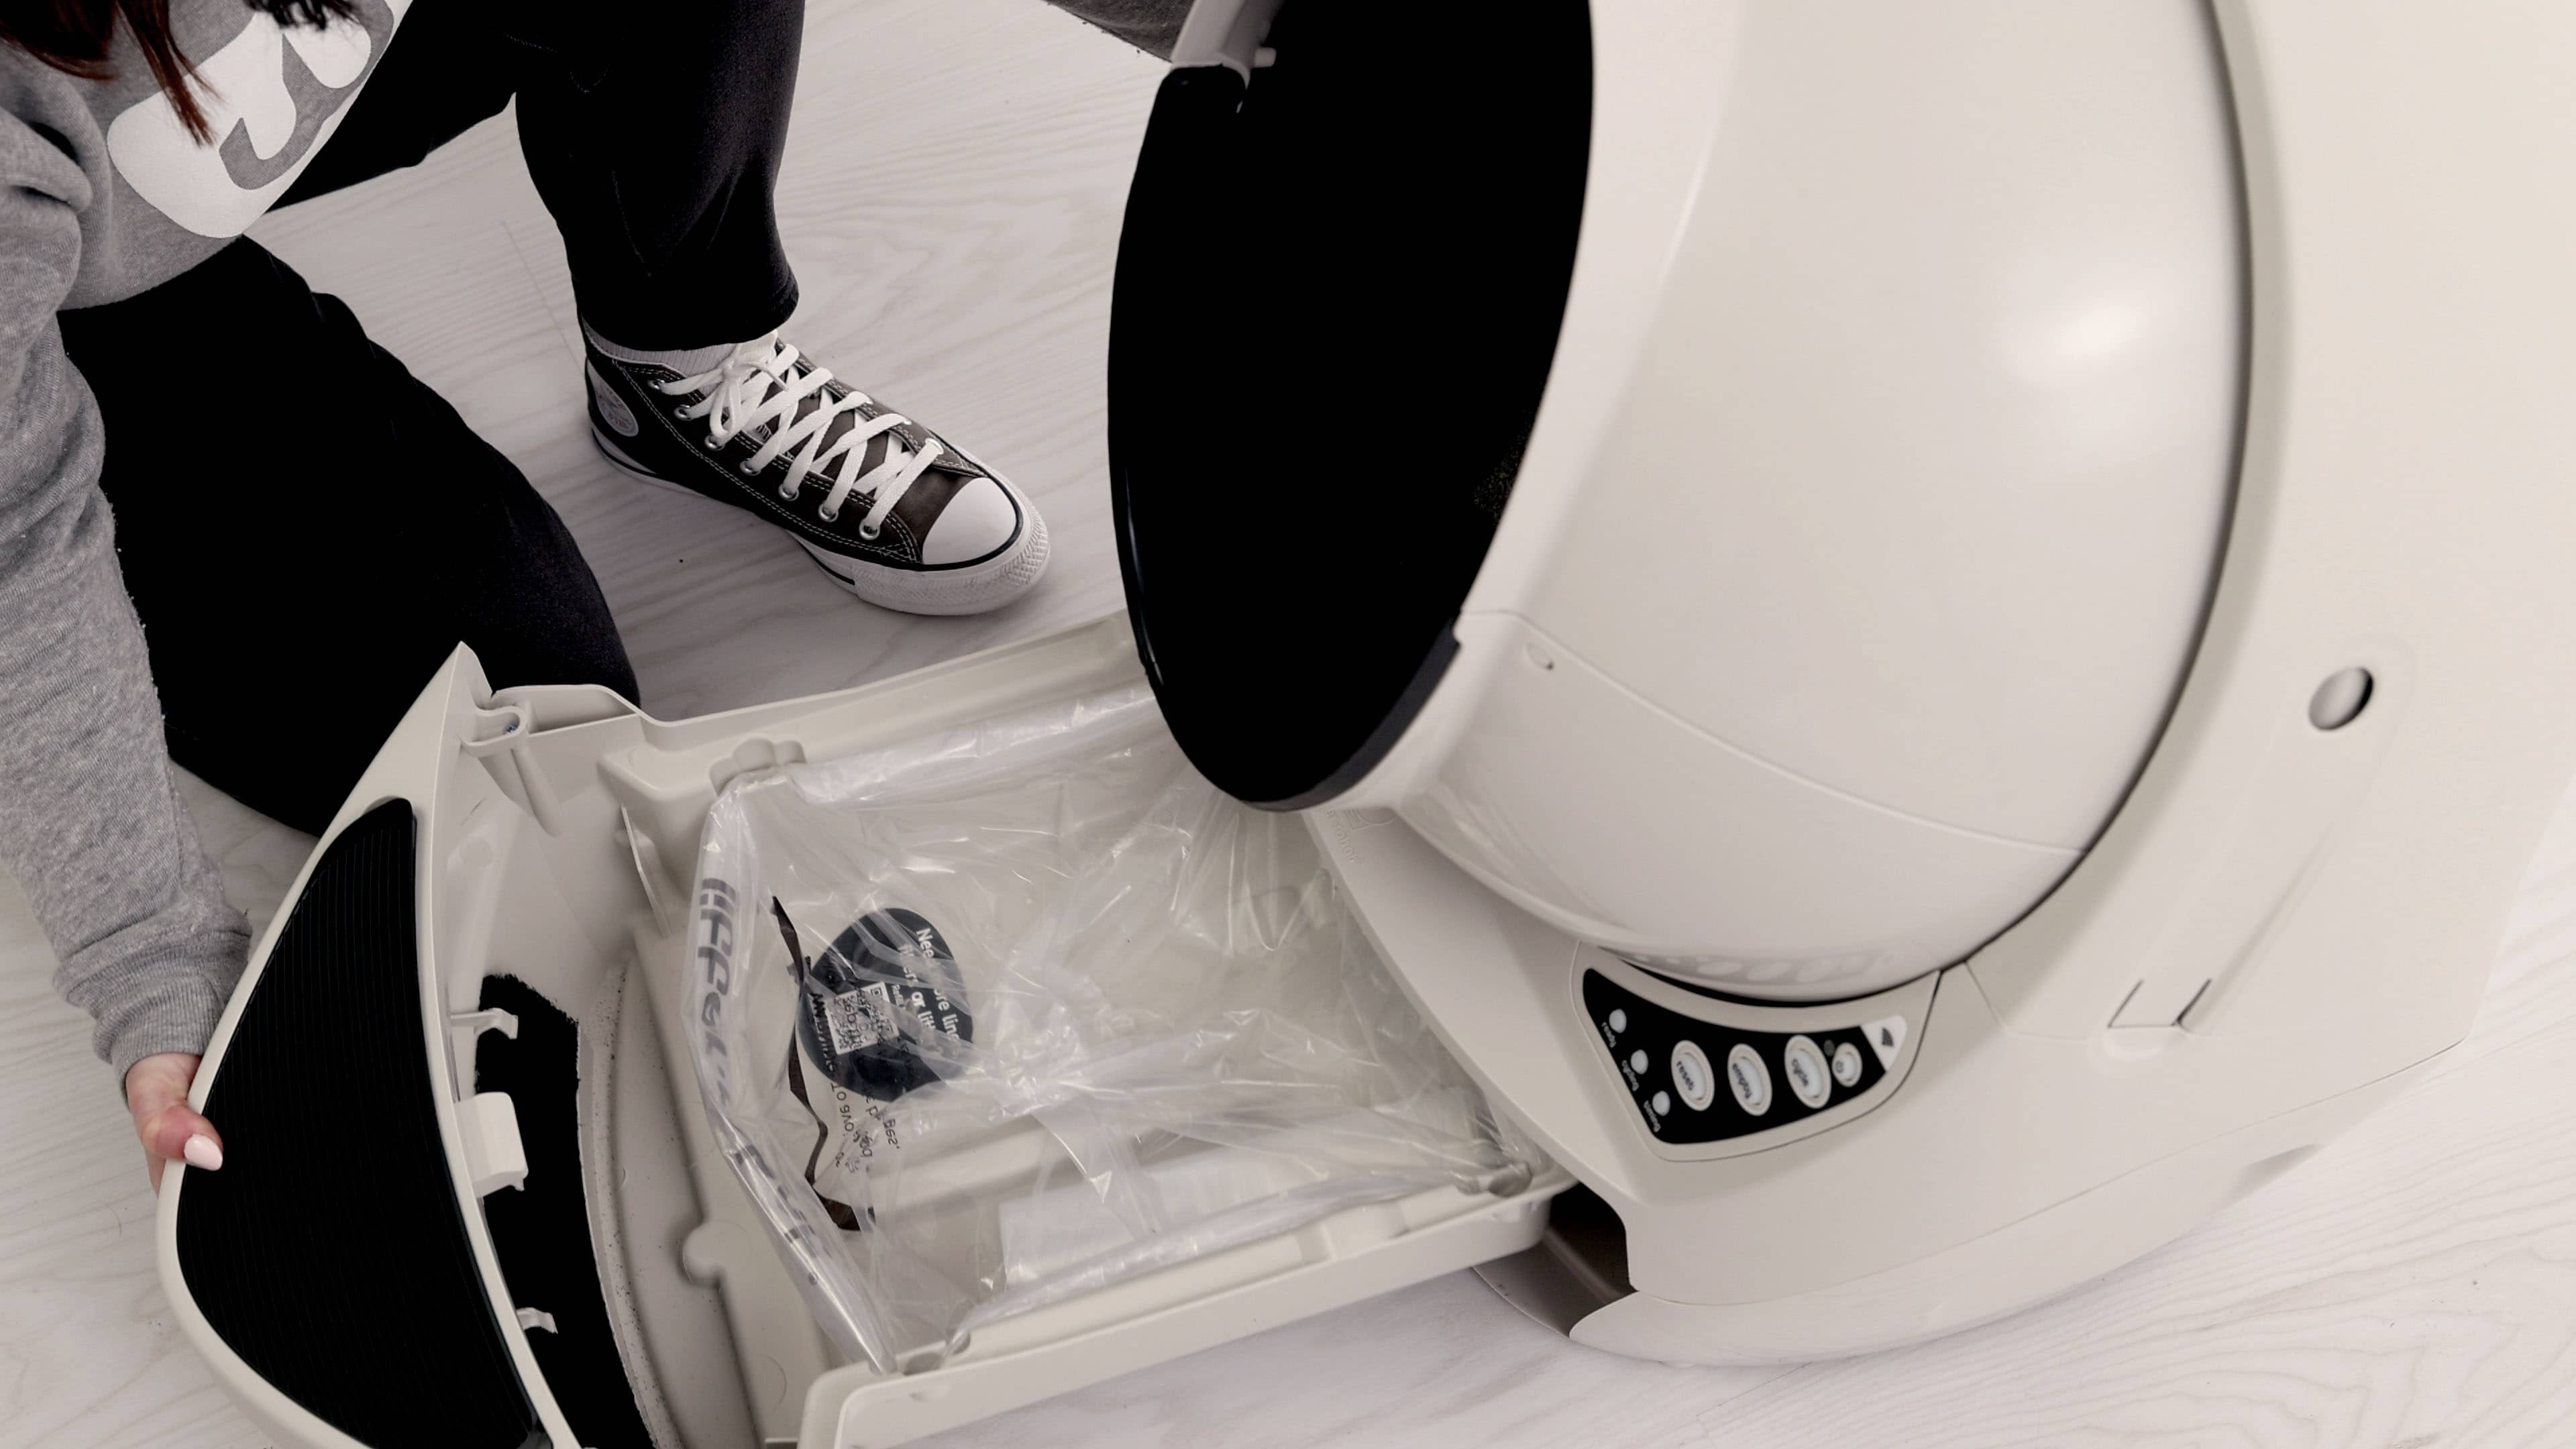
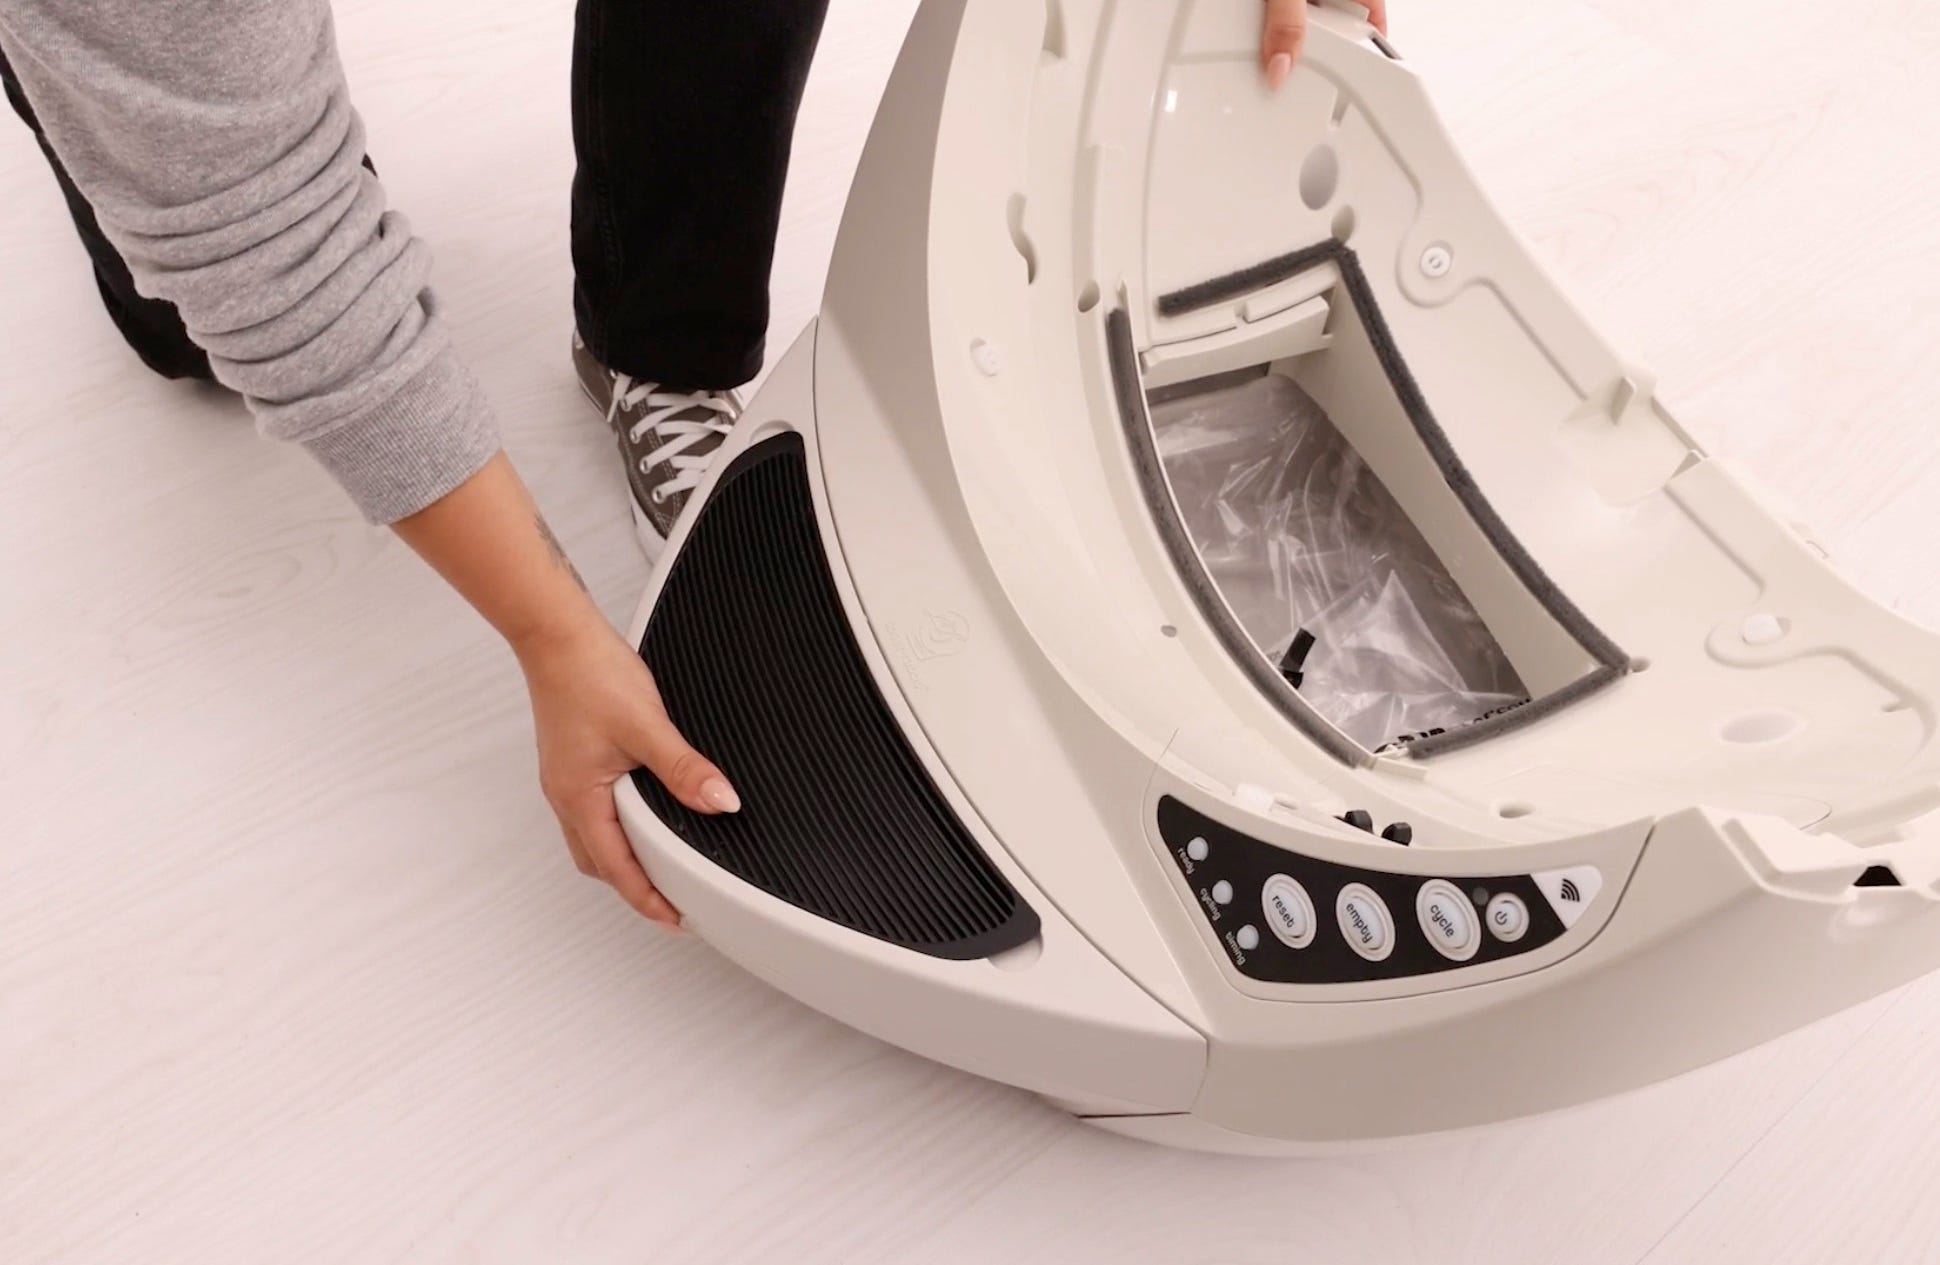
- Remove the waste drawer and set it aside.
![]()
Remove old cat sensor
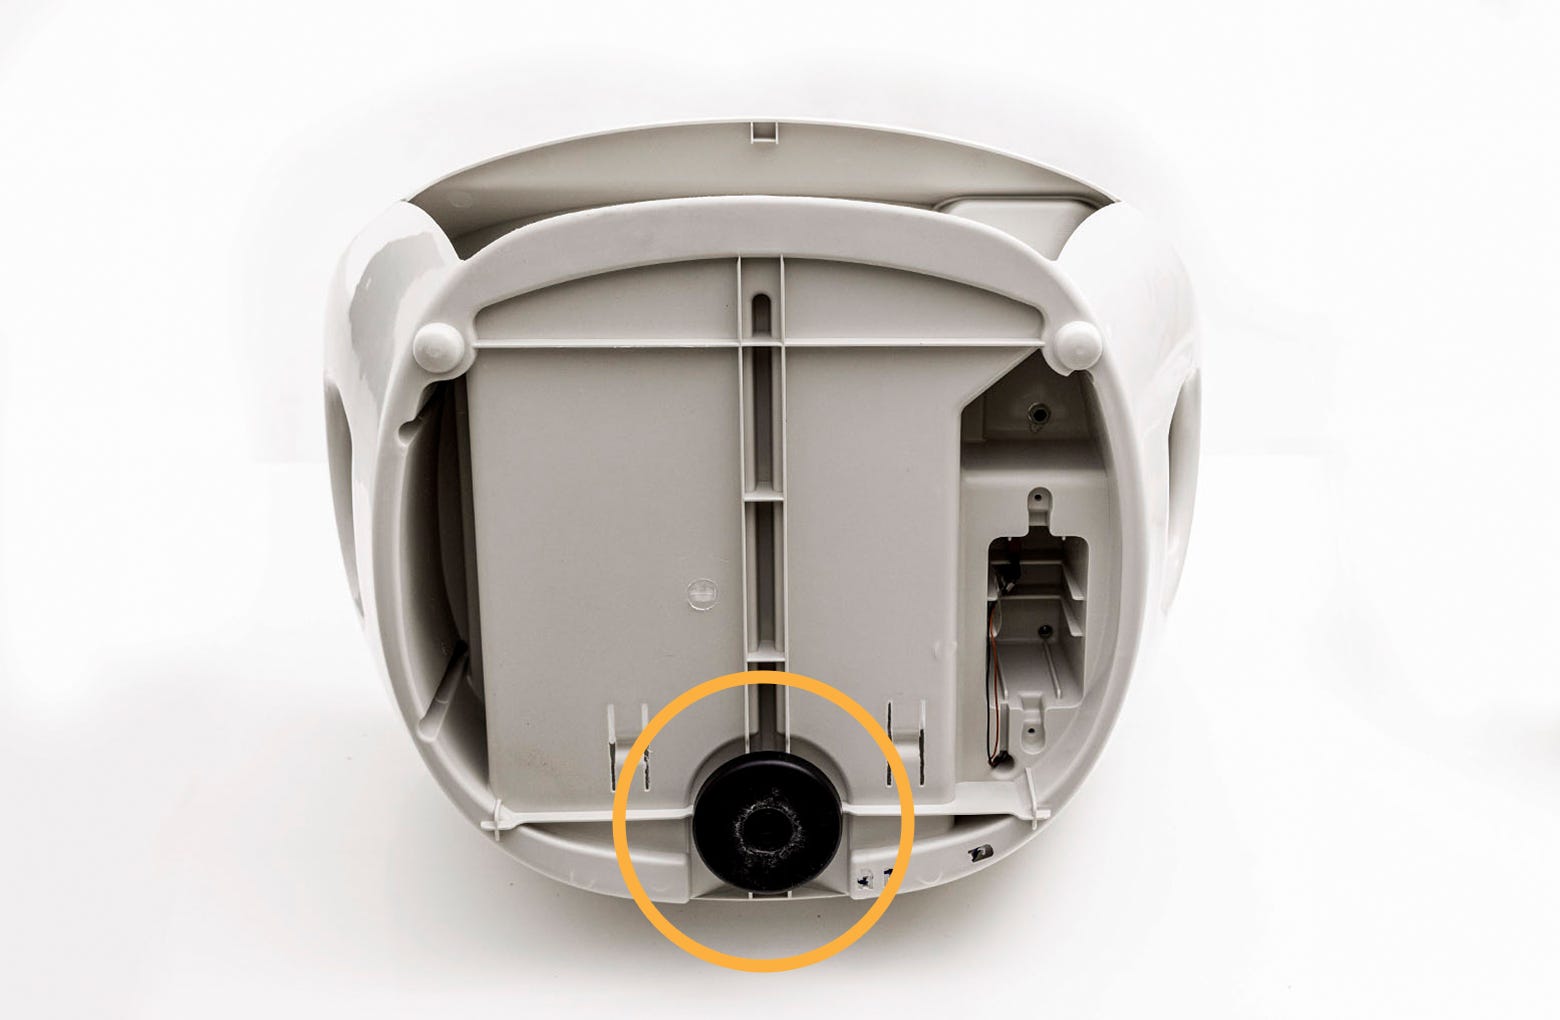
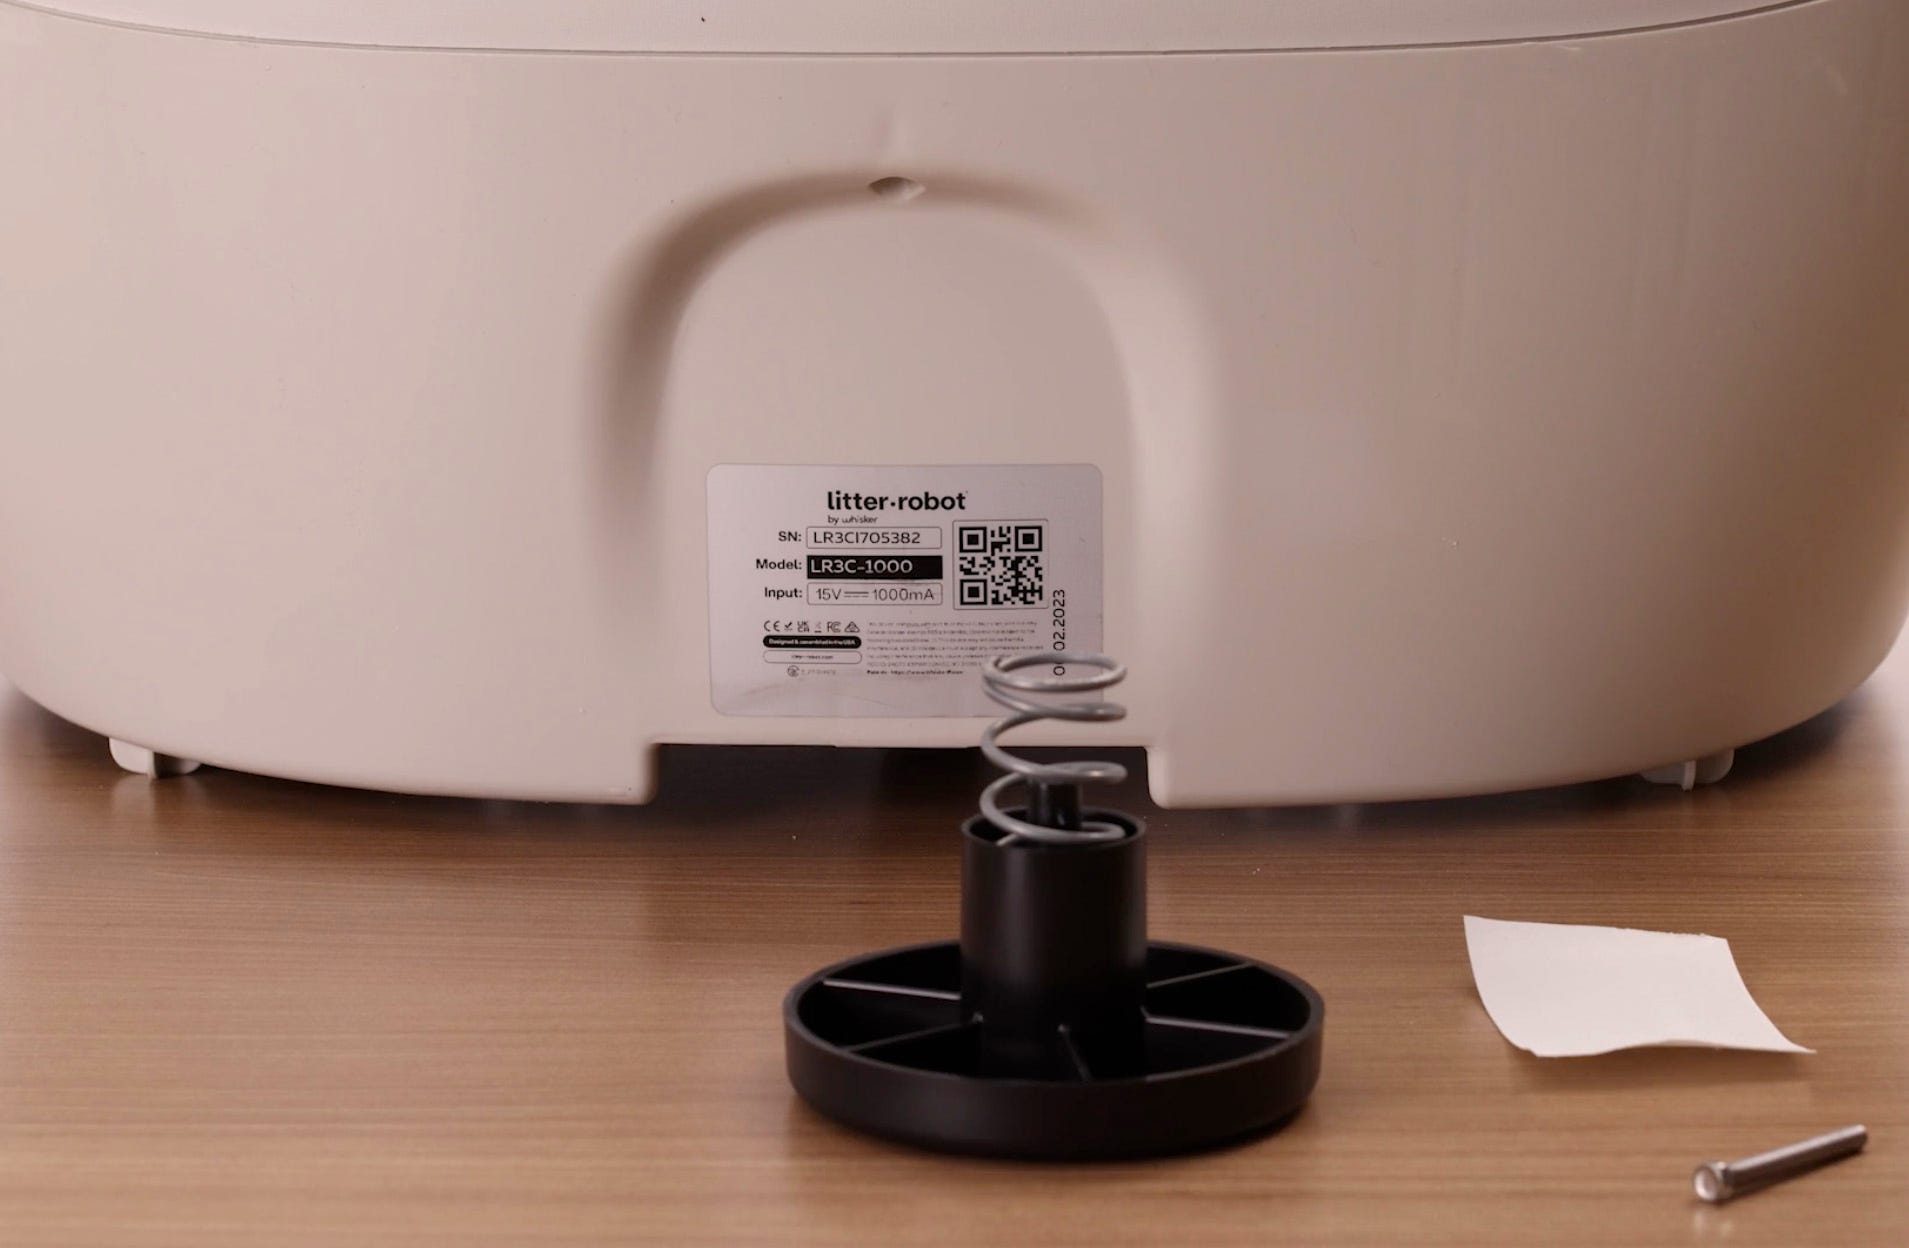
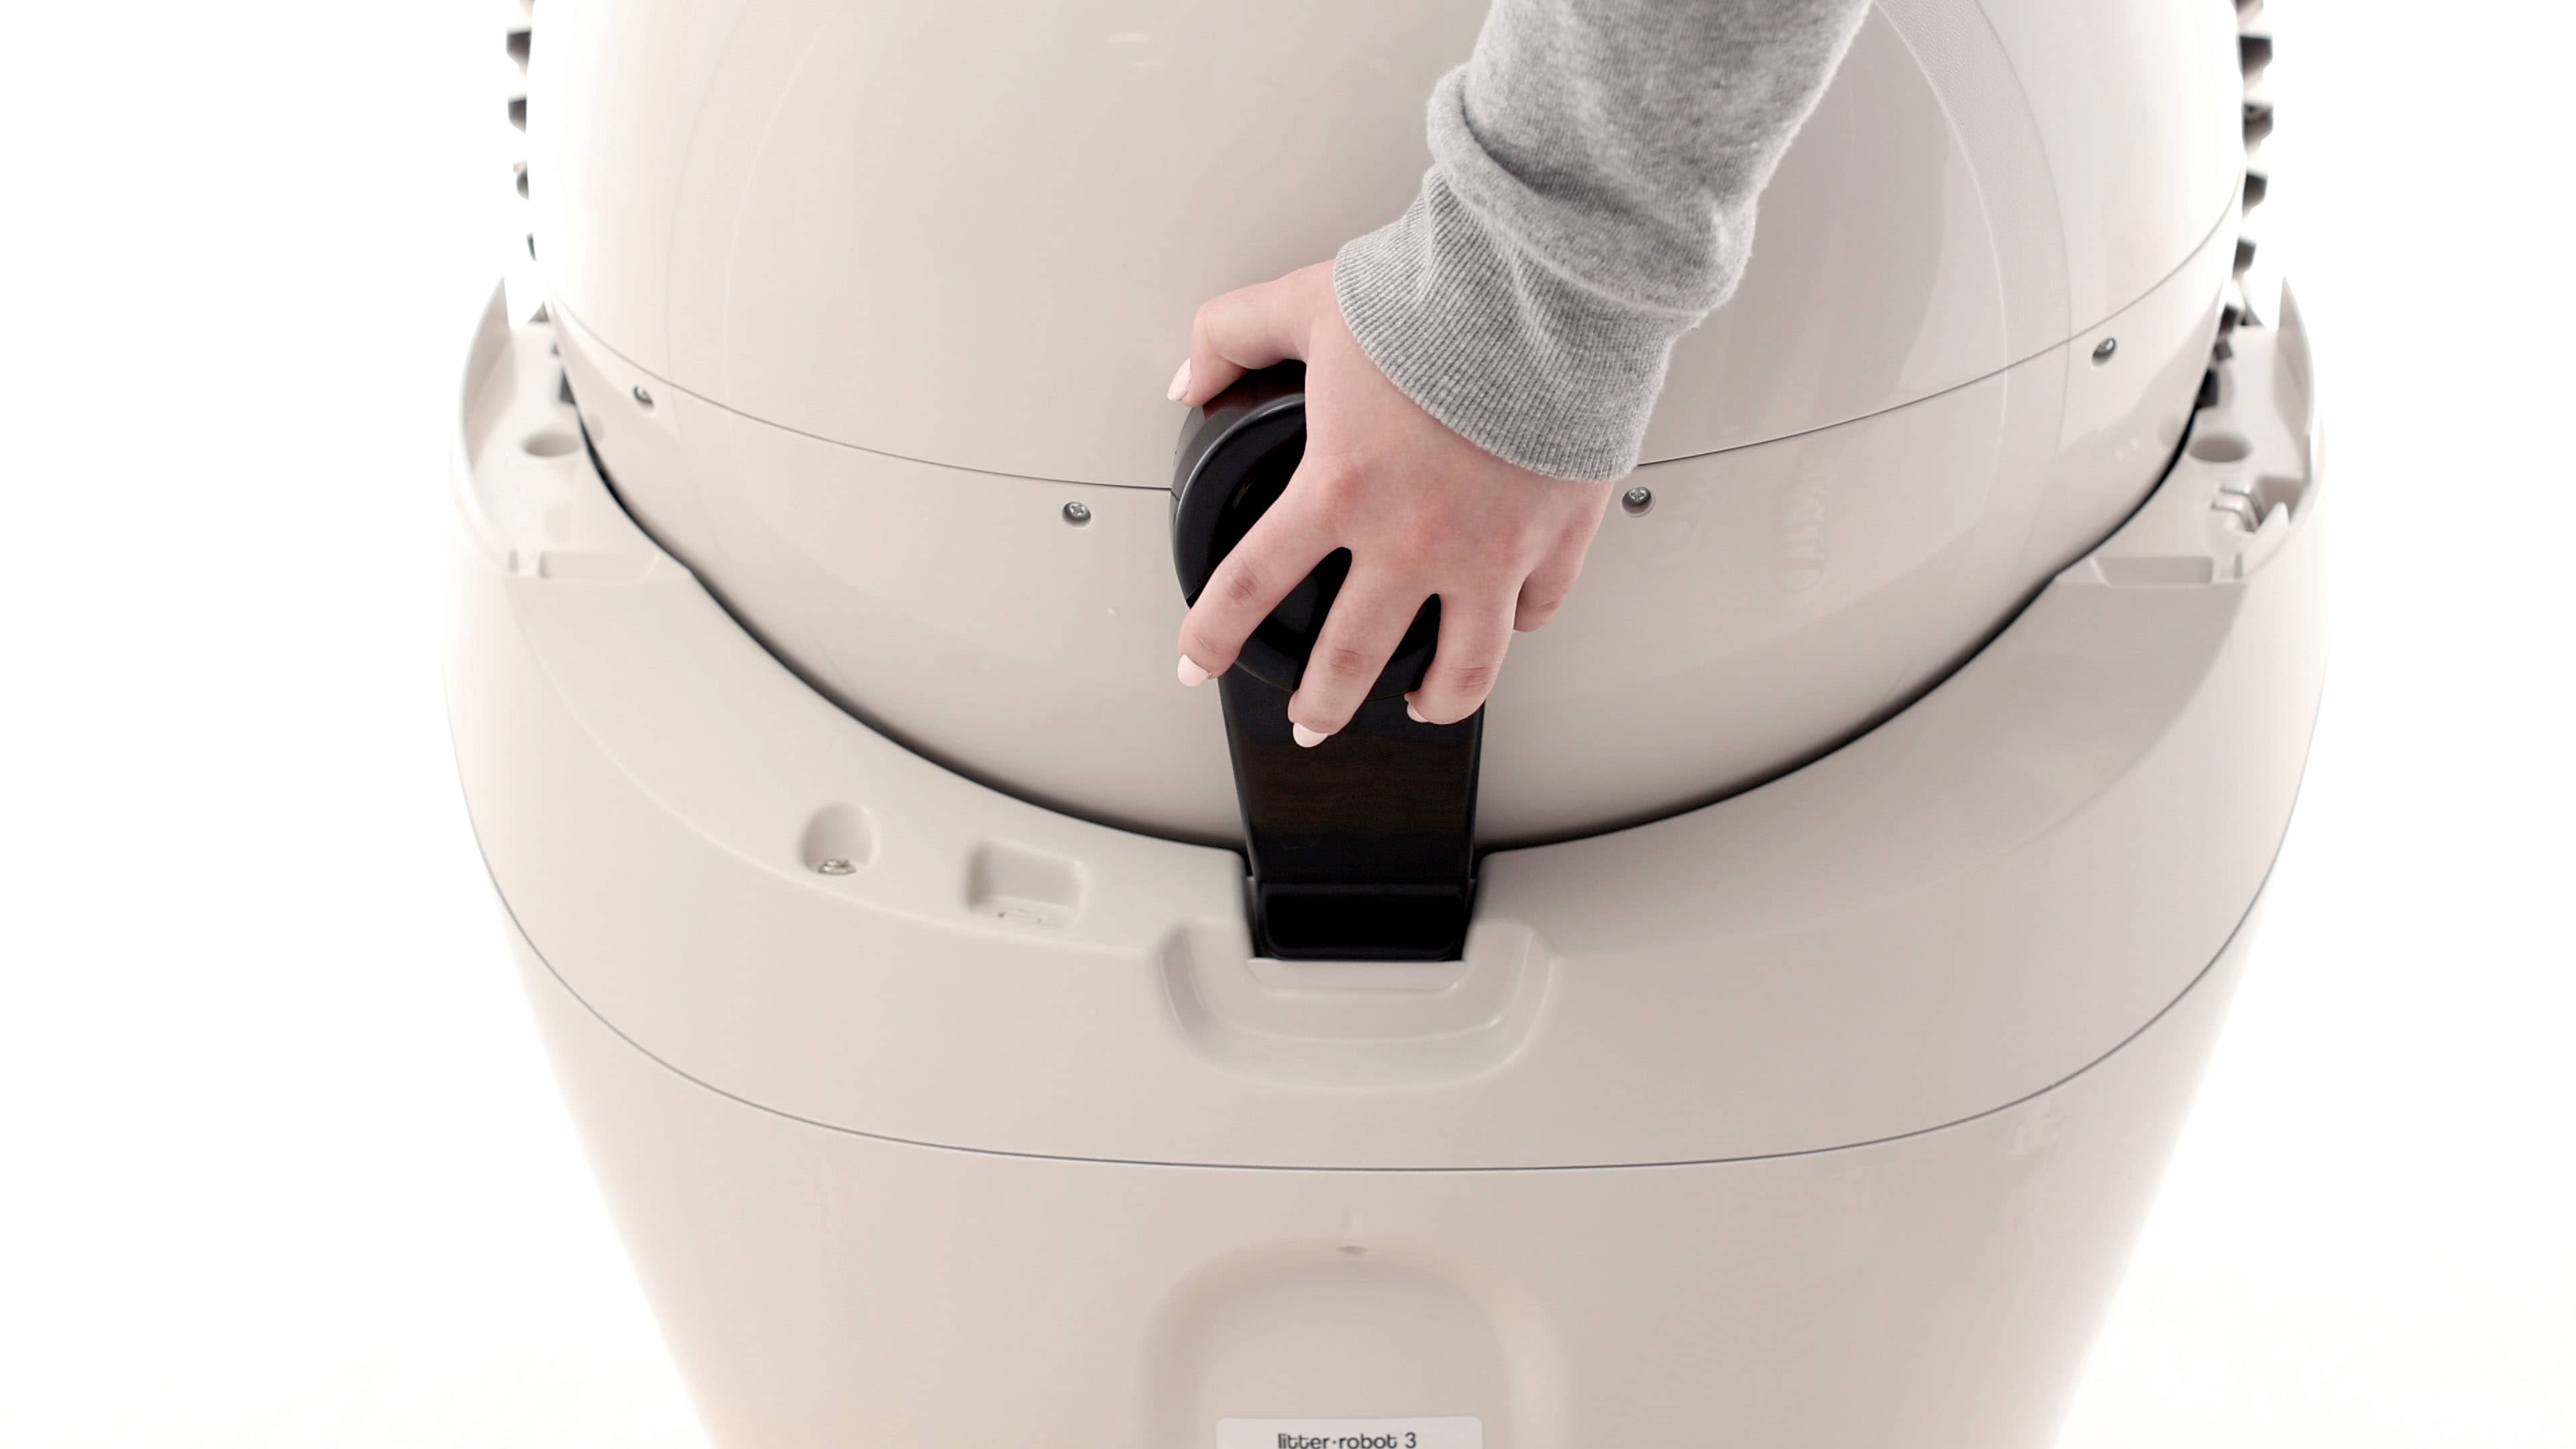
Locate the cat sensor “foot” under the base, secured by a bolt.
![]()
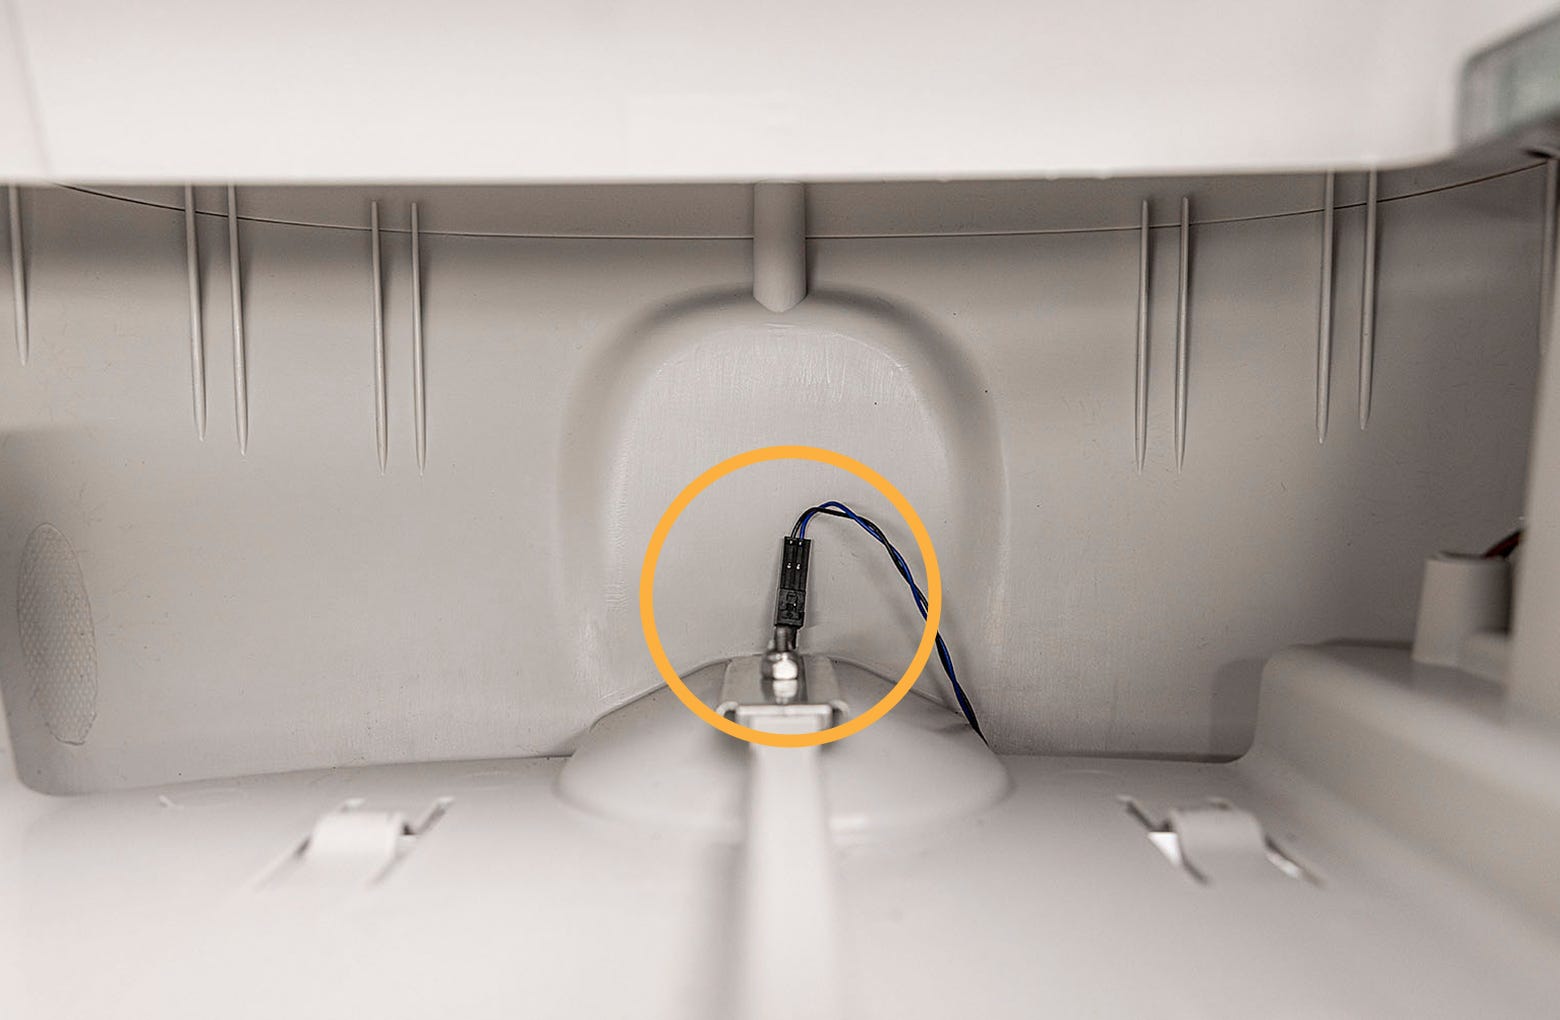
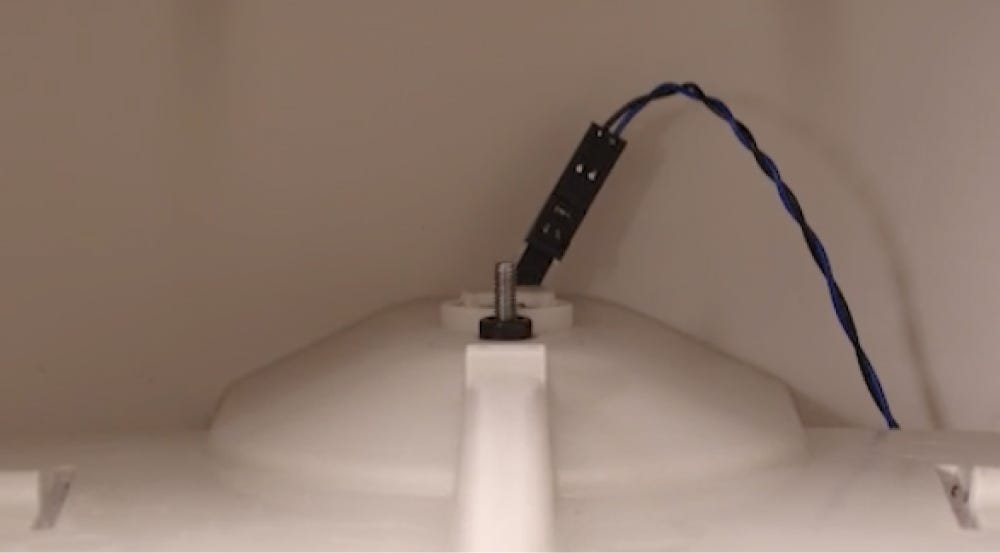
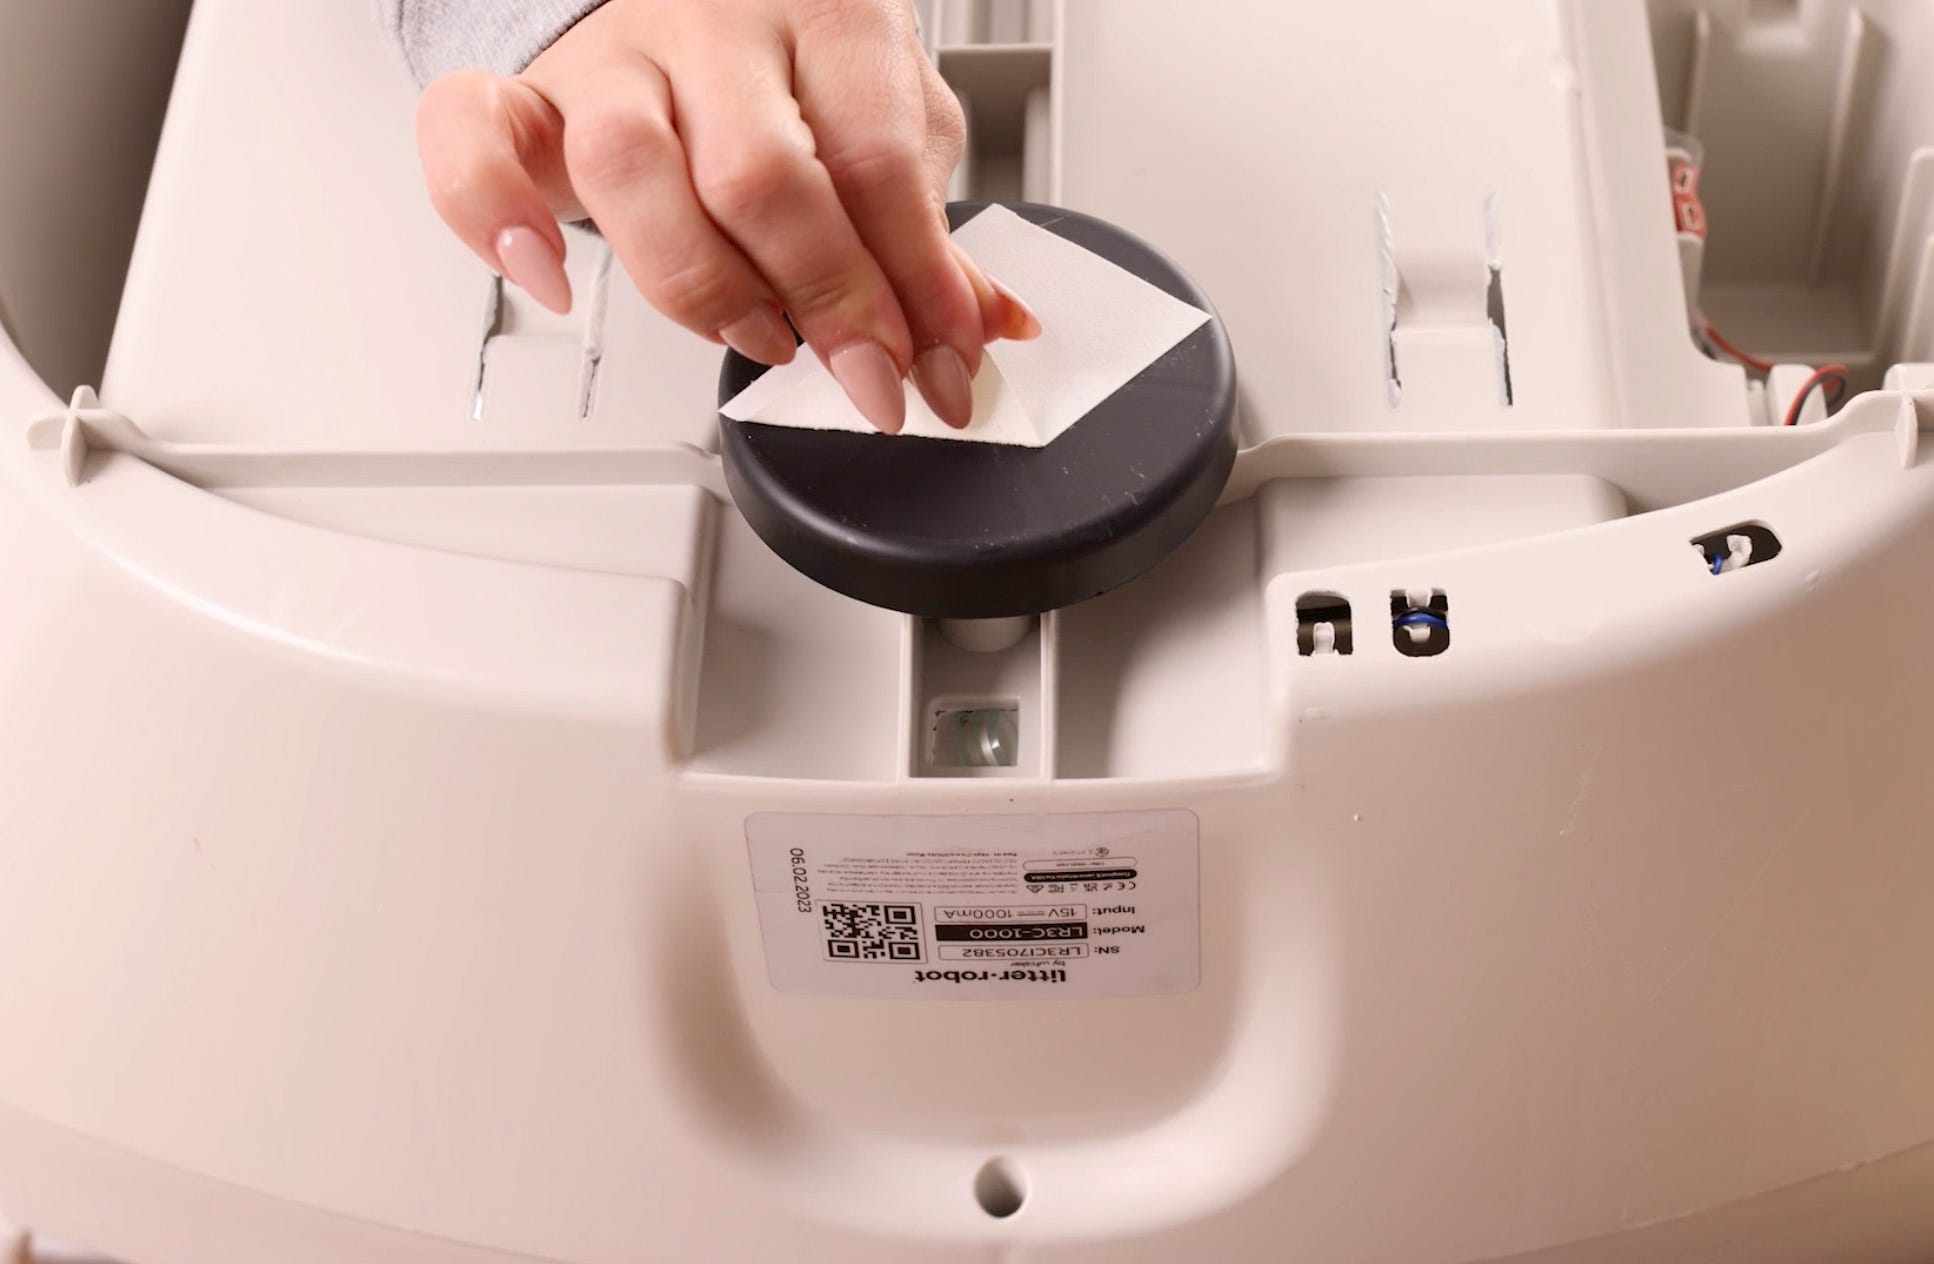
Look inside the base: In the back of the base, the cat sensor module is located under the metal sensor cover, secured by a nut attached to a bolt.
![]()
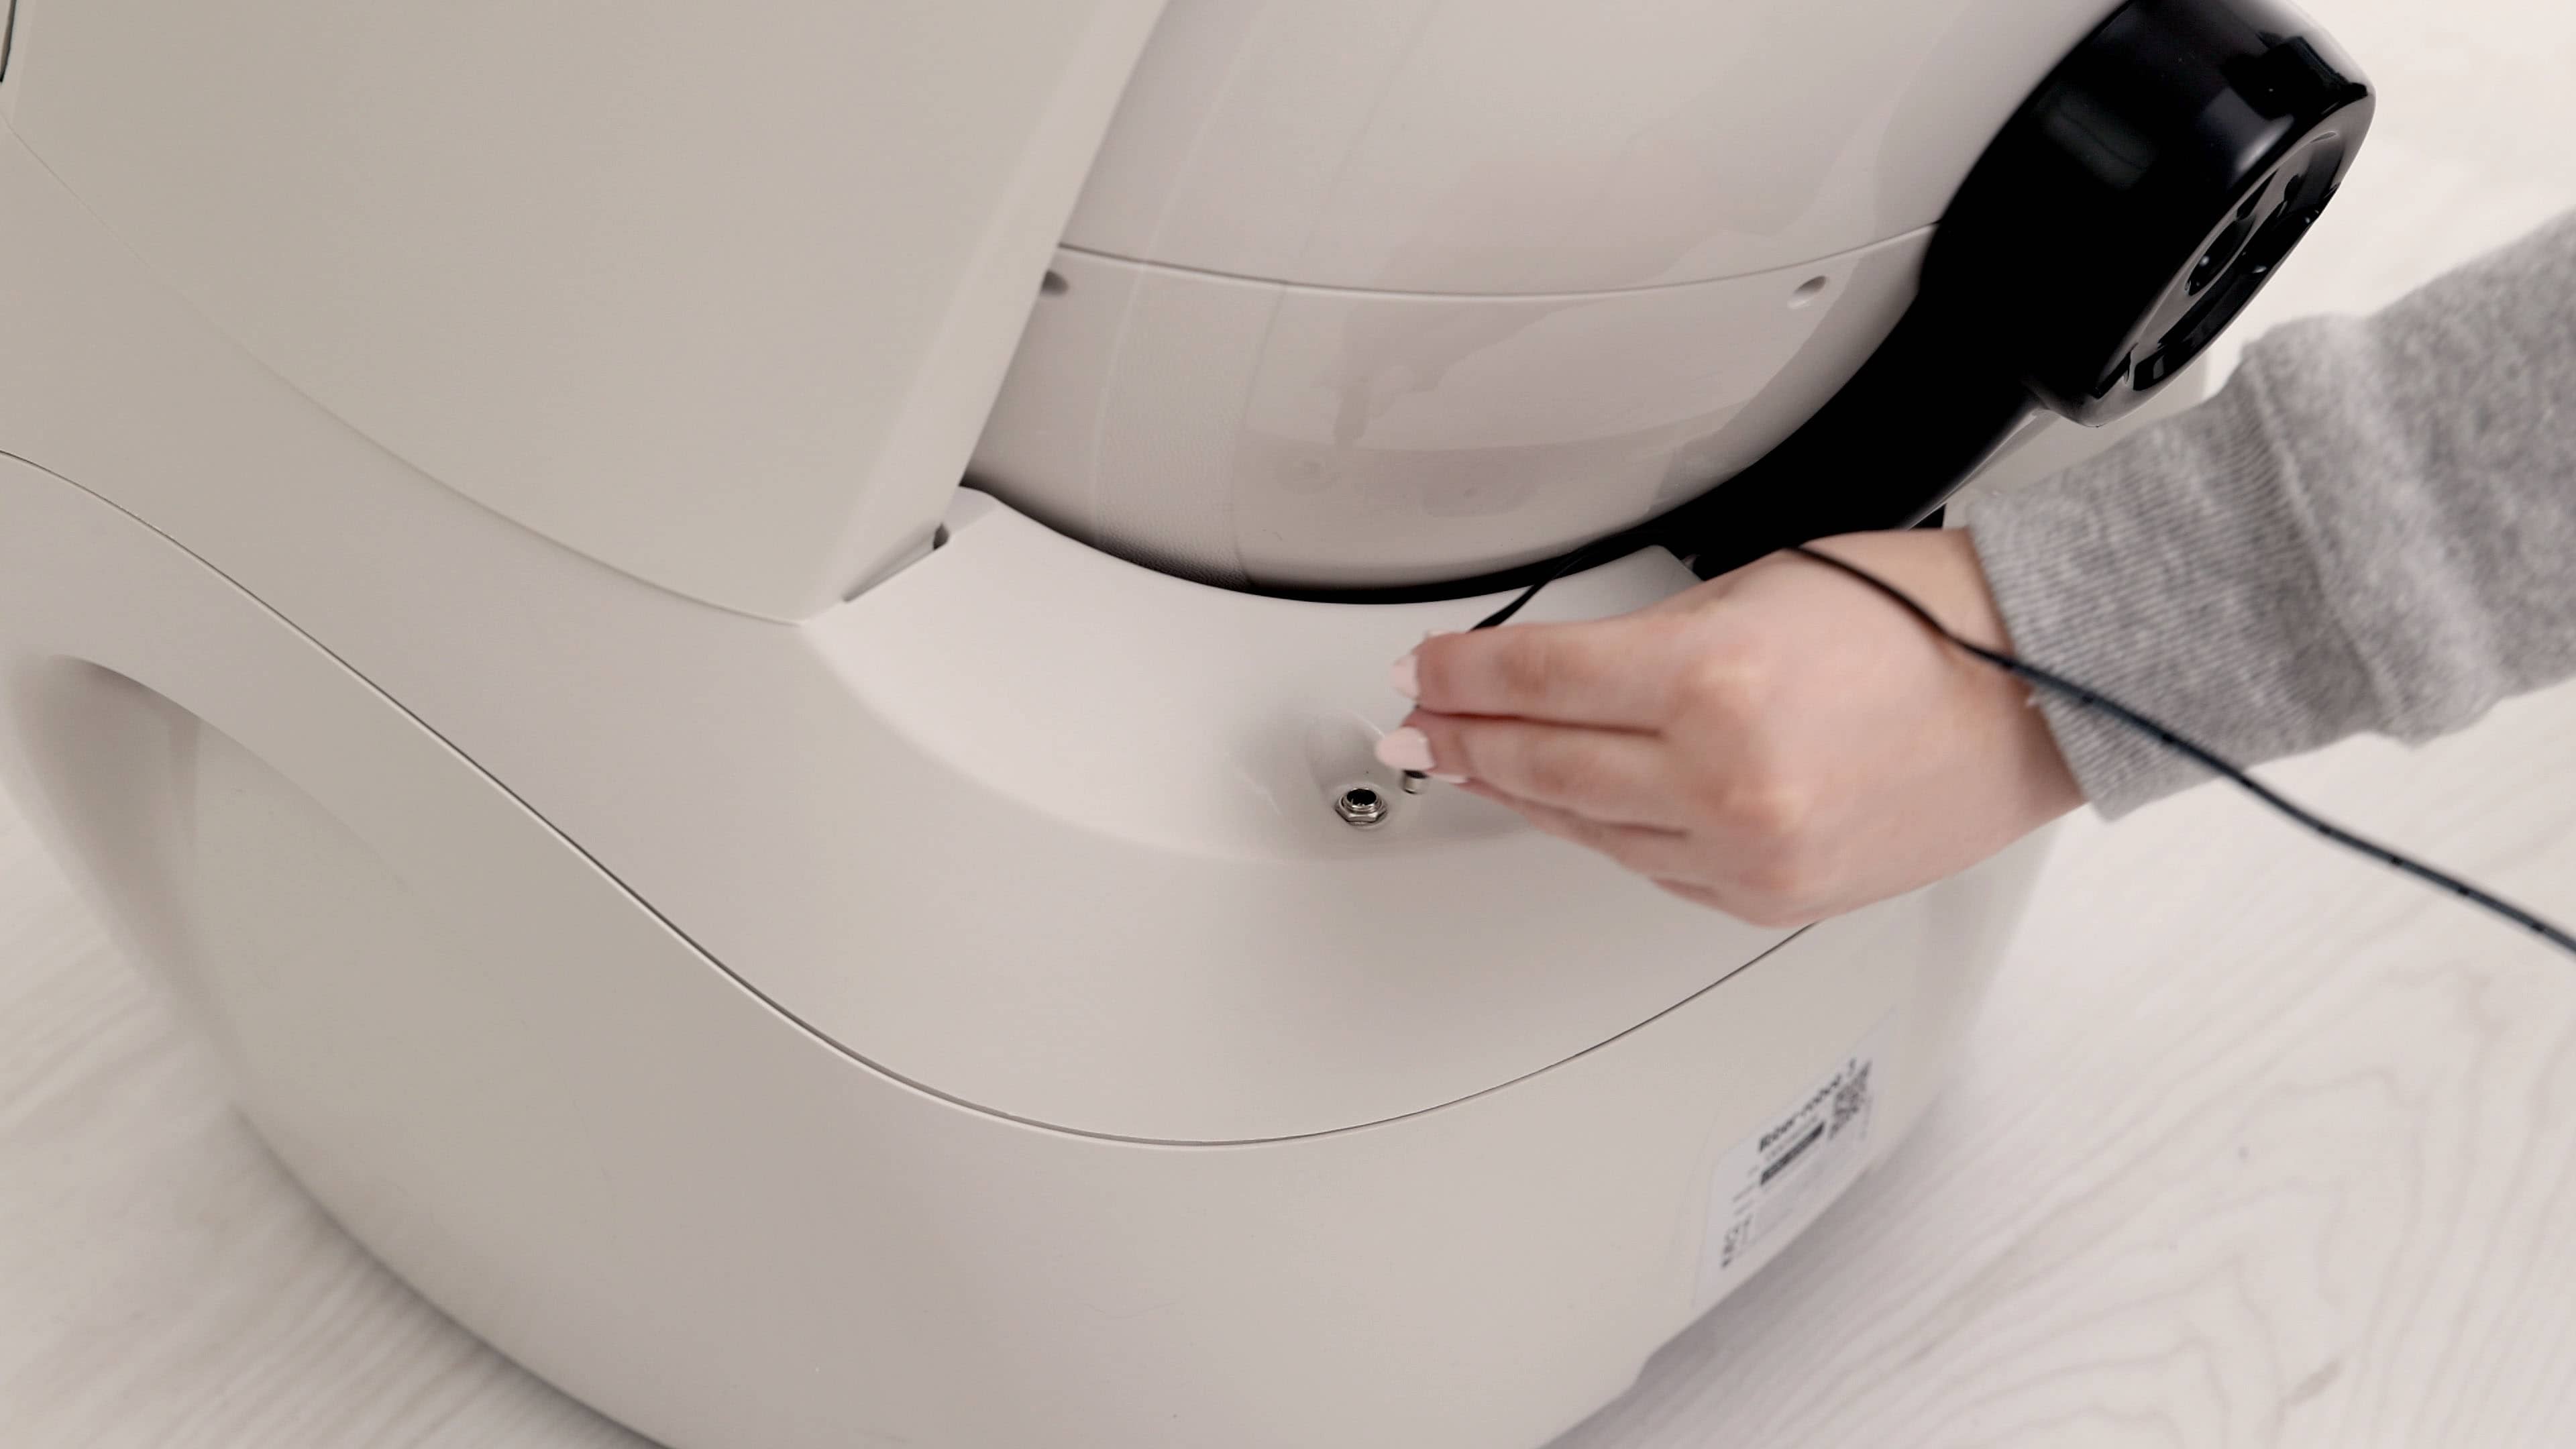
While applying downward pressure into the base through either the waste port or drawer, use a 1/4 inch (6,3 mm) hex socket with ratchet to remove the 1/4 inch (6,3 mm) nut and bolt that hold the cat sensor foot to the unit.
![]()
Carefully release pressure from the base and remove the cat sensor foot and its bolt from the bottom of the base.
![]()
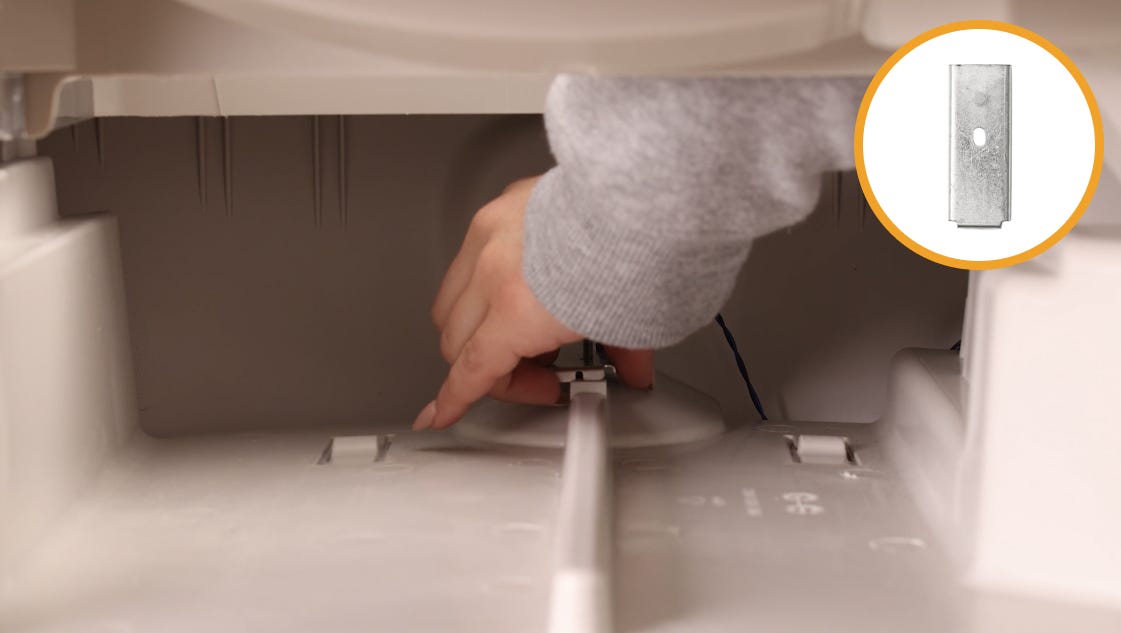
Remove the metal sensor cover from inside the base.
![]()
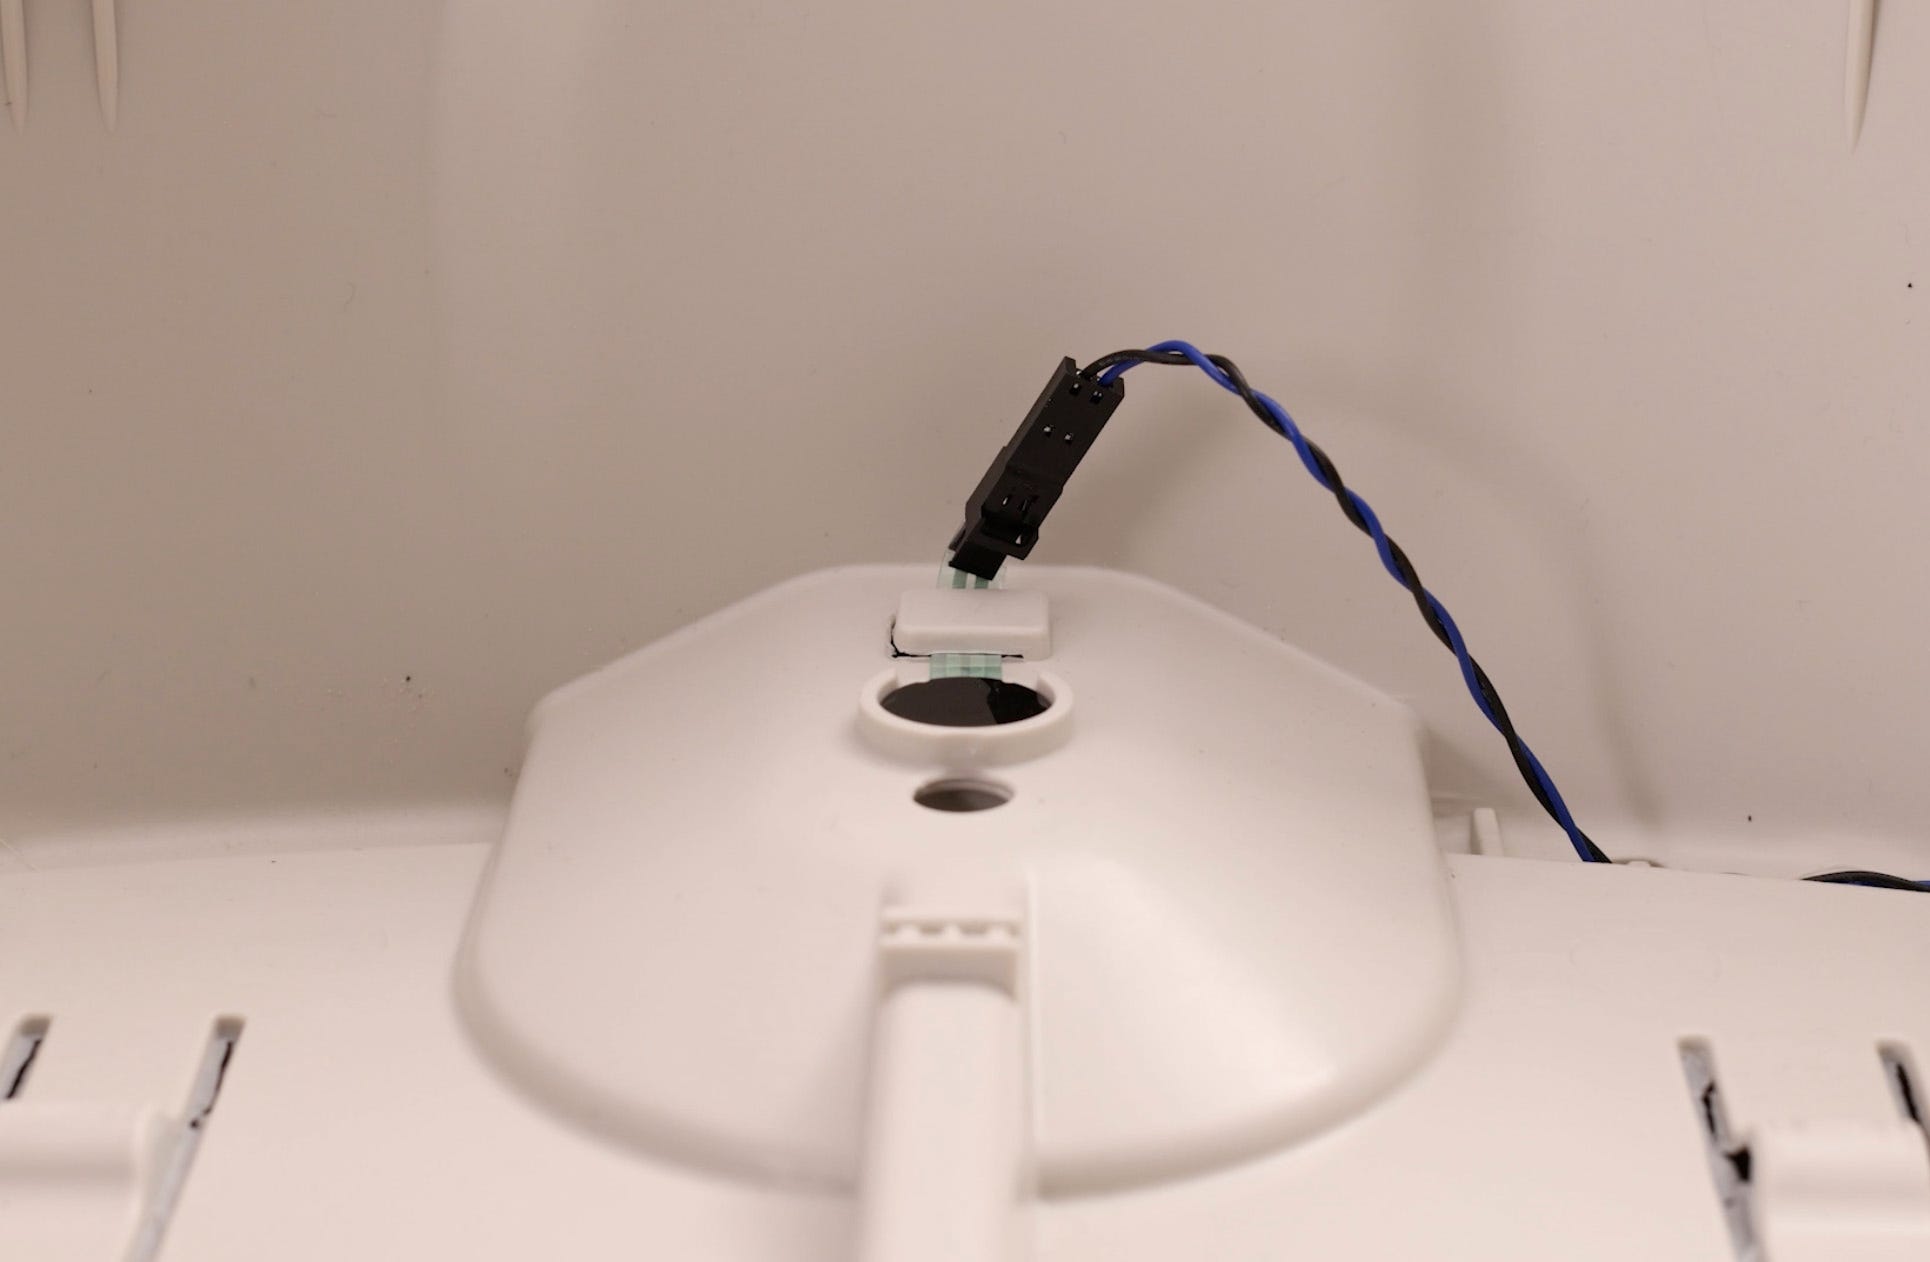
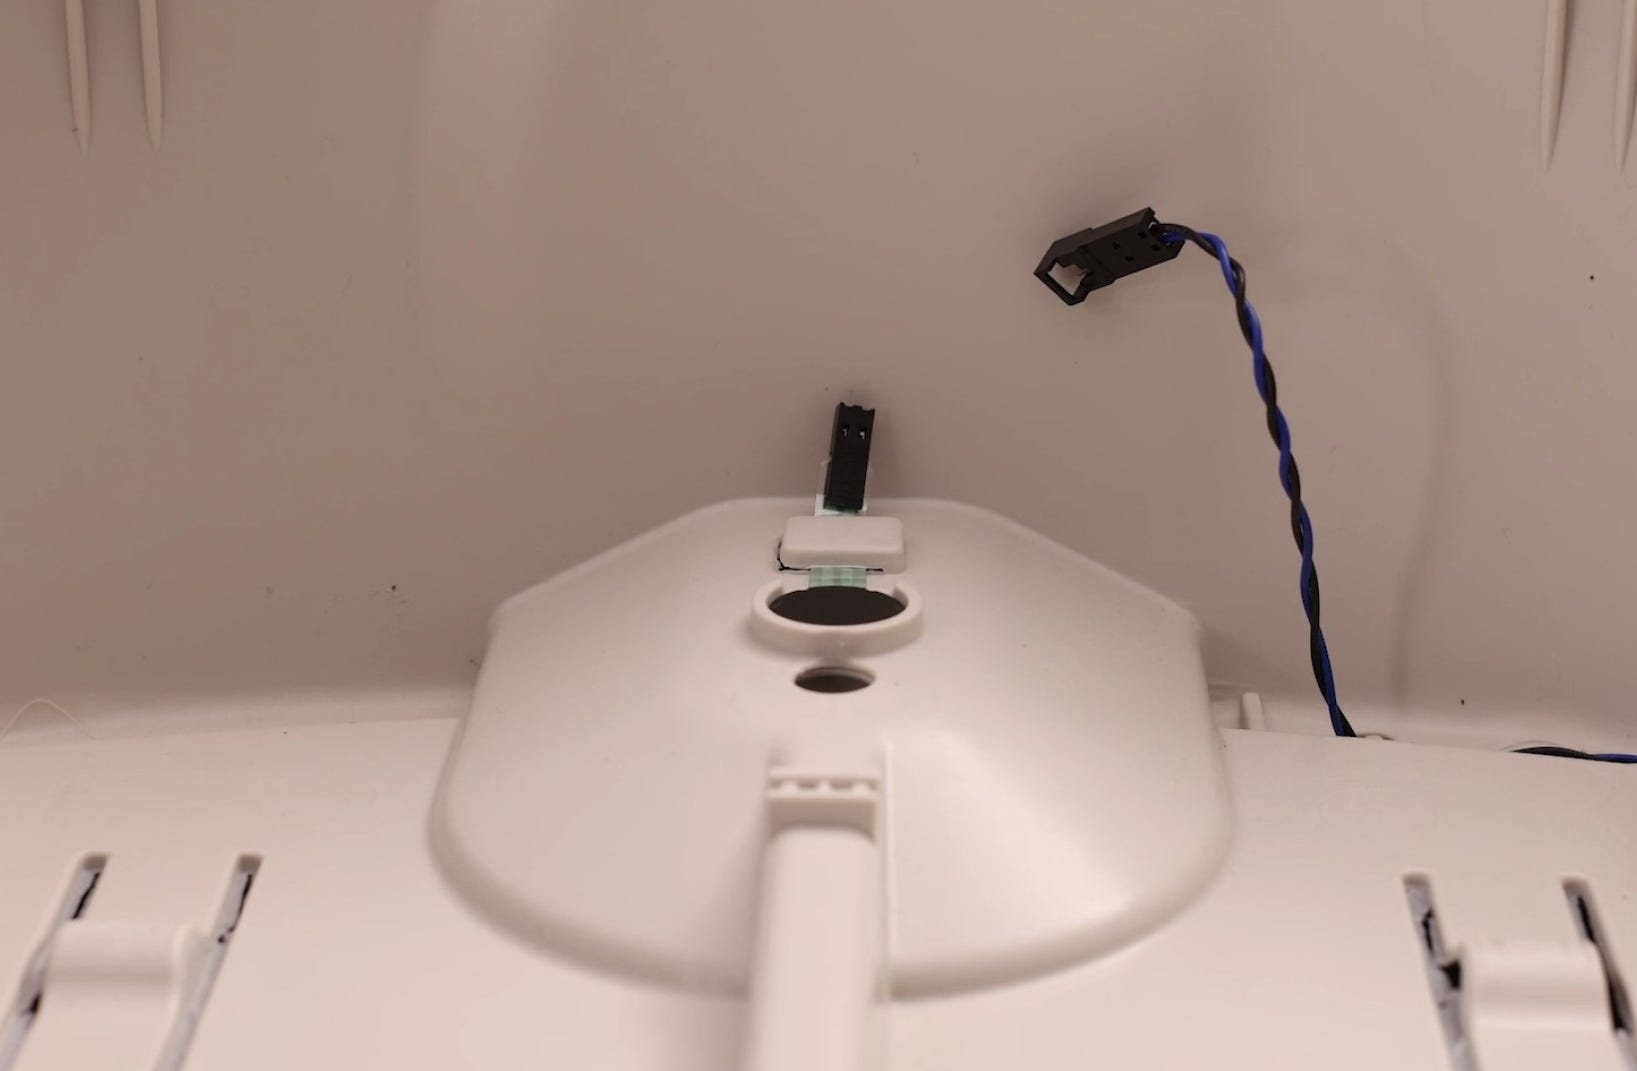
You should now be able to see the cat sensor module that was secured by the metal tab. It is lightly nested in its recess and secured with a plastic tab.
![]()
Unplug the cat sensor.
![]()
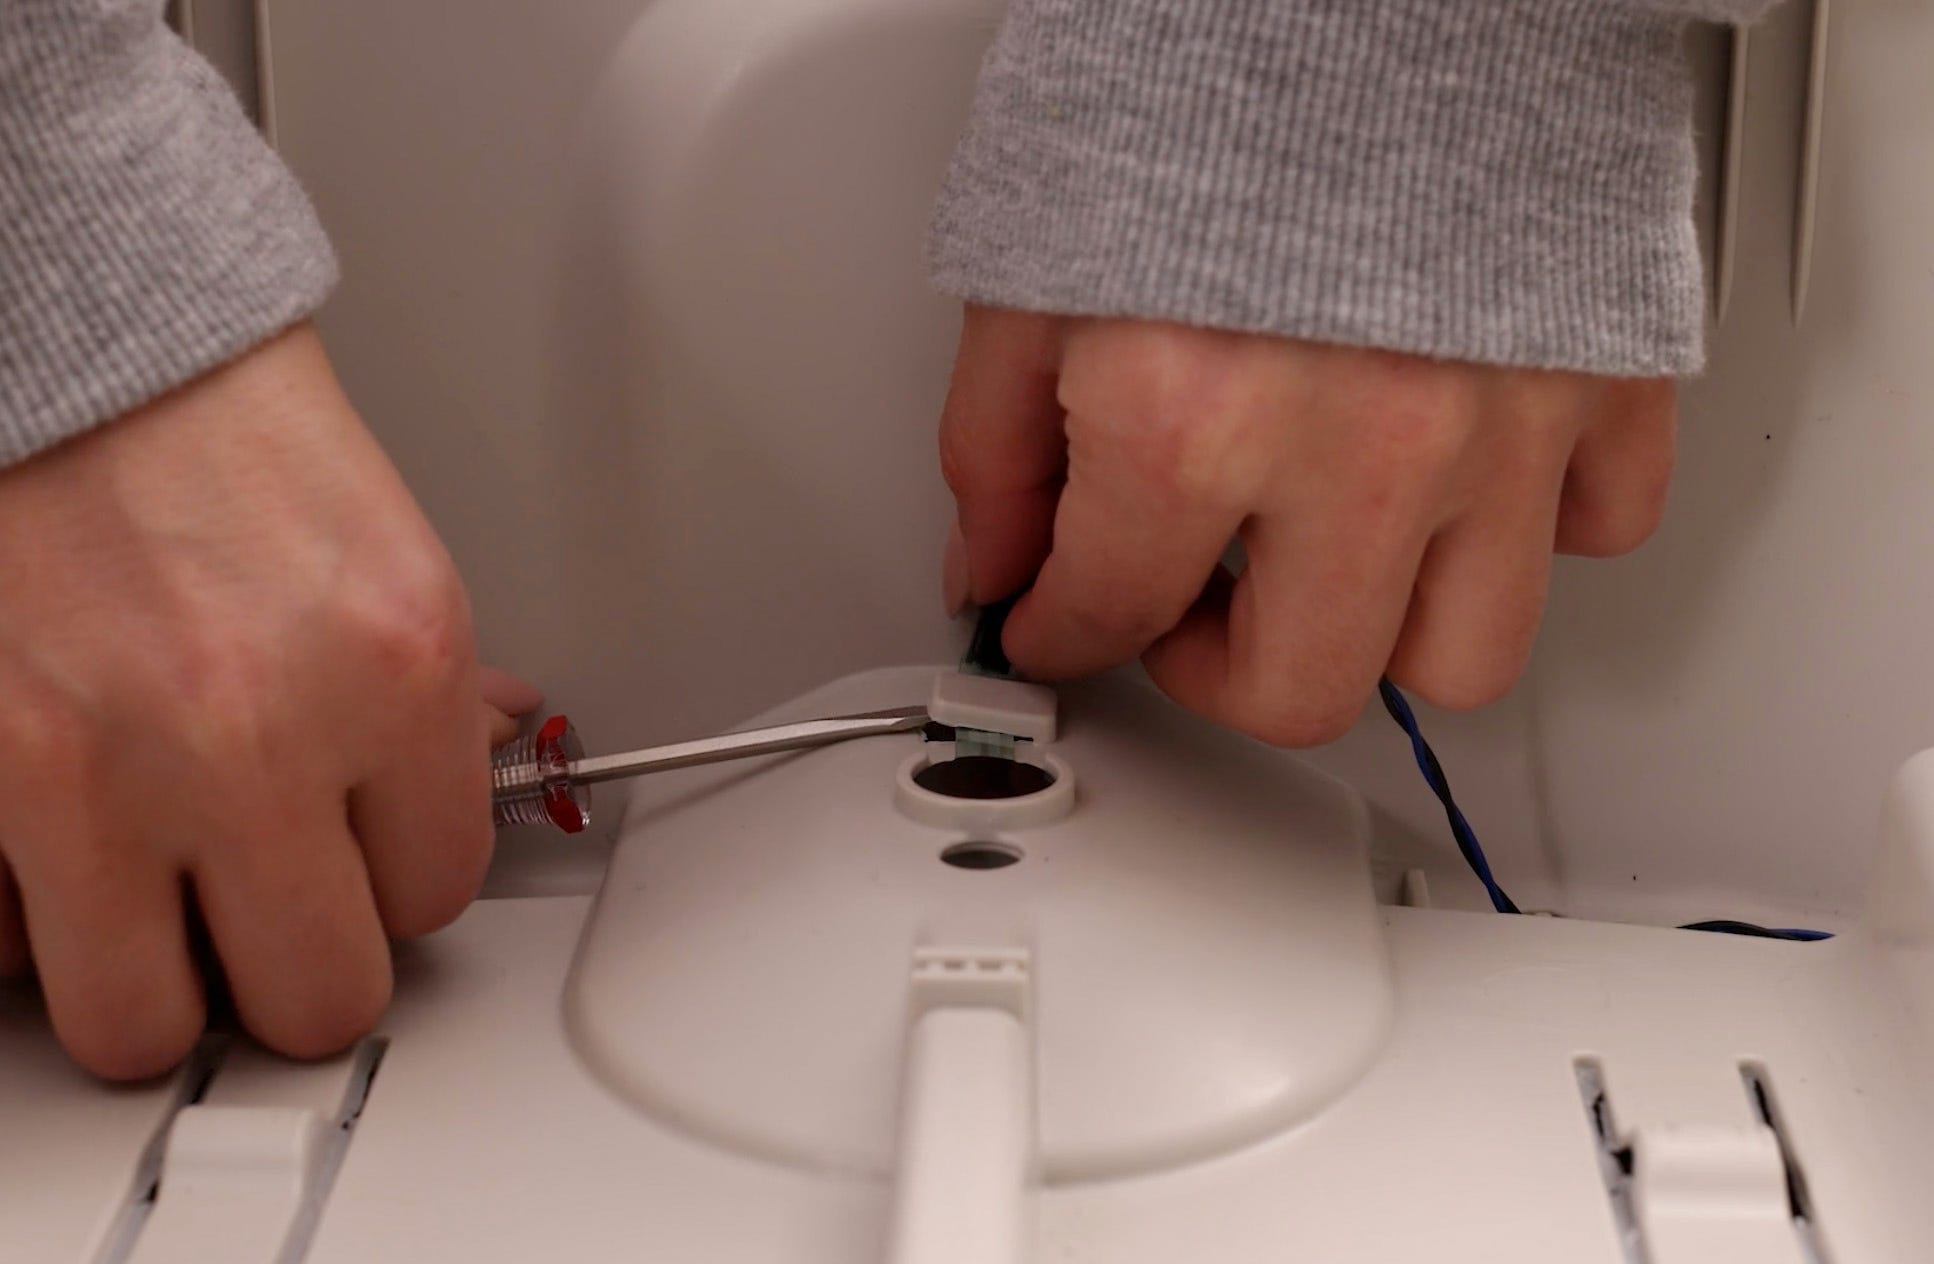
Slide the sensor to the side to remove it from under the plastic tab. If needed, use a screwdriver to assist you in lifting the plastic tab.
![]()


Install new cat sensor
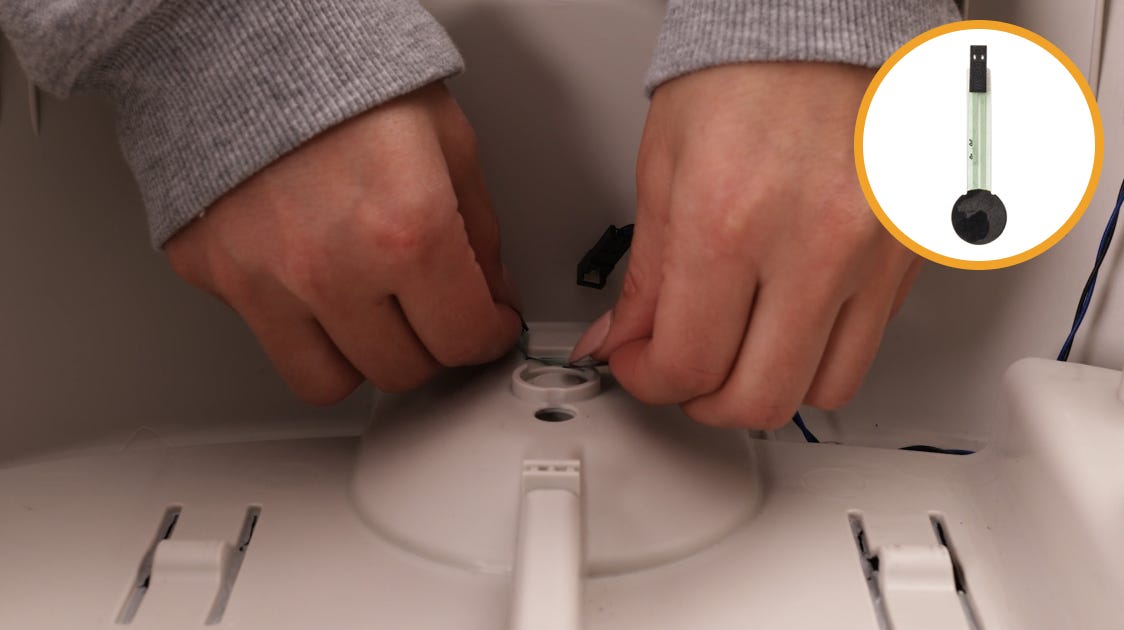
Plug in the new cat sensor and without bending it, gently slide it under the plastic tab. Again, use a screwdriver to assist you in lifting the plastic tab if needed.
![]()
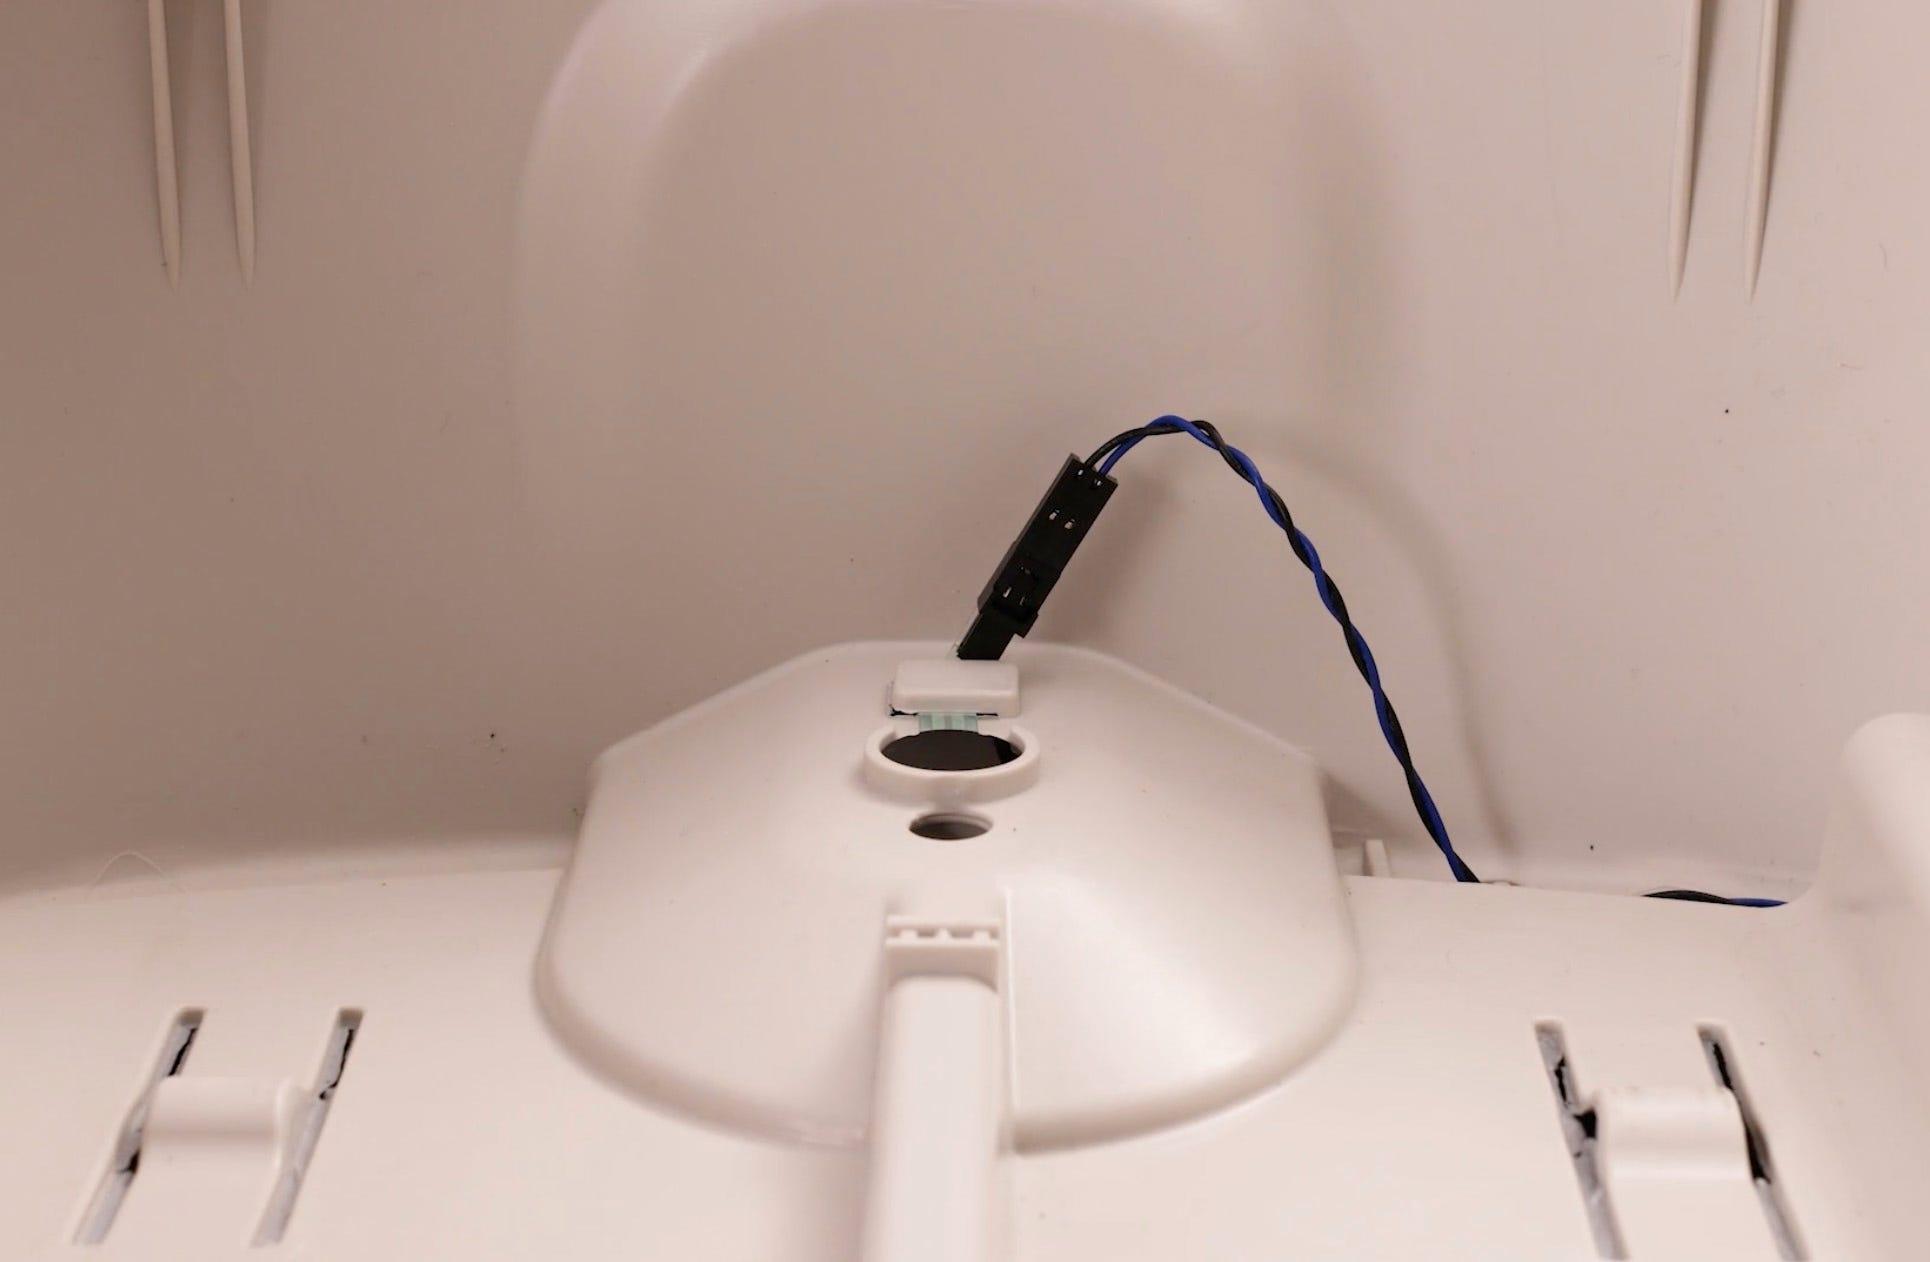
Gently place the cat sensor under the plastic tab, with the black surface facing up and the sticky adhesive surface facing down. Take care not to bend or reposition it.
![]()
Replace the spring inside the foot.
![]()
Use masking tape to hold the bolt in place inside the foot: Use one piece to create a small ball of tape to insert into the hole, and another piece of tape to keep the ball in place.
Replace the cat sensor foot and bolt on the bottom of the base.
![]()
Apply pressure on the base to ensure the bolt is coming out of the hole.
![]()
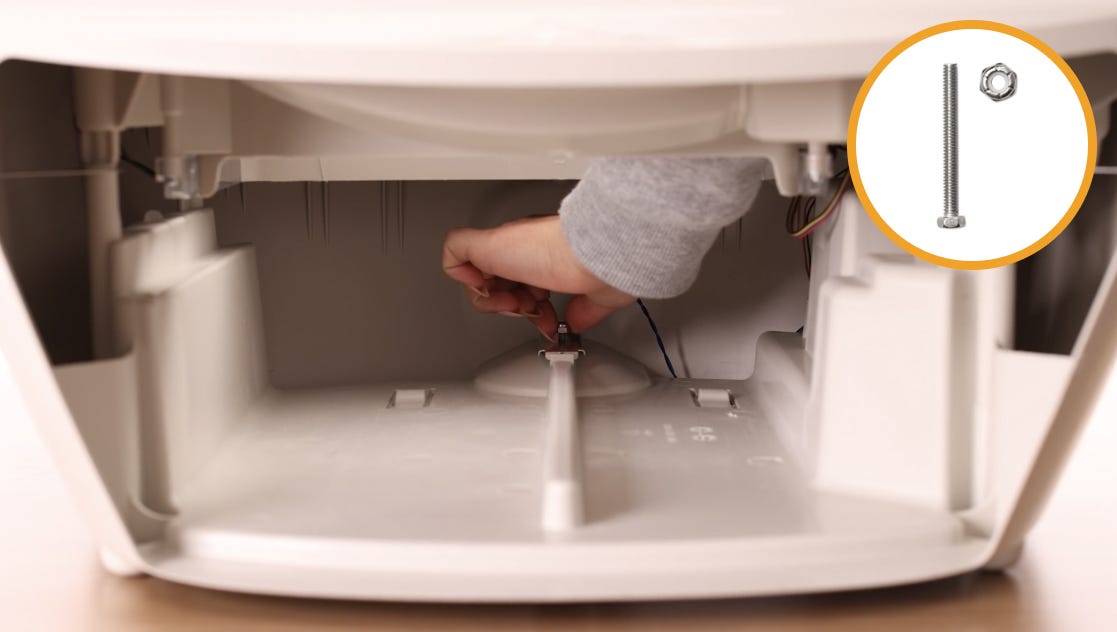
Replace the metal sensor cover on top of the cat sensor.
![]()
Use your fingers to tighten the nut on the bolt, then tighten the nut with the 1/4 inch (6,3 mm) hex socket on your ratchet.
![]()
While applying downward pressure into the base to compress the spring, you'll want to tighten the nut until there is no longer any movement in the metal sensor cover. Be careful not to overtighten the bolt.
![]()
Remove the tape from the cat sensor foot.
![]()


Reassemble Litter-Robot
Replace the waste drawer.
![]()
Replace the globe, ensuring it is positioned correctly. Visually check that the large gear with notches that runs around the globe is sitting in the track on the base.
![]()
At the back of the globe, turn the black key into the key pocket.
![]()
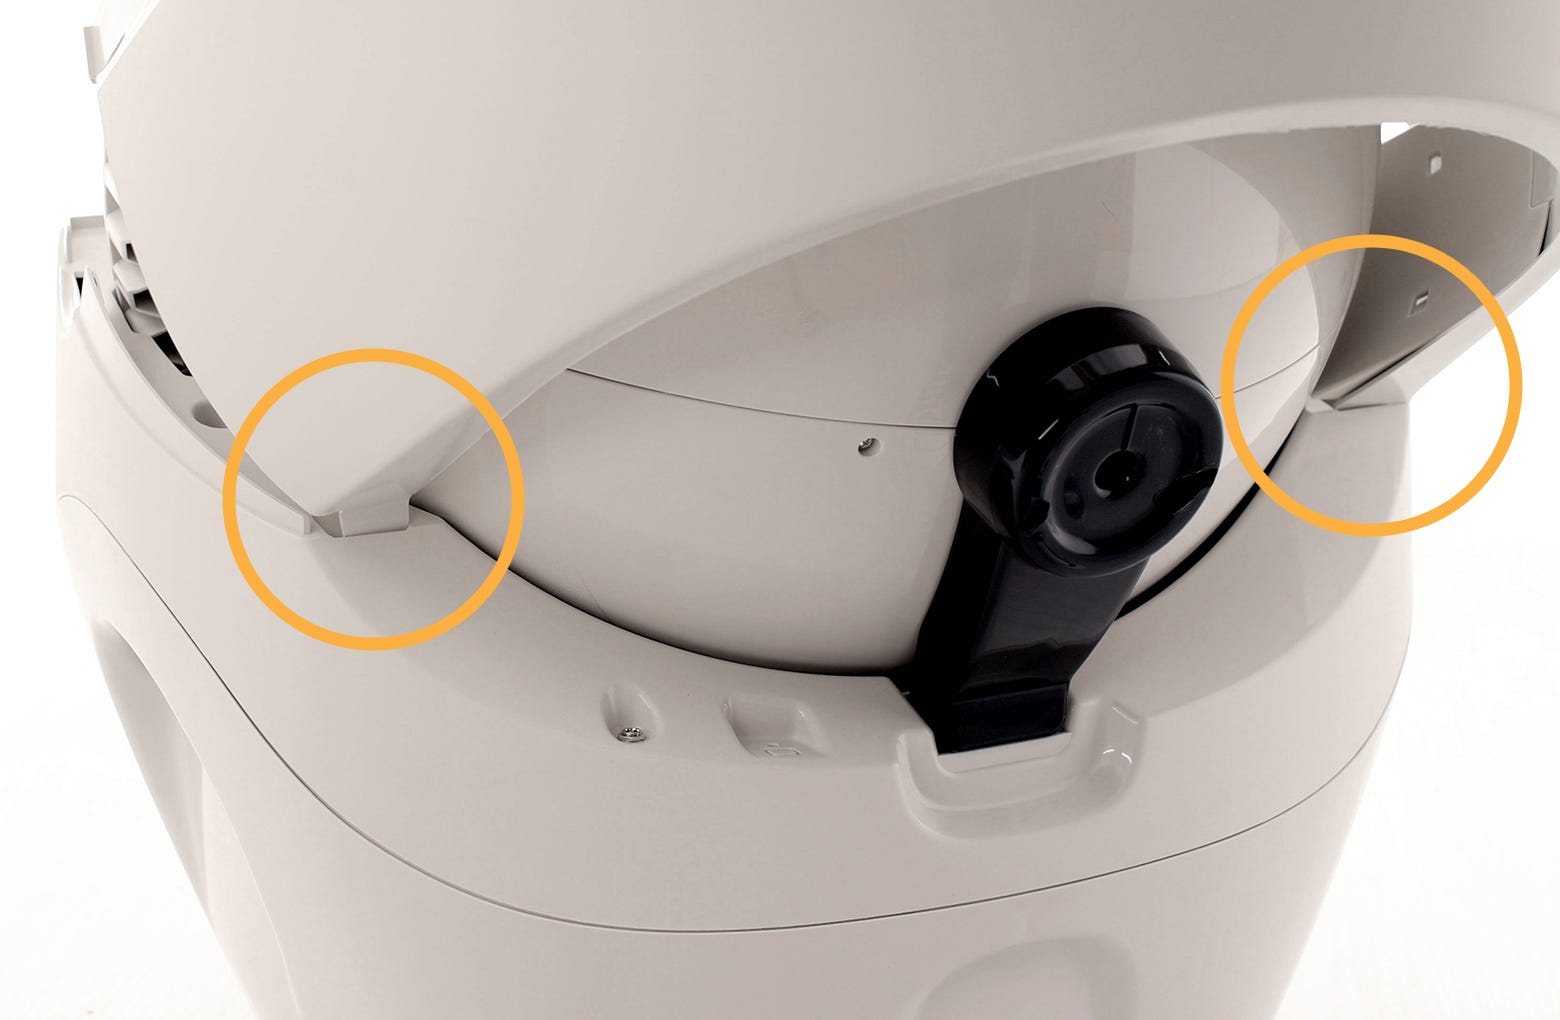
Replace the bonnet, sliding the tabs on both sides into the slots in the base.
![]()
Rotate the bonnet forward, aligning the tabs with the corresponding slots in the base. Snap the bonnet securely into the base.
![]()
Plug the power supply into the base.
![]()
Press the Power button to turn the unit on.
![]()
Calibrate cat sensor
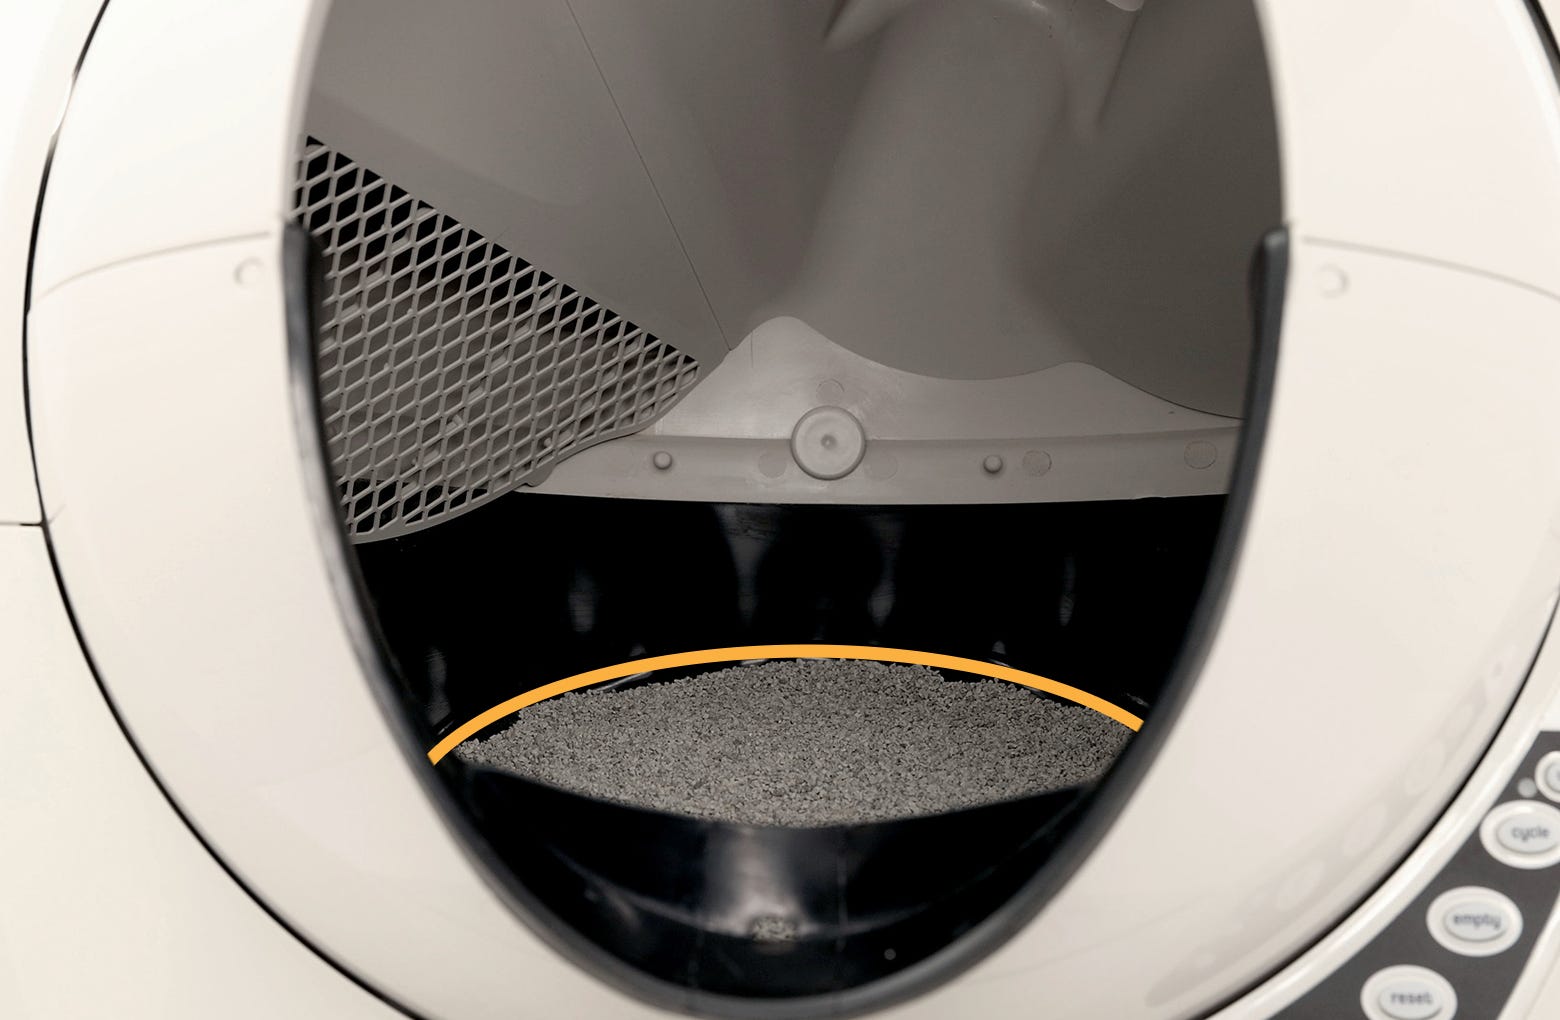
Add approximately 10 lbs, or 4.5 kg, of cat litter to the globe. We recommend using standard-weight clay-clumping litter. This weight will be used to calibrate your unit to the new cat sensor.
If you are using a standard clay-clumping litter, fill the litter just below the raised fill line. If you are using a heavier litter, fill to about halfway from the fill line.
![]()
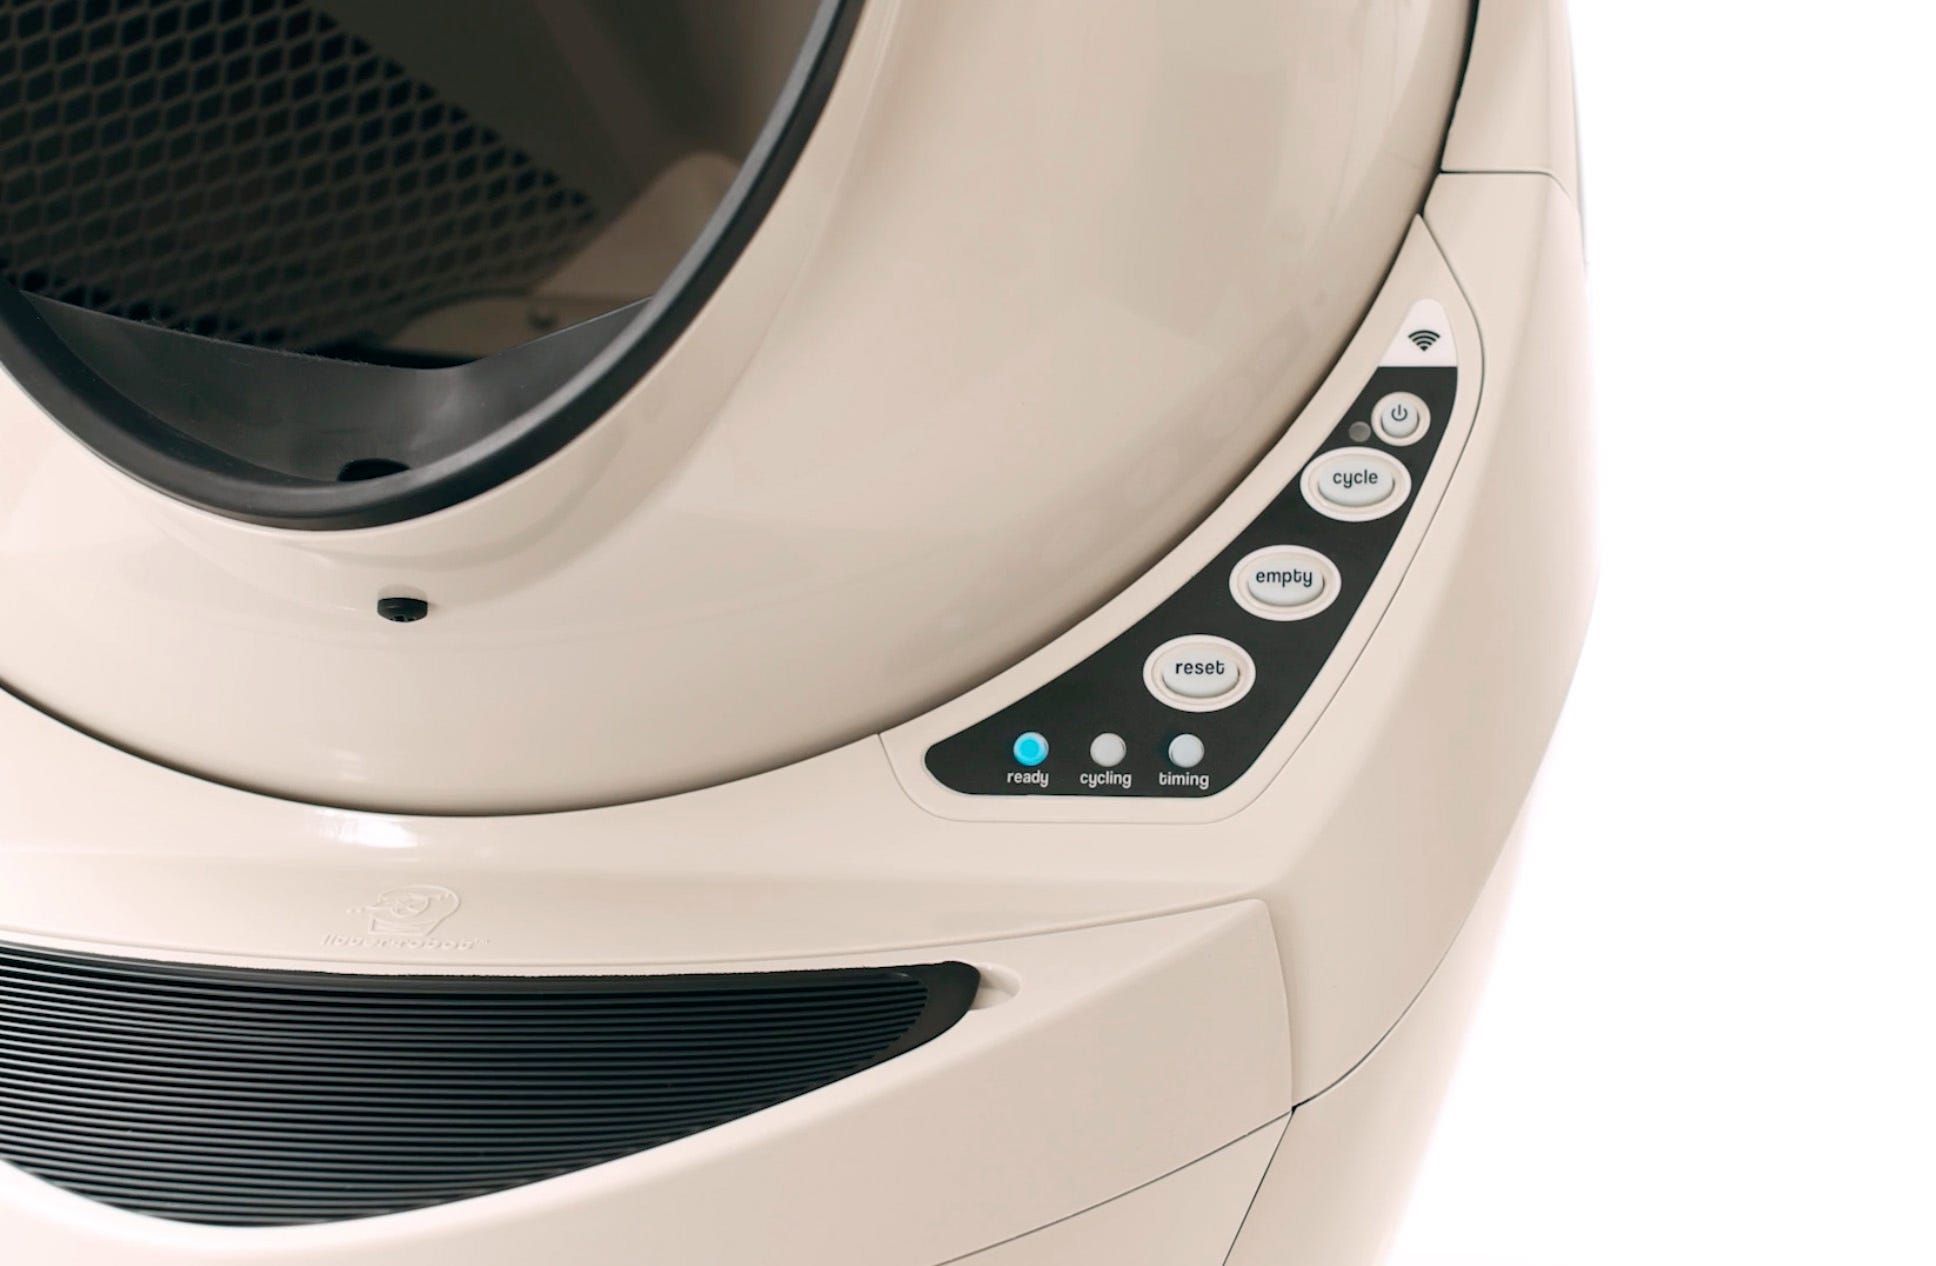
Now press and hold the Empty and Reset buttons for 3 seconds. This will calibrate the new cat censor.
![]()
Calibration is confirmed by the red flashing Timing LED.
![]()
Wait 30 seconds, then press the Reset button.
![]()
Your unit should display a solid blue light indicating it is ready for use.
![]()


Didn't find what you're looking for?
Phone and Chat support available Mon-Fri: 9AM-7PM EST and Sat: 9AM-5PM EST, or submit a ticket anytime.