The store will not work correctly in the case when cookies are disabled.
Litter-Robot 4: LitterHopper™ not dispensing
The LitterHopper is designed to automatically maintain the optimal litter bed level within the globe of your Litter-Robot 4. The 'default' optimal litter bed level is just below the MAX fill line inside the globe. Litter-Robot 4 uses sensors to measure the height of the litter bed level at the end of each clean cycle. If the sensors determine that the litter bed level is below the optimal level, then the LitterHopper will dispense litter into the globe during the NEXT clean cycle. When dispensing, the globe may momentarily pause rotation.

The LitterHopper will NOT auto-dispense if the litter in the globe is at the optimal level. The LitterHopper will only auto-dispense as needed, when the litter level in the globe is below the optimal level.
If your unit has an alternating purple and blue light or an error status in the app, please follow the Litter-Robot 4: Blue and purple alternating light bar (LitterHopper error) support article.
If the unit does NOT have an alternating purple and blue light on the control panel or an error status in the app, and your LitterHopper still does NOT auto-dispense, please follow the steps below to troubleshoot the issue.
Update your firmware
- Open the Whisker app on your mobile device. (See how to onboard your unit if you have not done so already.)
- Check your Litter-Robot 4 settings to verify you are updated to the latest firmware version. (Note: Screens may vary as the app gets updated.)
Run test cycles
- Ensure there is litter in your LitterHopper.
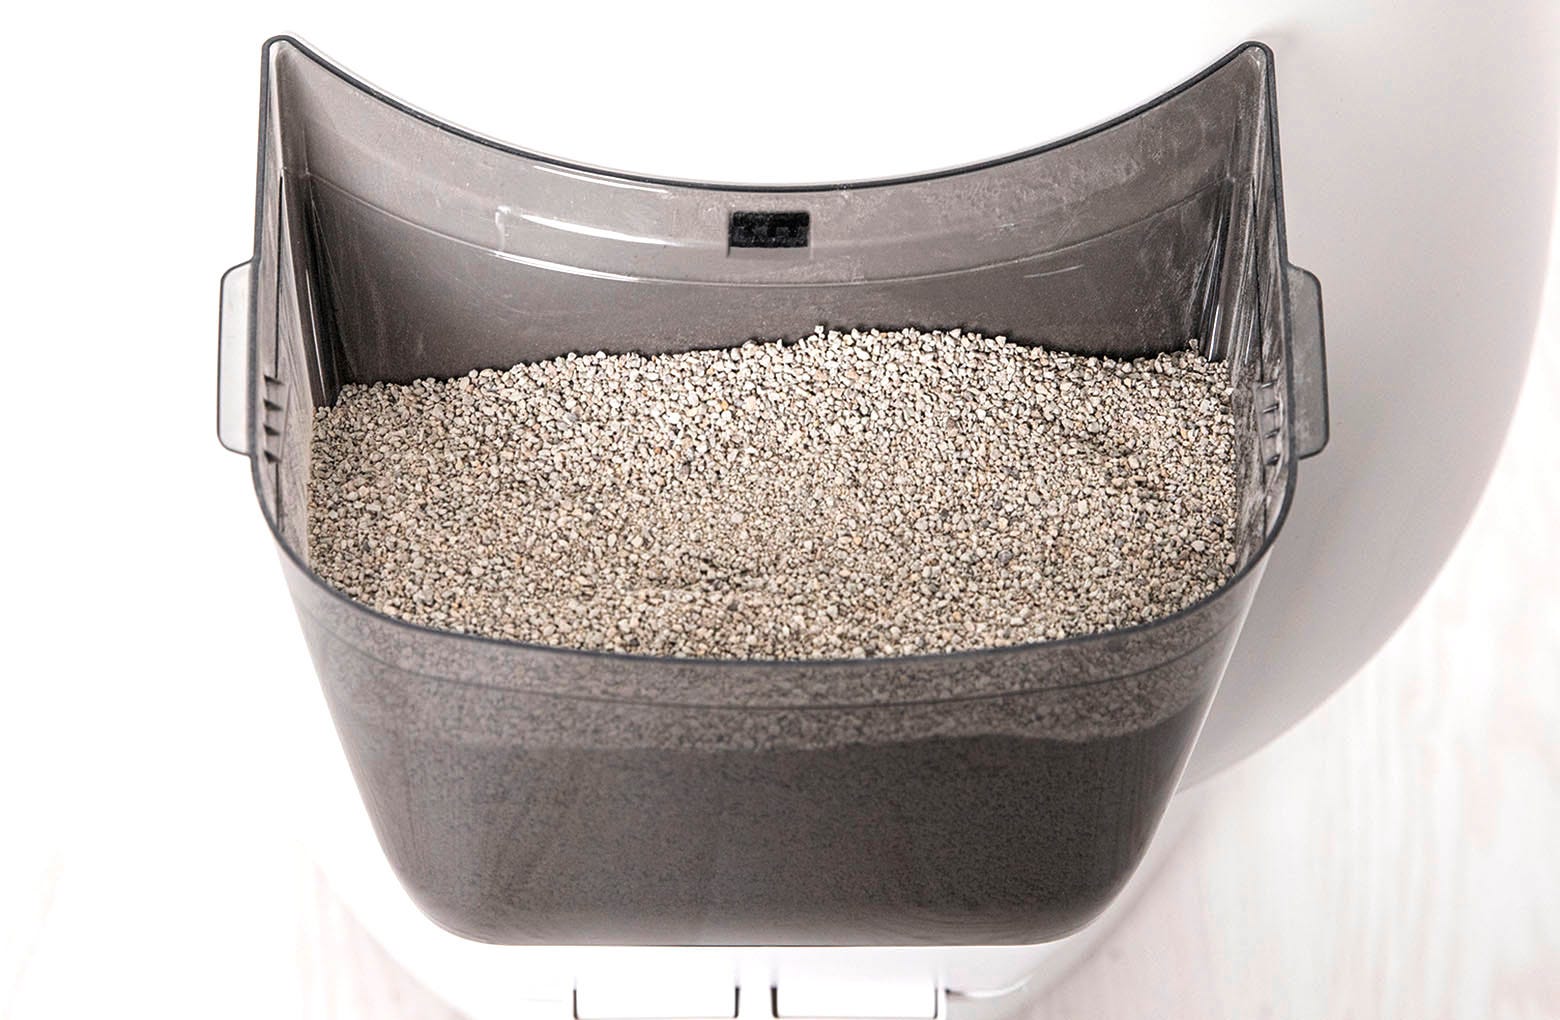
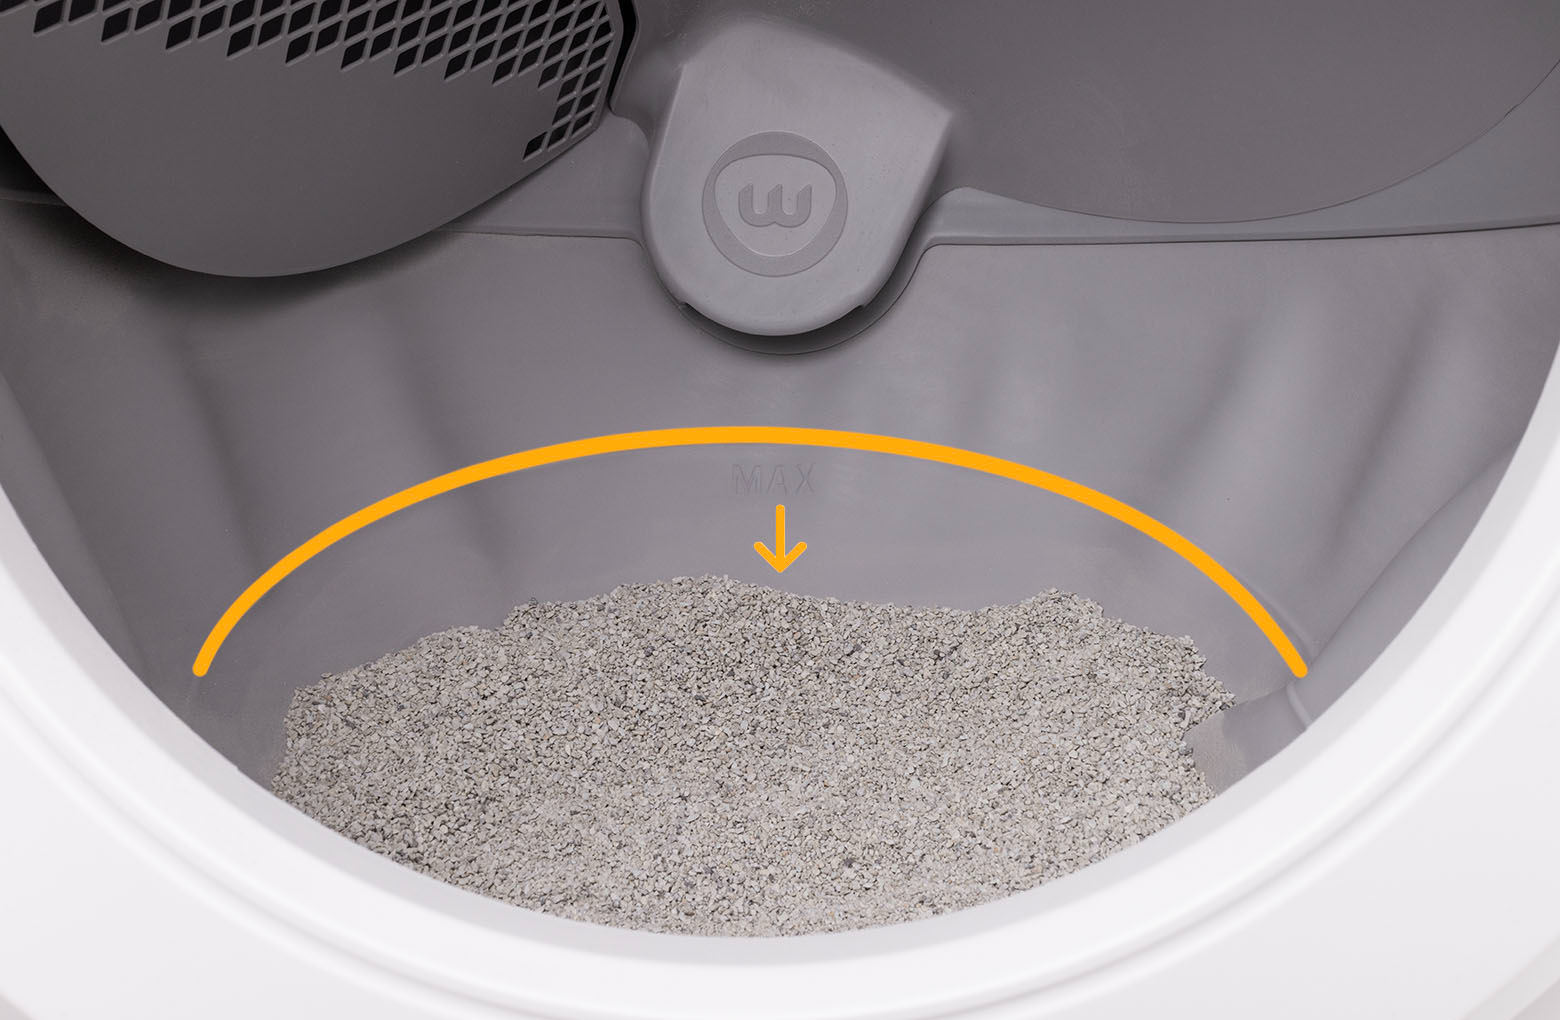
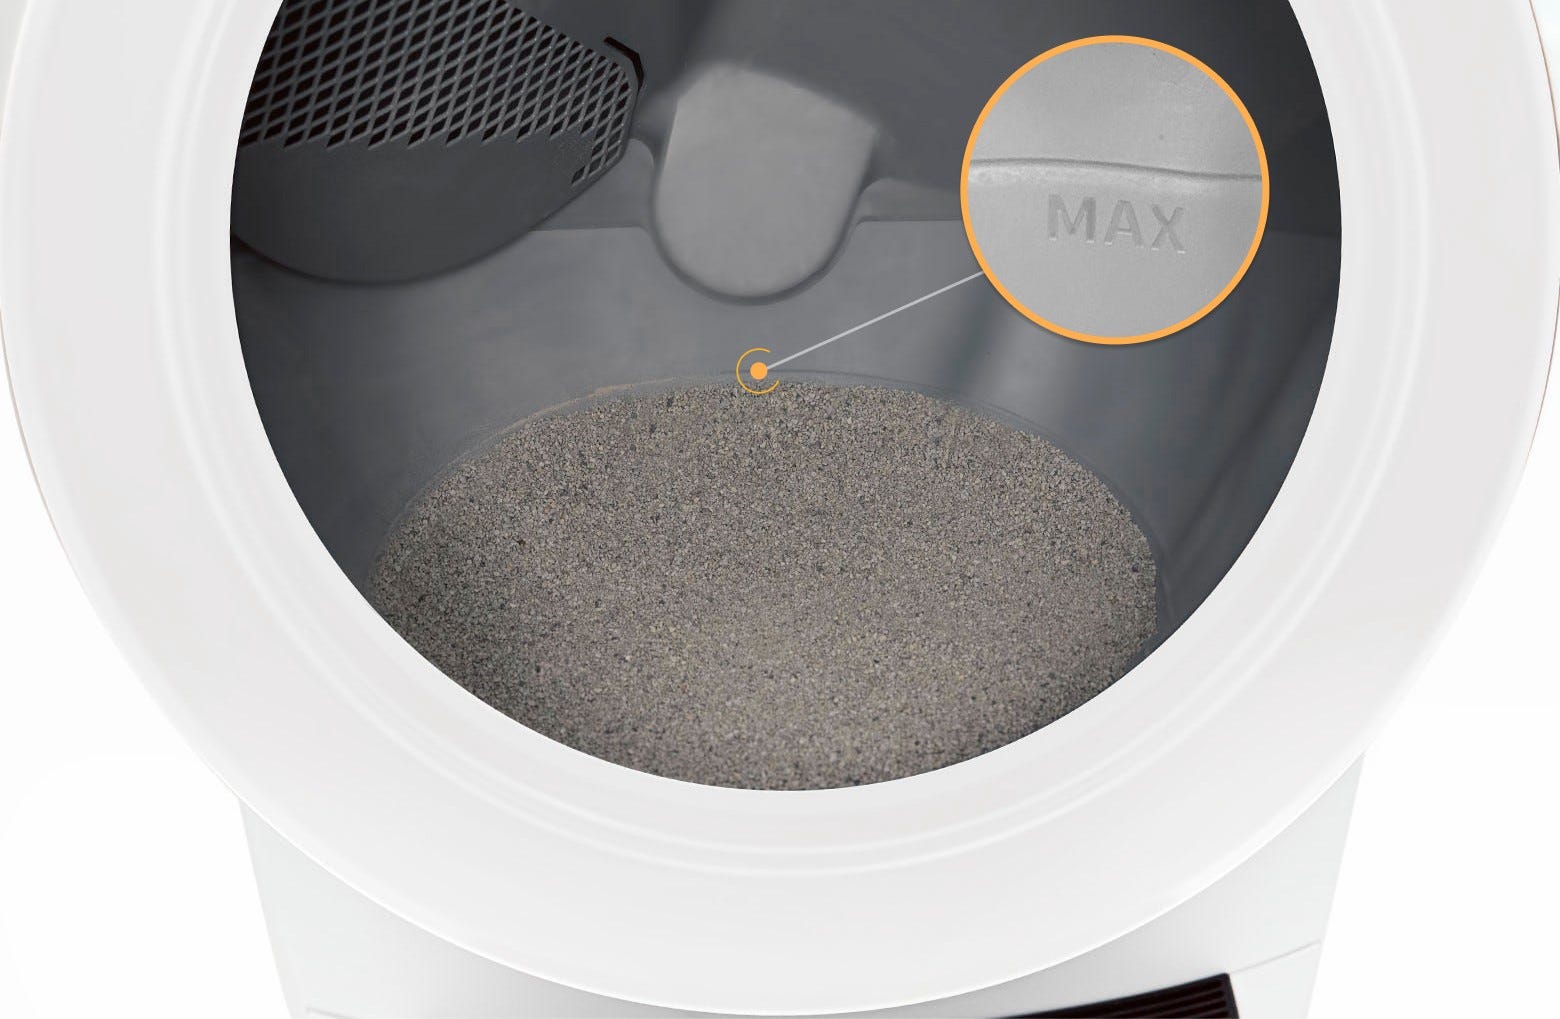
- Ensure the litter level in the globe is significantly below the MAX fill line. The auto-dispense feature WILL NOT activate unless the litter level in the globe is low. Remove some litter if needed.
![]()
- Test the auto-dispense:
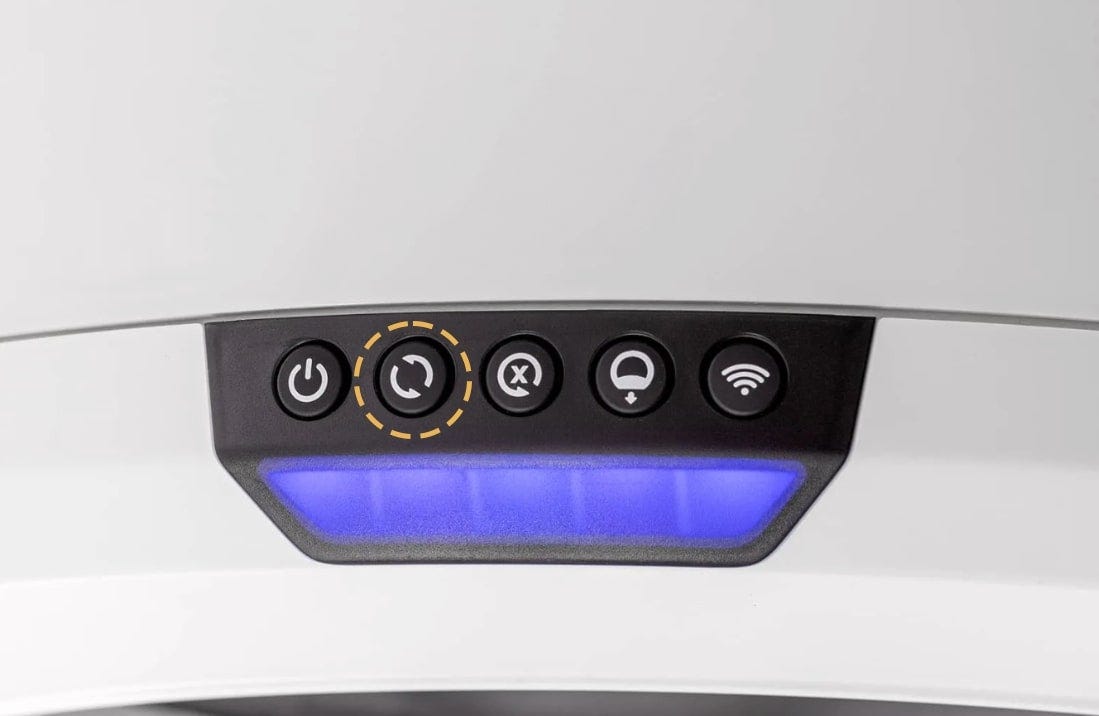
- Press the Cycle button to run the first cycle. Your Litter-Robot 4 will detect the litter level inside the globe as low and save it to memory.
![]()
- Once Litter-Robot 4 is in the home position, press the Cycle button again to run another cycle.
- Press the Cycle button to run the first cycle. Your Litter-Robot 4 will detect the litter level inside the globe as low and save it to memory.

Check the LitterHopper chute
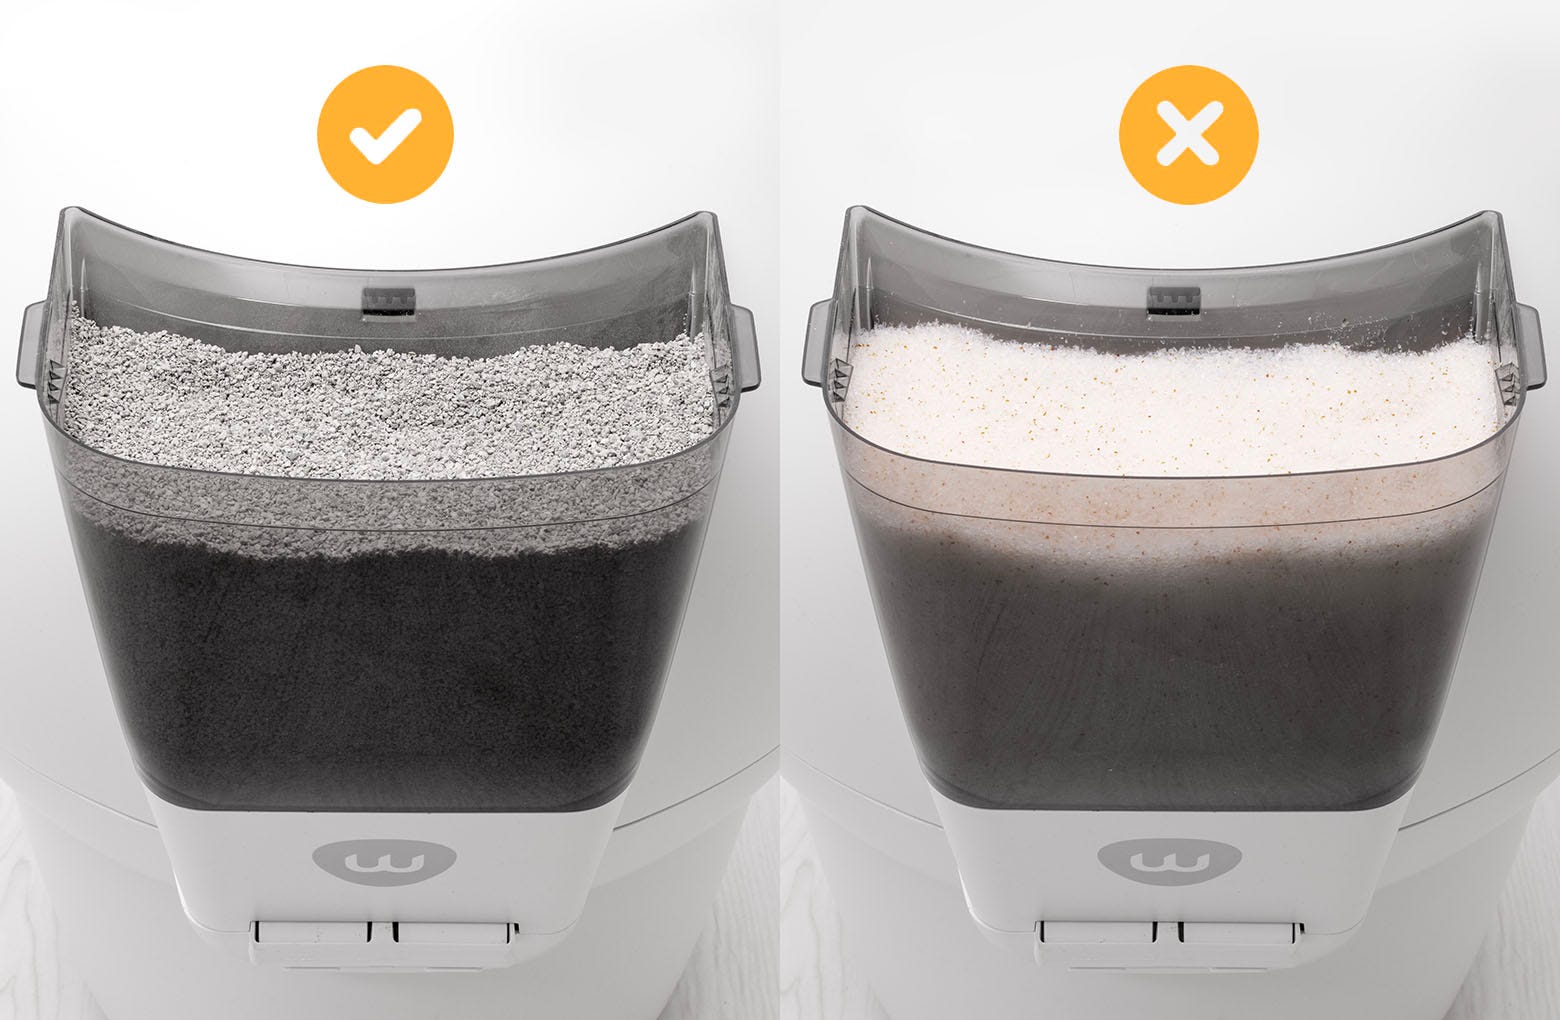
There may be litter bridging in your LitterHopper chute.
Check the LitterHopper chute to see if any litter has accumulated in the corners, forming a hollow space around the dispensing area.
![]()
![]()
If litter has accumulated: Shake the LitterHopper to level out the litter and refill the chute. If it has NOT, please skip to the next section of “Check the globe key”.


Run test cycles
Ensure there is litter in your LitterHopper and leveled out.
Add litter to the globe until it is significantly below the MAX fill line. The auto-dispense feature WILL NOT activate unless the litter level in the globe is low.
Test the auto-dispense:
Press the Cycle button to run the first cycle. Your Litter-Robot 4 will detect the litter level inside the globe as low and save it to memory.
Once Litter-Robot 4 is in the home position, press the Cycle button again to run another cycle.
Check the globe key
There might be a blockage between your LitterHopper and Litter-Robot 4.
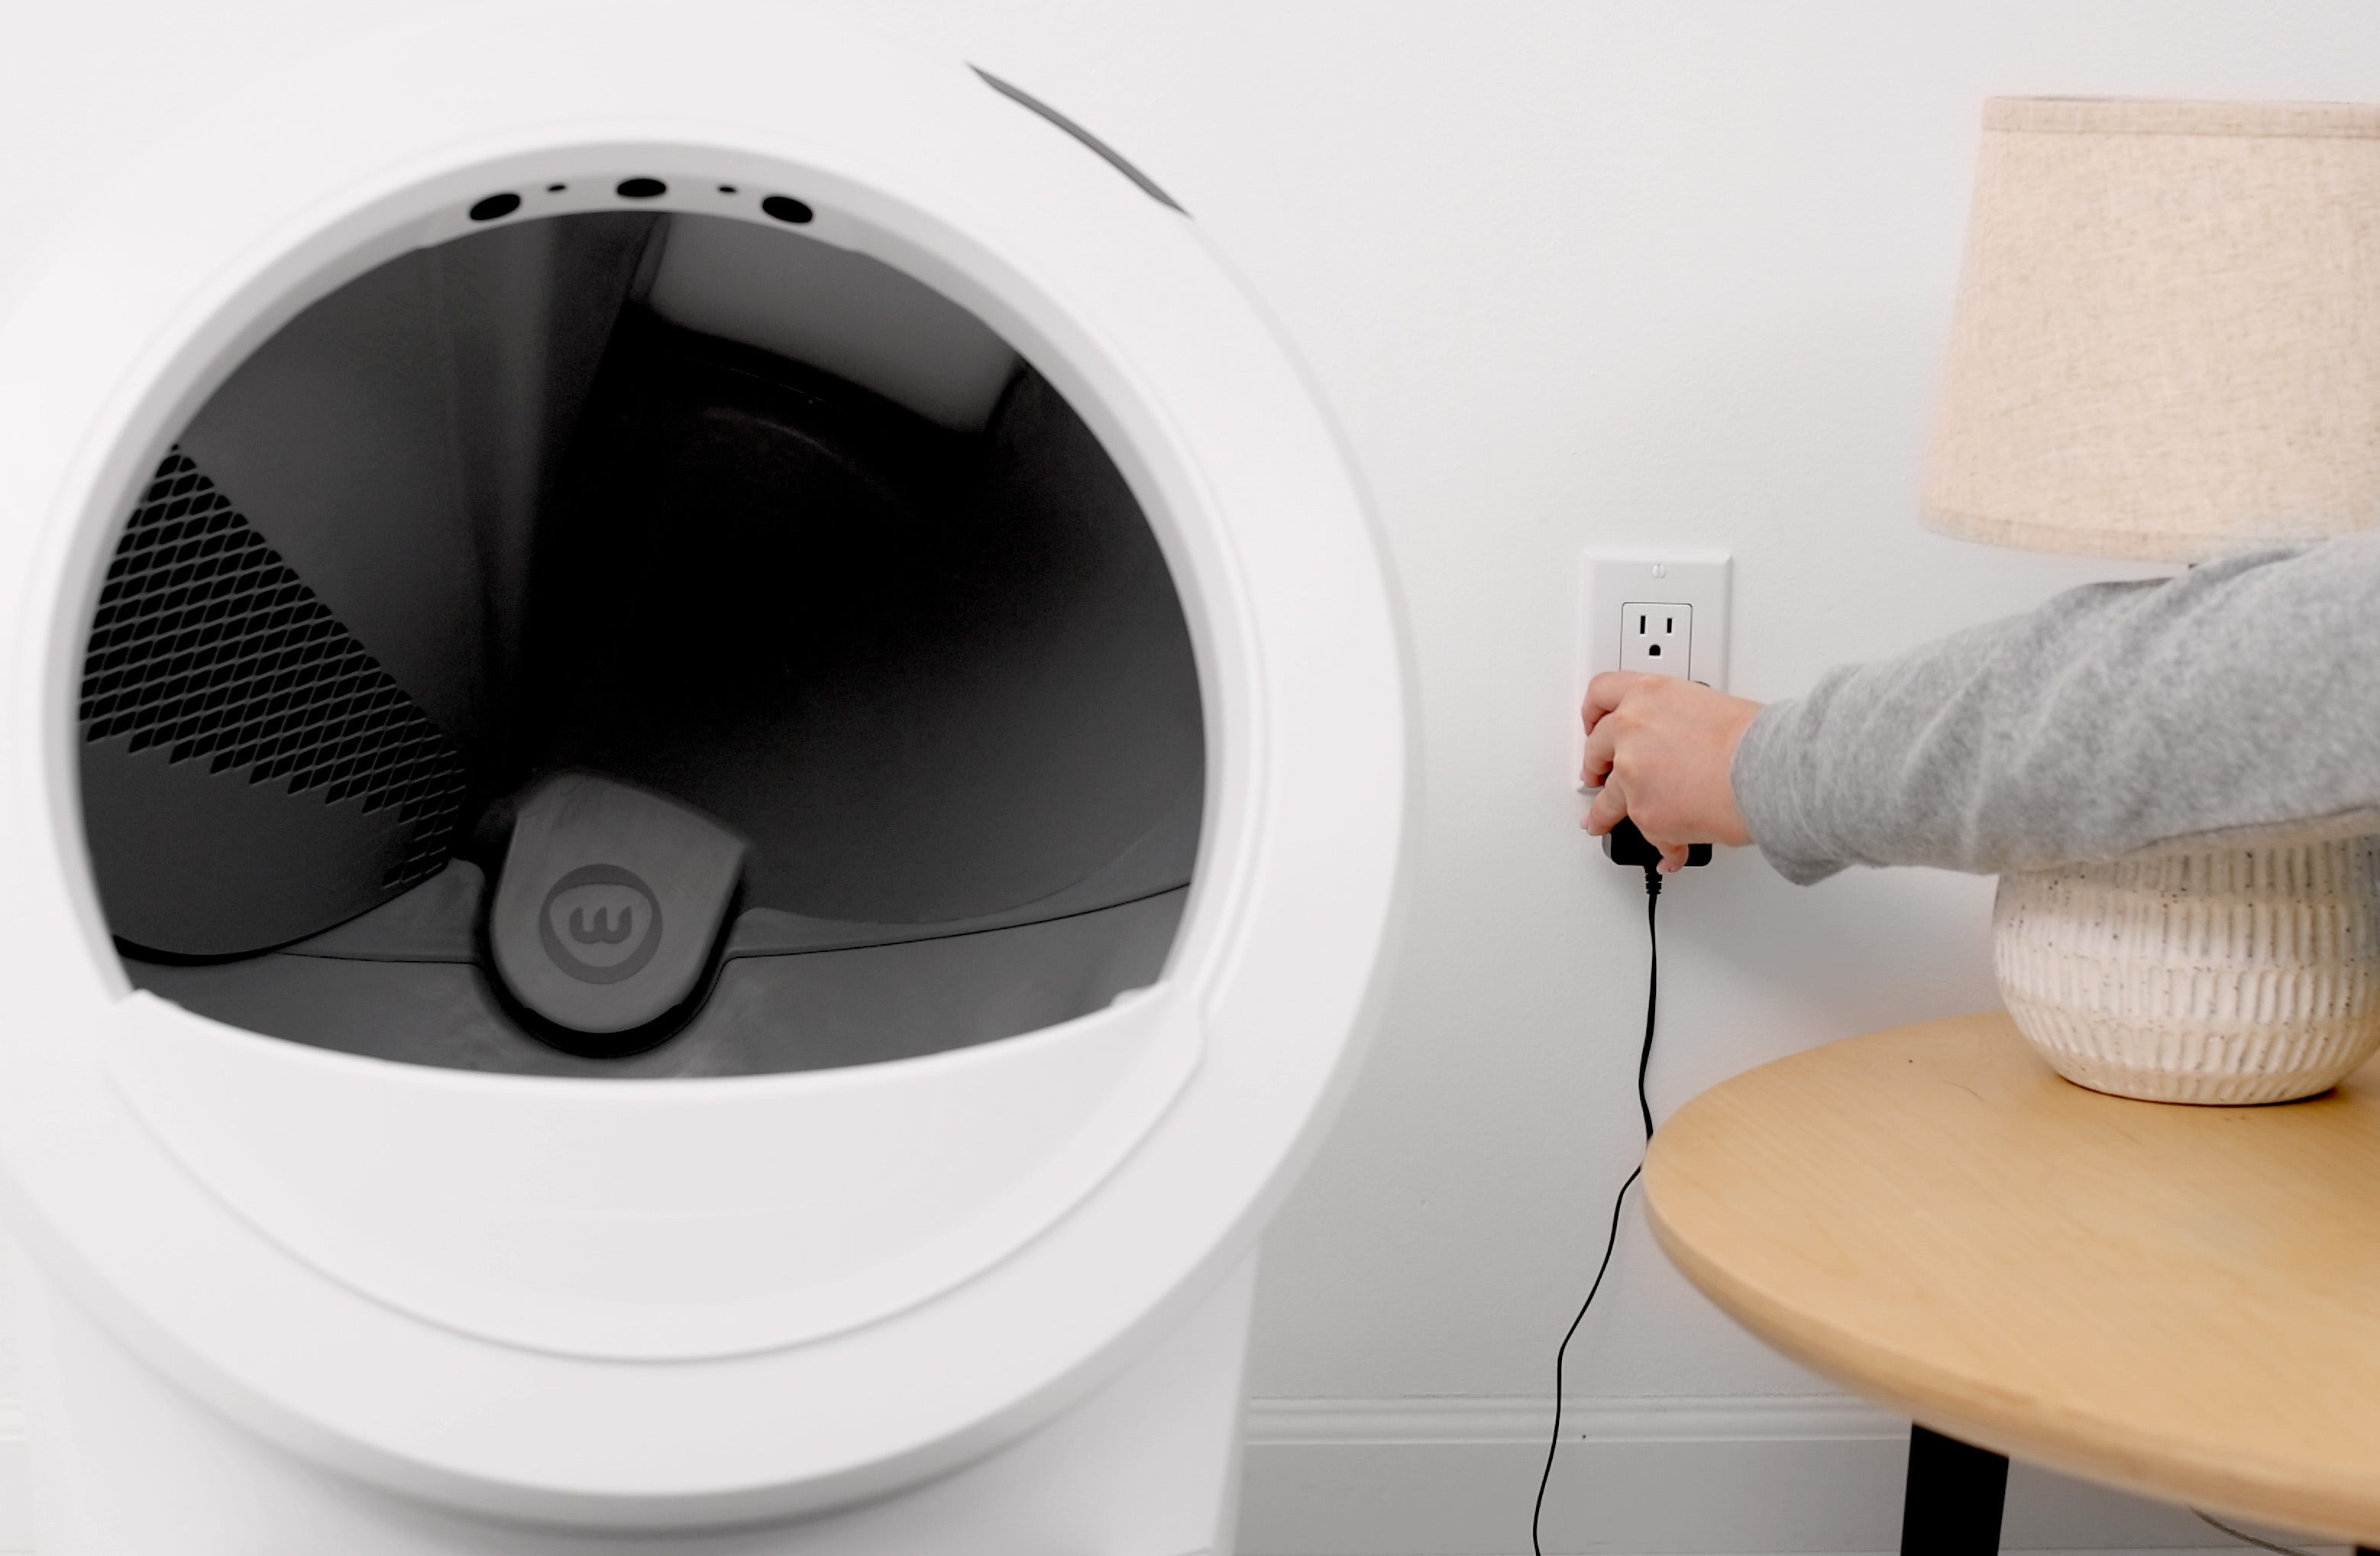
Press the Power button to turn the unit off, then unplug the unit from the wall.
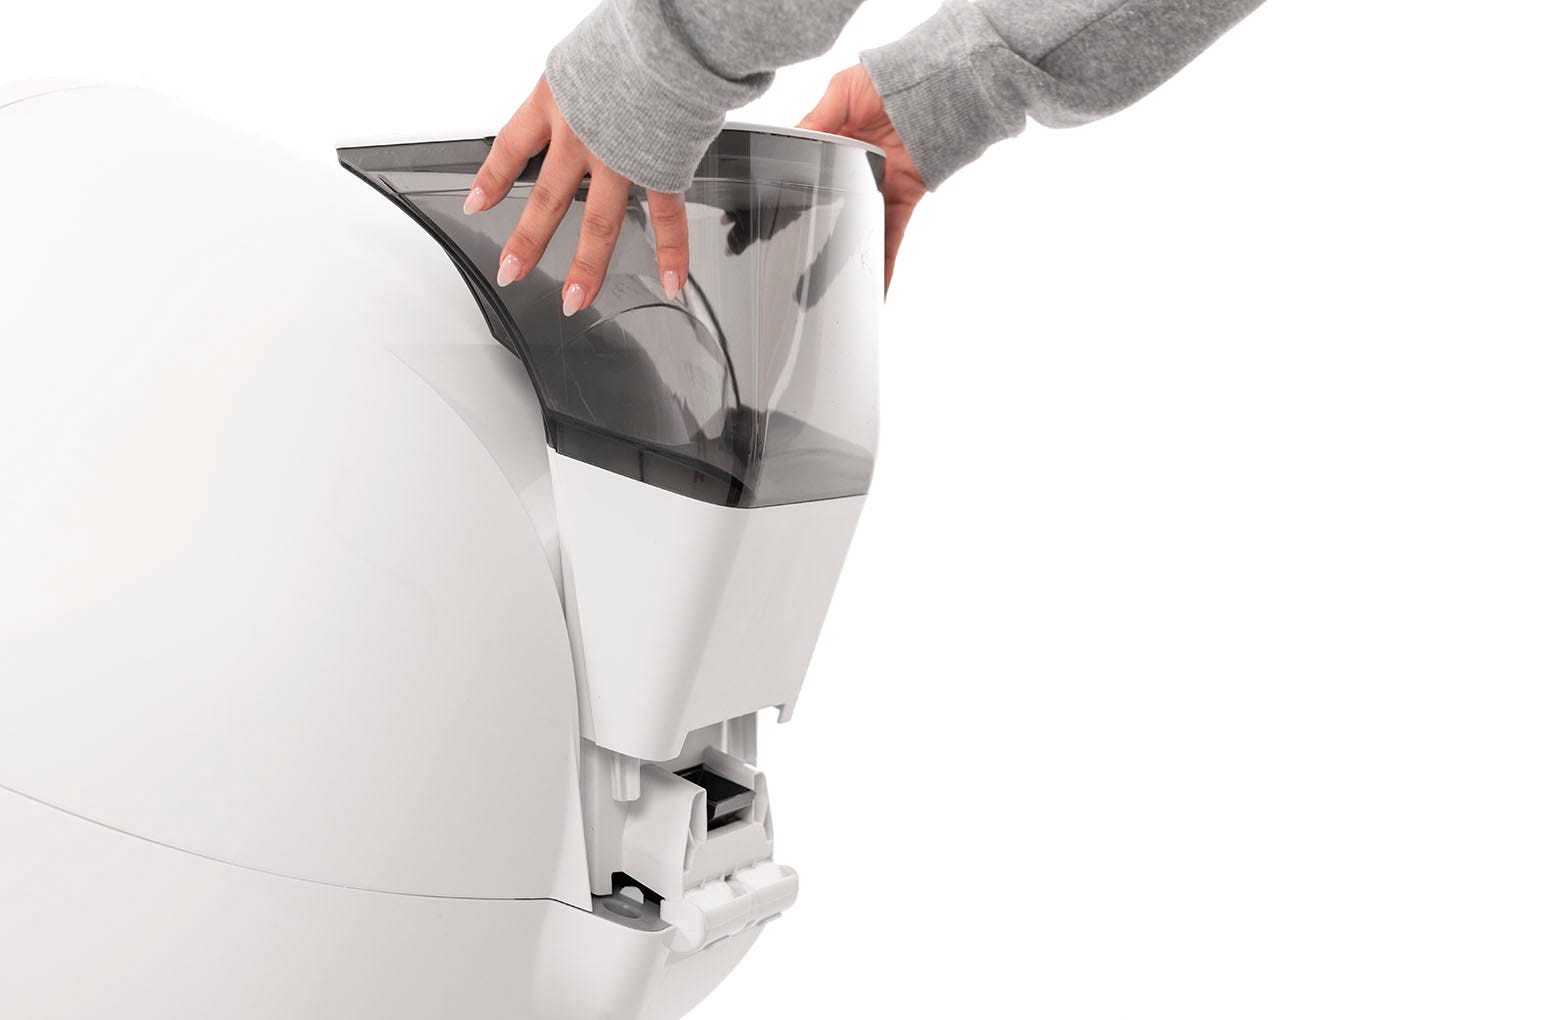
Remove the LitterHopper by lifting it up and away from your Litter-Robot 4, then place it upright against a solid surface so that litter doesn’t spill from inside.
To open the bonnet, press and hold the latches on both sides of the bonnet, then lift and rotate the bonnet to its open position. Remove the bonnet and set it aside.
If you have any accessories installed, remove them from the bezel.
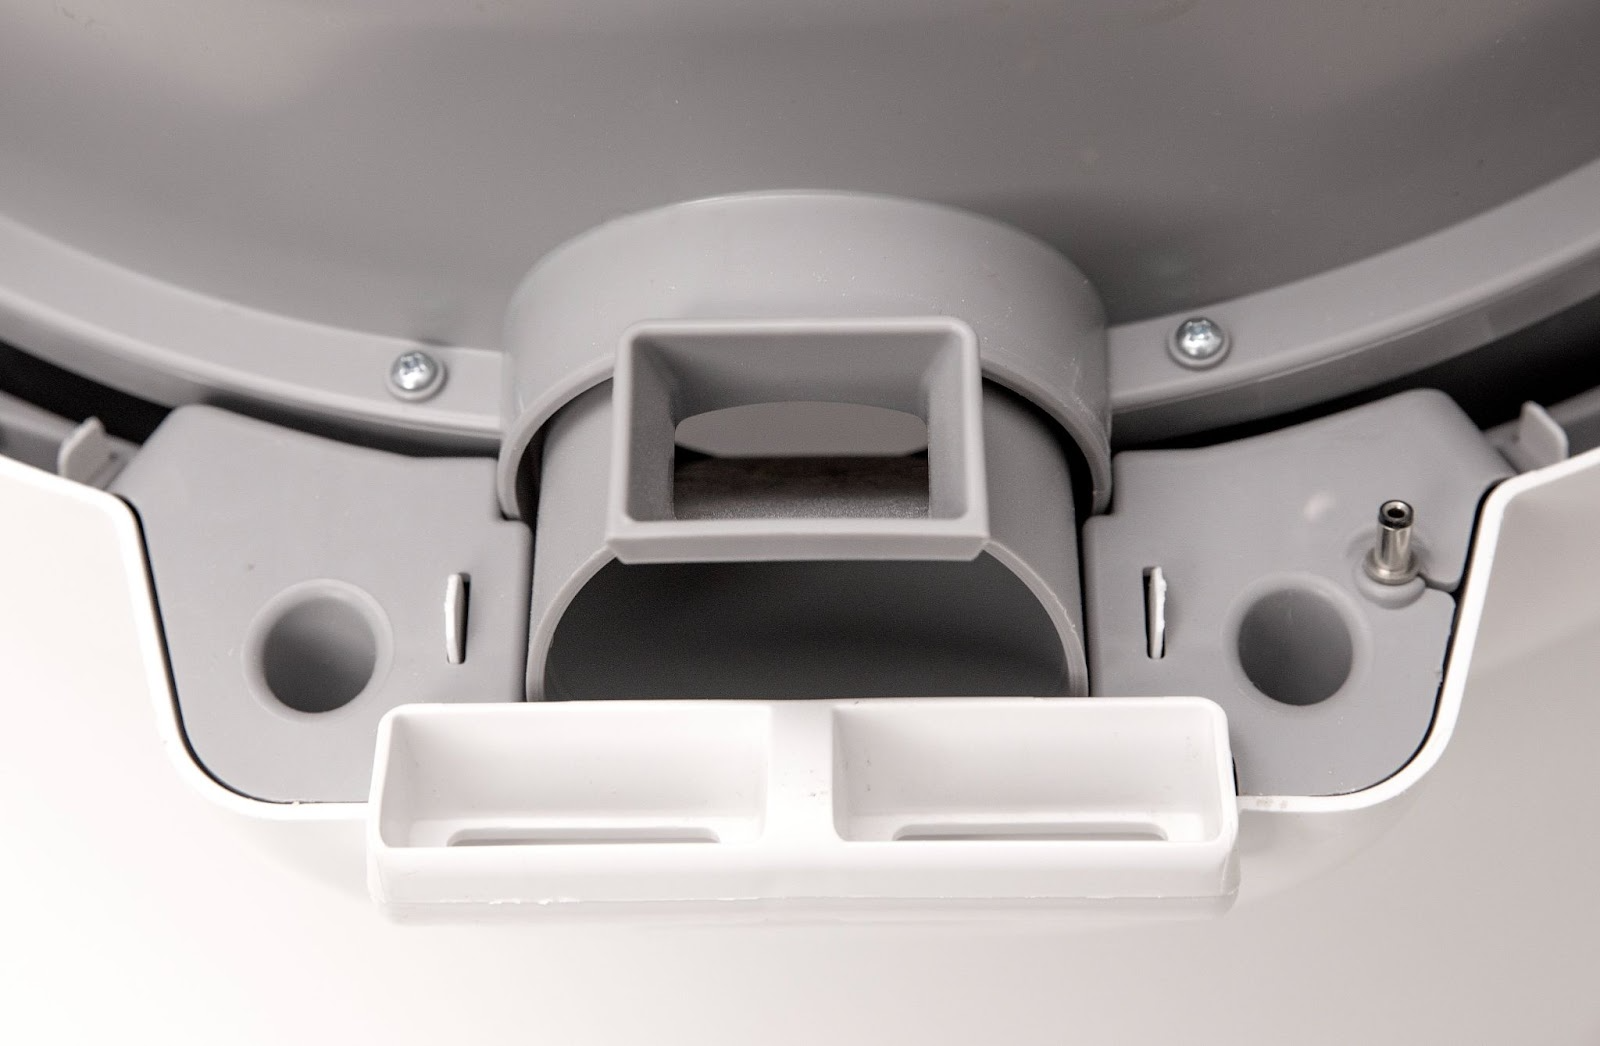
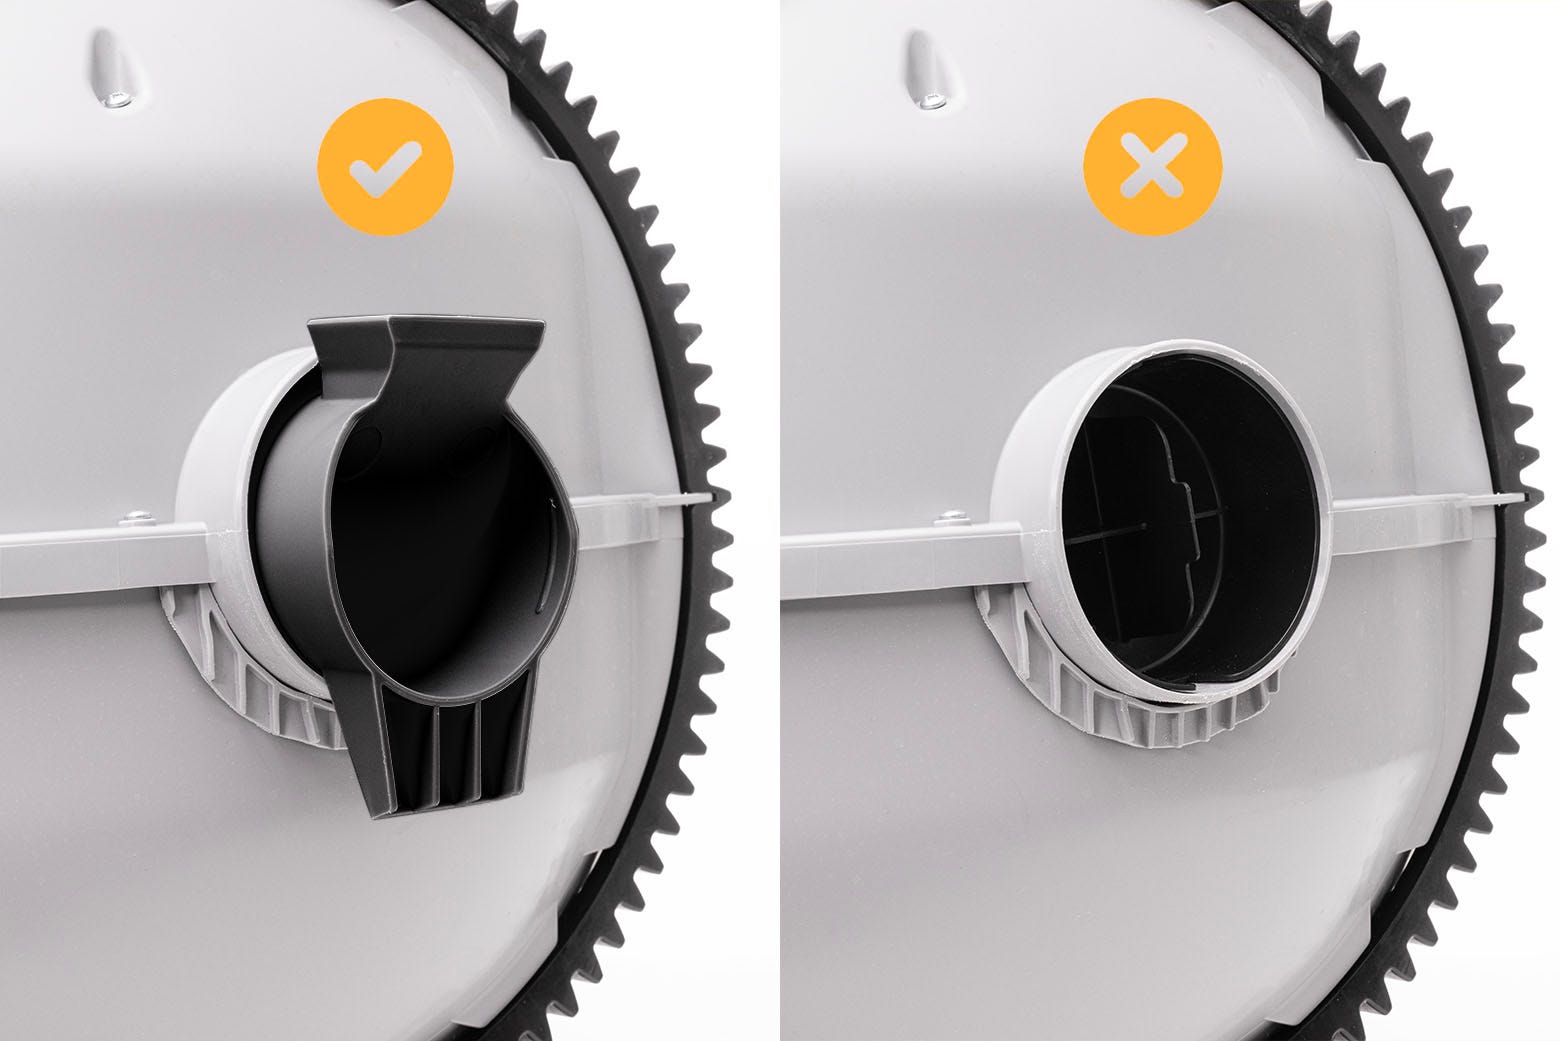
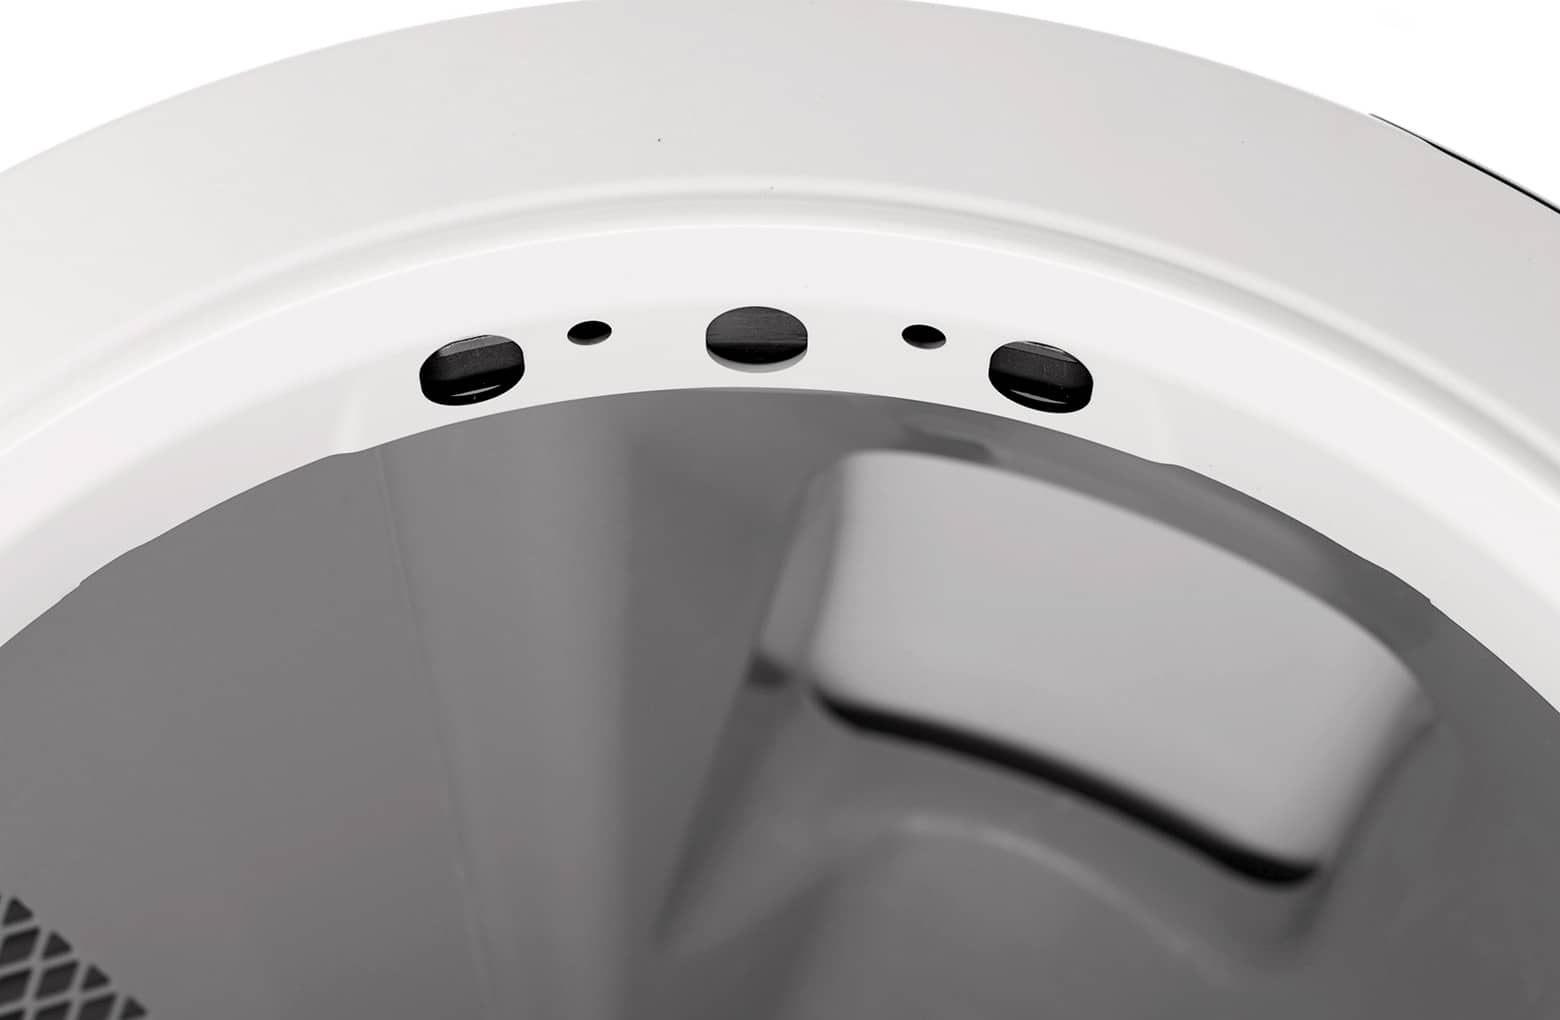
Check the globe key at the rear of the globe. Look into the opening and make sure there is no blockage inside the key.
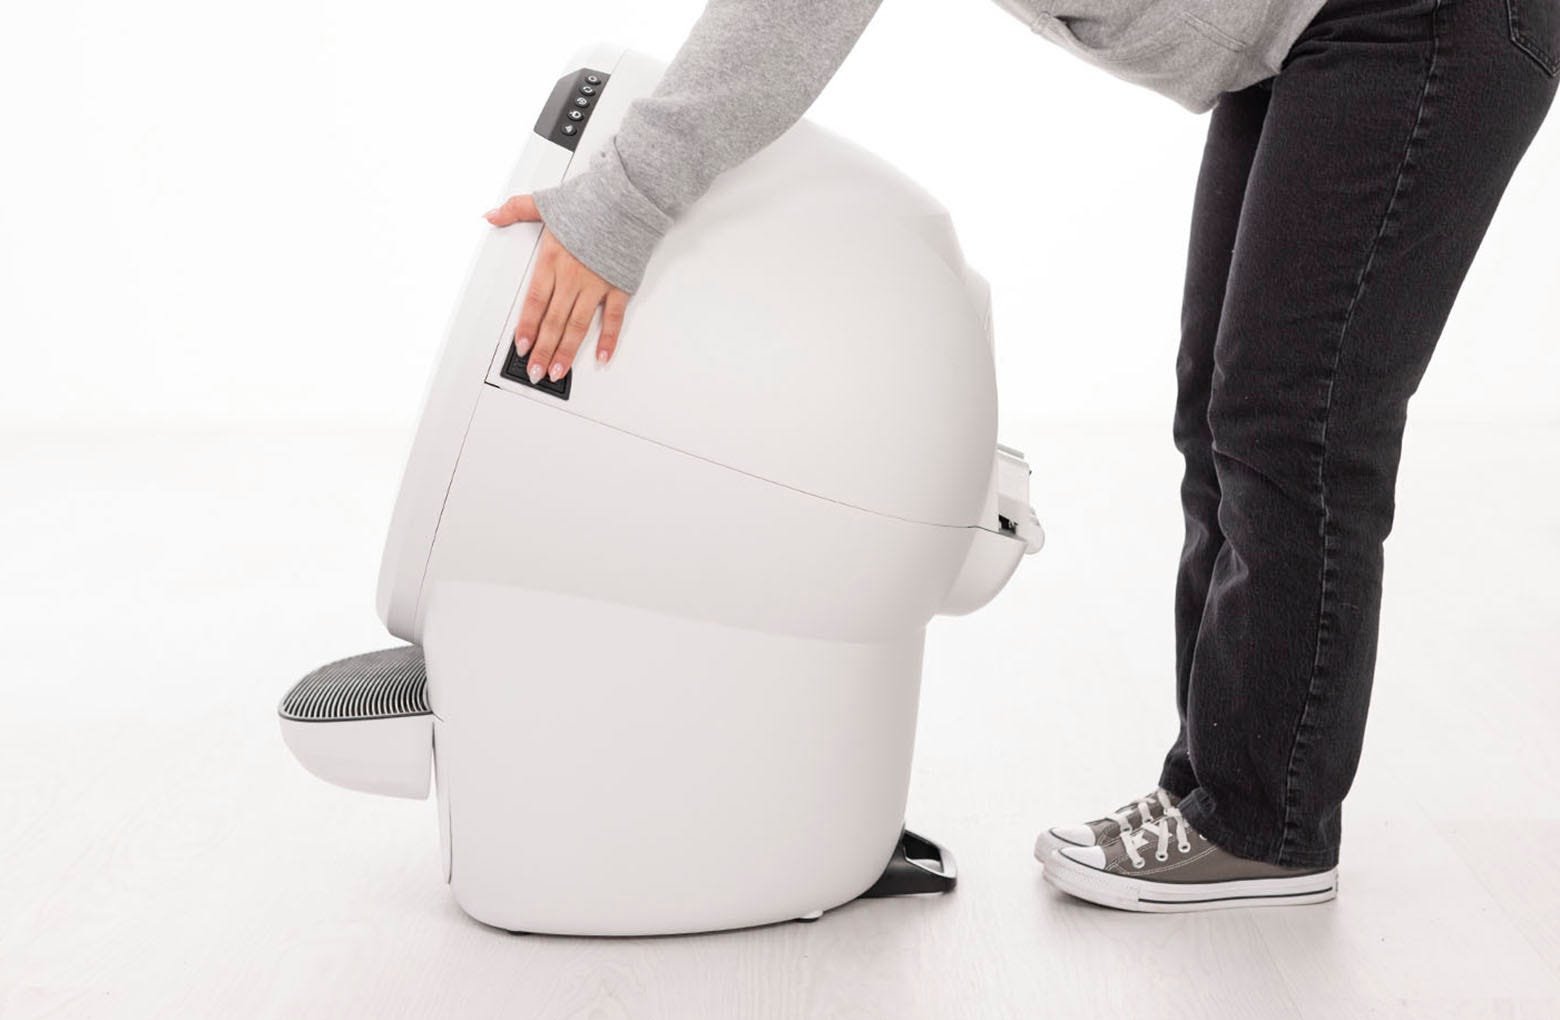
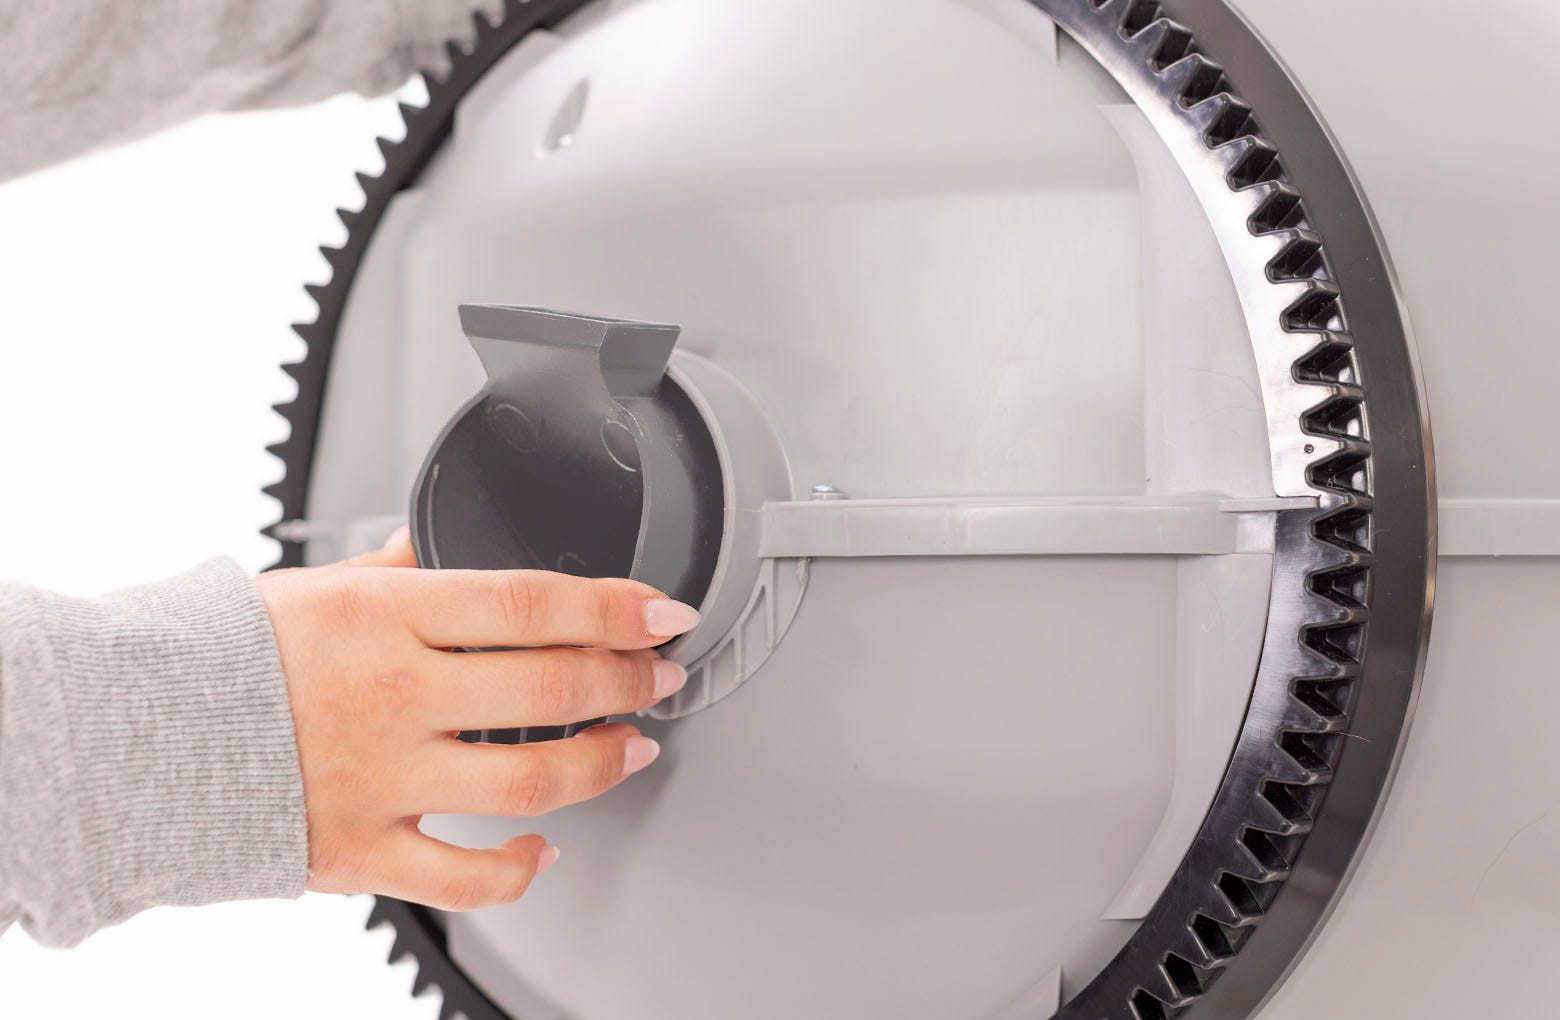
To remove the globe, grab the black handle located on top of the globe, and lift it out of the base.
Remove the key to check if the globe cap was accidentally left inside the globe from your initial LitterHopper installation. This cap will block the flow of litter from the LitterHopper into the globe. If the globe cap is present, remove the cap by grabbing the tab and pulling it.

Re-assemble your Litter-Robot
Place the key back into the rear of the globe with the rectangular opening facing up.
Refer to the installation guide to reinstall the globe, bonnet, and LitterHopper.
Plug the unit in and power it on.
Run test cycles
Ensure there is litter in your LitterHopper.
Add litter to the globe until it is significantly below the MAX fill line. The auto-dispense feature WILL NOT activate unless the litter level in the globe is low.
![]()
Test the auto-dispense:
Press the Cycle button to run the first cycle. Your Litter-Robot 4 will detect the litter level inside the globe as low and save it to memory.
![]()
Once Litter-Robot 4 is in the home position, press the Cycle button again to run another cycle.

Calibrate the optimal litter level
You may be receiving an inaccurate litter level reading from your unit, which will require calibration to resolve.
Preparation
Confirm in the Whisker App that your Litter-Robot 4 is updated to firmware version 1175.5021.292 or above.
Add litter to the globe until it is just below the MAX fill line, making sure that the fill line is still visible.
- Press the Cycle button to run a Clean cycle and sift any excess litter into the waste drawer. Once the globe returns to the home position, this will be your new 'default' litter bed level.
- Next, clean the bezel area where the sensors are located. Debris, such as dust or cat fur, can interfere with the operation of the curtain sensors. This can cause the unit to inaccurately measure the waste drawer level and litter level, as well as cause false cat detects.
Press the Reset button. Litter-Robot will display a solid blue light.
Reset the optimal litter bed level
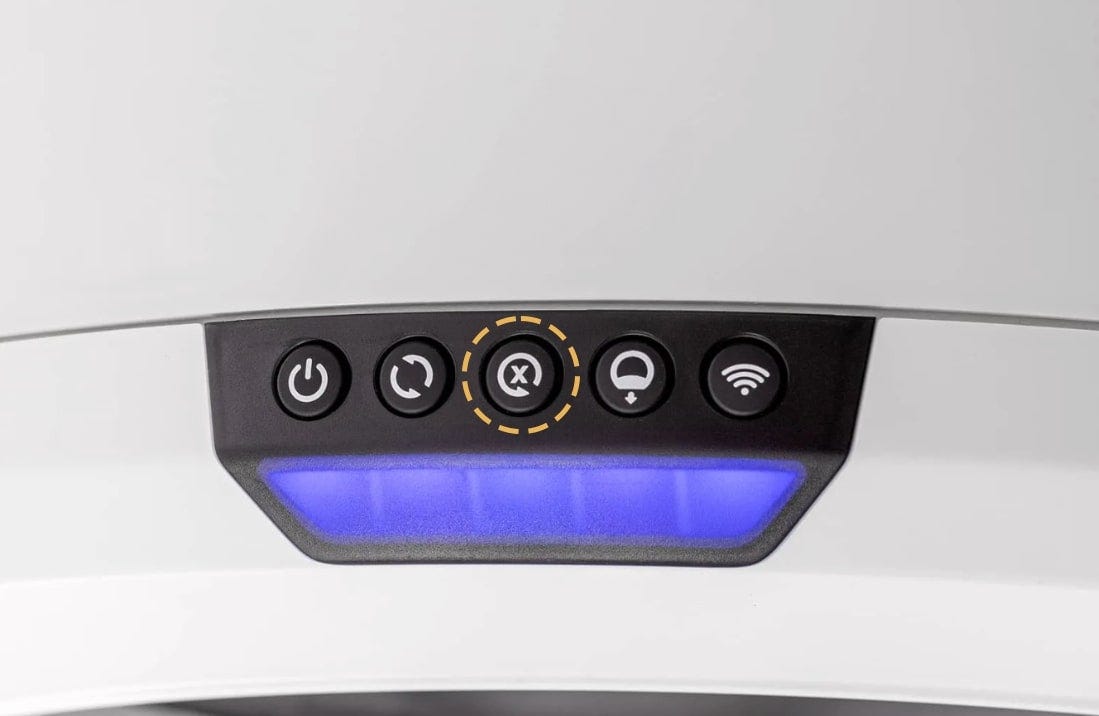
- Press and hold the Cycle, Reset and Empty buttons simultaneously for 3 seconds to initiate the calibration.
![]()
Litter-Robot 4 will perform a Clean cycle and reset the optimal litter bed level.
Run test cycles
Ensure there is litter in your LitterHopper.
Remove some litter from the globe until the litter level is significantly below the MAX fill line. The auto-dispense feature WILL NOT activate unless the litter level in the globe is low.
![]()
Test the auto-dispense:
Press the Cycle button to run the first cycle. Your Litter-Robot 4 will detect the litter level inside the globe as low and save it to memory.
![]()
Once Litter-Robot is in the home position, press the Cycle button again to run another cycle.

Issue not resolved?
Please contact our Customer Experience Team for further assistance.
Didn't find what you're looking for?
Phone and Chat support available Mon-Fri: 9AM-7PM EST and Sat: 9AM-5PM EST, or submit a ticket anytime.